Panasonic VD7005U Operating Instructions - Page 37
Cross Over, Time Alignment, Source Level, Test Tone, Hpf Cut Off, Center, Av2 Level
 |
UPC - 037988758227
View all Panasonic VD7005U manuals
Add to My Manuals
Save this manual to your list of manuals |
Page 37 highlights
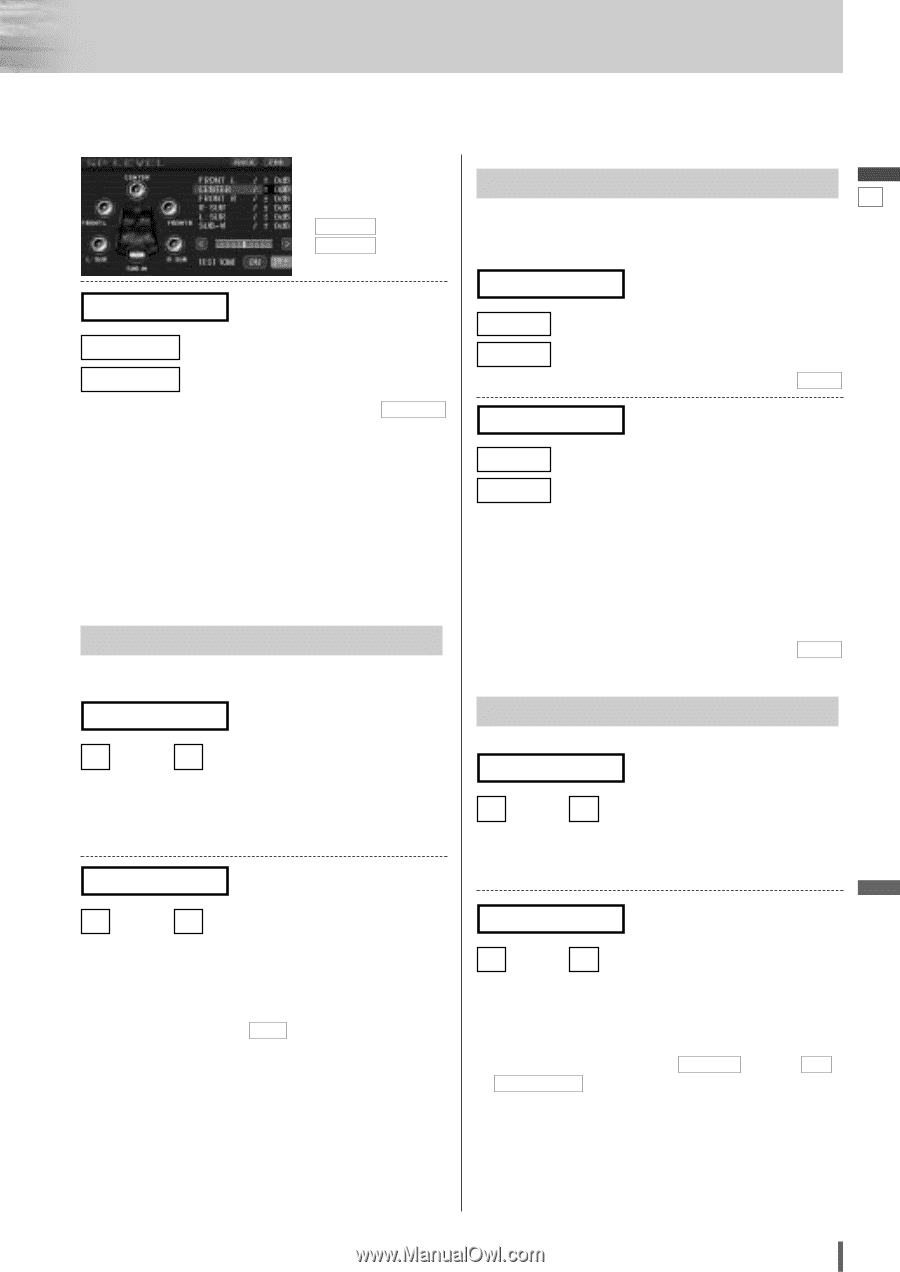
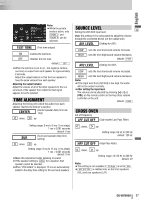
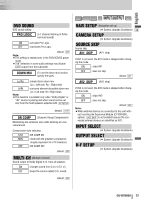
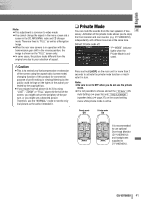
English Note: ¡While the private mode is active, only FRONT L and FRONT R can be adjusted. TEST TONE (Test tone output) ON : enables the test tone. OFF : disables the test tone. default: OFF ¡When the test tone is set to on, test signal (a continuous tone) is output from each speaker for approximately 2 seconds. Adjust the output balance so that the tone appears to have the same volume from each speaker. Adjusting the output balance: Adjust the volume of all of the other speakers to the volume level of the speaker from which the test signal appears to be the quietest. TIME ALIGNMENT Adjusting the timing with which the audio from each speaker reaches the listener's position CENTER (Center speaker delay time setting) ] : down, [ : up Setting range: 0 ms to 5 ms (1 ms steps) 1 ms = 0.001 seconds default: 0 ms SUR (Surround speaker delay time setting) ] : down, [ : up Setting range: 0 ms to 15 ms (1 ms steps) 1 ms = 0.001 seconds default: 0 ms ¡Make this adjustment while listening to sound. ¡If the speaker setting is NONE for a speaker, that speaker cannot be selected. ¡When "PRO LOGIC" is displayed, 15 ms are automatically added to the delay time setting for the surround speakers. SOURCE LEVEL 36 Setting the AV1/AV2 input level Make this setting if it is not possible to adjust the volume through the connected device (on the output side). AV1 LEVEL (Setting for AV1) LOW HIGH : sets the level low/sound volume increases. : sets the level high/sound volume decreases. default: HIGH AV2 LEVEL (Setting for AV2) LOW : sets the level low/sound volume increases. HIGH : sets the level high/sound volume decreases. Note: ¡If the input level from AV1/AV2 is too high, the audio will not be output normally. ¡After setting the input level The volume can be adjusted by pressing [+] or [-] (VOL) on the remote control or turning rotary volume controller on the unit. default: HIGH CROSS OVER Cut off frequency LPF CUT OFF (Sub-woofer Low Pass Filter) ] : down, [ : up Setting range: 63 Hz to 200 Hz default: 125 Hz HPF CUT OFF (High Pass Filter) ] : down, [ : up Setting range: off, 63 Hz to 200 Hz default: off Note: ¡This setting is not available if CS Auto is set to ON . ¡ HPF CUT OFF is enabled only on the front speakers (R/L) and rear speakers (L/R). CQ-VD7005U 37
-
 1
1 -
2
-
3
-
4
-
5
-
6
-
7
-
8
-
9
-
10
-
11
-
12
-
13
-
14
-
15
-
16
-
17
-
18
-
19
-
20
-
21
-
22
-
23
-
24
-
25
-
26
-
27
-
28
-
29
-
30
-
31
-
 32
32 -
 33
33 -
 34
34 -
 35
35 -
 36
36 -
 37
37 -
 38
38 -
 39
39 -
 40
40 -
 41
41 -
 42
42 -
43
-
44
-
45
-
46
-
47
-
48
-
49
-
50
-
51
-
52
 |
 |