Panasonic WVCS564 WVCS564 User Guide - Page 29
Alc Mode With Blc On, Set Up, Camera Id, Alc/manual, Shutter, White Bal, Af Mode, El-zoom, Image Hold
 |
View all Panasonic WVCS564 manuals
Add to My Manuals
Save this manual to your list of manuals |
Page 29 highlights
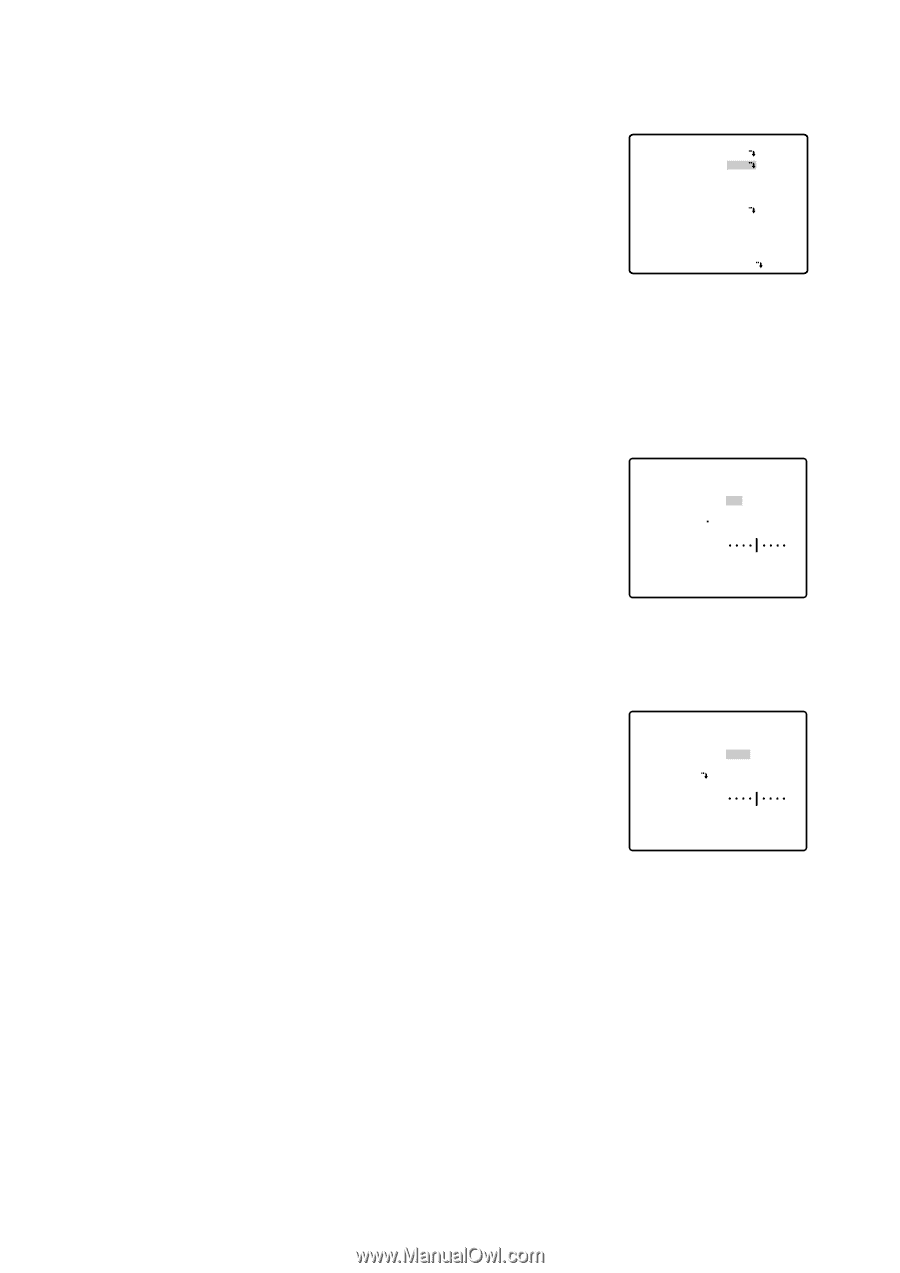
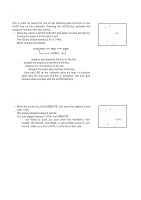
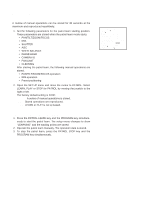
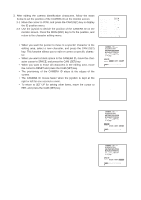
q Light Control Setting (ALC/MANUAL) 1. Display SET UP on the monitor screen. If necessary, refer to Setup Menu Display on page 16 for details on displaying the SET UP on the monitor screen. 2. Move the cursor to ALC/MANUAL and select ALC or MANUAL by using the joystick. The factory default setting is ALC. When you select ALC, set backlight compensation. Note: The backlight compensation submenu associated with this menu is described separately and should be set up after installing the camera at the site and observing the actual site picture. 3. When MANUAL is selected, quit the setup menu by pressing MON (ESC) key. Press OPEN or CLOSE key on the controller for iris adjustments by manual. (1) ALC Mode with BLC ON 1. Press the CAM (SET) key after selecting ALC. The ALC CONT menu appears. 2. Move the cursor to the BLC and select ON. 3. If you want to adjust the video output level, move the "I" cursor for LEVEL. Adjust to the desired level by using the joystick. 4. Move the cursor to RET and press the CAM (SET) key to return to the CAM SET UP menu. (To return to the camera picture, press the F4 button.) Camera setting menu ** SET UP ** CAMERA ID ON ALC/MANUAL ALC SHUTTER OFF AGC ON(MID) SYNC INT WHITE BAL ATW AF MODE MANUAL S EL-ZOOM ON IMAGE HOLD OFF RET SPECIAL ** ALC CONT ** BACK LIGHT COMP BLC ON LEVEL RET - + Backlight compensation menu ** ALC CONT ** BACK LIGHT COMP BLC OFF MASK SET LEVEL - + RET 30
-
 1
1 -
2
-
3
-
4
-
5
-
6
-
7
-
8
-
9
-
10
-
11
-
12
-
13
-
14
-
15
-
16
-
17
-
18
-
19
-
20
-
21
-
22
-
23
-
 24
24 -
 25
25 -
 26
26 -
 27
27 -
 28
28 -
 29
29 -
 30
30 -
 31
31 -
 32
32 -
 33
33 -
 34
34 -
35
-
36
-
37
-
38
-
39
-
40
-
41
-
42
-
43
-
44
-
45
-
46
-
47
-
48
-
49
-
50
-
51
-
52
 |
 |