Pfaff 130-6 Owner's Manual - Page 12
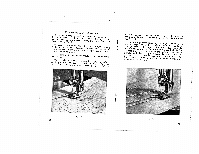
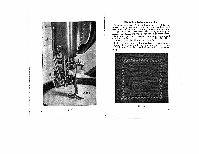
Buttonholes
 |
View all Pfaff 130-6 manuals
Add to My Manuals
Save this manual to your list of manuals |
Page 12 highlights
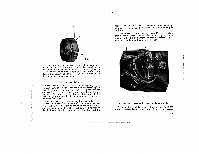
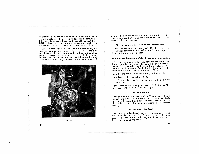
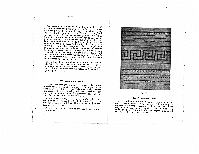
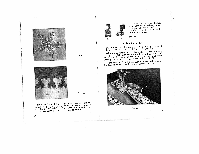
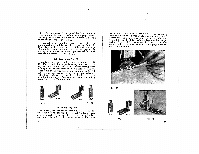
bPveeaarSircmelrdeaC,wdoedtoteonwpnei1btnh8Nud.toitno.oBgrn5uh)wt.ootoniltenhhoyfouooltuoerts,coc(NrFhd)oog..i.cT4e12h,92e9af7rnco.domr(dB20ut)huttesoendhfioncleeossnt can be to aitnhewFthoeuerlpl cpbdoeurrrtadtwoaenndndh-ibonuulenttsdotfienotrchohott.,hlert,eoawddraarmwdussthtthebeecorteridagrh.ttheTrnoheuedghtetonthsoieobnhtaoiolnef The length of on the fabric. the buttonhole should be marked in pencil nsteisWtcshitohrfeDgtiuhaella-Atoz-irSgtzbiatecgthwsleeteivtncehr zHewroiitnh-apnsocdsrietoiwonne.BI,,A(tdFojigu.stht1e2t)h, leeafdftjiunoseft mtthhoeestdziicagolz,radgainccgisos.rdseint gattonuthmebehreatvwinoe,ssthiosf carding used. If is adequate for f lmopsptmohofarowfeaerArarsetelkhefrsrlitexeeagestrdlctthrhietetbwctstlhhaeshspieernitrdhsgtceaeoeteosnhtdsrh.odptdeghefr.rWeeestpwcbThhlonaahiieesnorrirfndsagtw.etaidtngtmohhglduniieaseiesdksa,feeiliasnl.staobhtwdrKtenhioceteenfhteiaheehprfte,saeatlbtrrfnlhieergeeiadabhcervgtu.daweetluNtoeooniftrosnhdtkwohe,tsho,eccmelwnllereoeasanancek.inskdeet.eewloTedohCitltsnehehuaenee,te,t Fig. 19 20 t I Fig. 20 21
-
 1
1 -
2
-
3
-
4
-
5
-
6
-
 7
7 -
 8
8 -
 9
9 -
 10
10 -
 11
11 -
 12
12 -
 13
13 -
 14
14 -
 15
15 -
 16
16 -
 17
17 -
18
-
19
-
20
-
21
-
22
 |
 |
