Pfaff 130-6 Owner's Manual - Page 8
the needle
 |
View all Pfaff 130-6 manuals
Add to My Manuals
Save this manual to your list of manuals |
Page 8 highlights
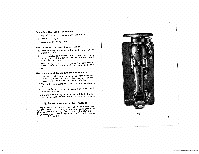
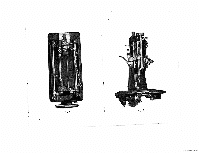
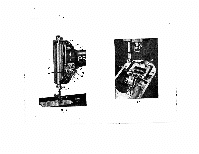
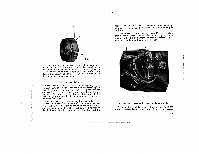
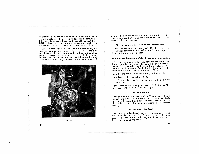
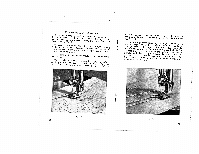
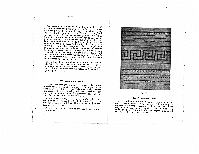
To protect presser foot and feed, never operate machine without placing fabric under the presser foot. With the cloth inserted and the presser foot lowered, turn the balance wheel toward you. At the same time, give a slight pressure with your knee against the knee control-or against the foot control on some portable models. 7. To remove the work Stop the machine. Turn the balance wheel toward you until the take-up (see section on threading the needle) is at its highest point. (Or turn the wheel to complete the stitch.) Raise presser foot. (On lifting the, presser foot, the tension is automatically released.) Draw the cloth to the rear of the needle. Cut the thread close to the material on the thread cutter. 8. To regulate the tension of the upper thread The tension of the upper thread is regulated by means of tension nut (M), (Fig. 4). Turning this screw clockwise, the tension will become tighter. Unscrewing it, counter clockwise, it will become looser. Having adjusted the tension for a certain kind of thread, (you con best judge this tension for yourself by pulling the thread gently with your hand when you have threaded the machine through the tension spring), lust glance at the number marked in the bell behind the ten sion nut, and note its relative position. If the upper tension is too loose, the under thread will pull down the upper thread, forming little knots or loops as shown in Fig. 8. If the upper tension is too tight, the under thread is drawn up, as illustrated in Fig. 9 Fig. 10 shows the locking in the two threads in the center of the material, as a result of the proper adjustment of both tensions. 12 Fig. 9 Fig. 10 9. To regulate tension of the under thread If the tension is too loose, take the bobbin case out of the machine (Fig. 5), and tighten the small tension screw (Z) in a clockwise direction with the aid of the screw driver. If the tension is too tight, unscrew it in a counter clockwise direction. (Fig. 11). 10. To regulate the length of stitch The length of the stitches is regulated by the stitch regulator screw. (Fig. 6). In the zero-(or neutral)- posi tion, there is no feeding at all. The numbers above zero ore for forward stitching; the space below for reverse stitching. 13
-
 1
1 -
2
-
 3
3 -
 4
4 -
 5
5 -
 6
6 -
 7
7 -
 8
8 -
 9
9 -
 10
10 -
 11
11 -
 12
12 -
 13
13 -
14
-
15
-
16
-
17
-
18
-
19
-
20
-
21
-
22
 |
 |
