Pfaff Tipmatic 1069 Owner's Manual - Page 4
mechanical - sewing machine
 |
View all Pfaff Tipmatic 1069 manuals
Add to My Manuals
Save this manual to your list of manuals |
Page 4 highlights
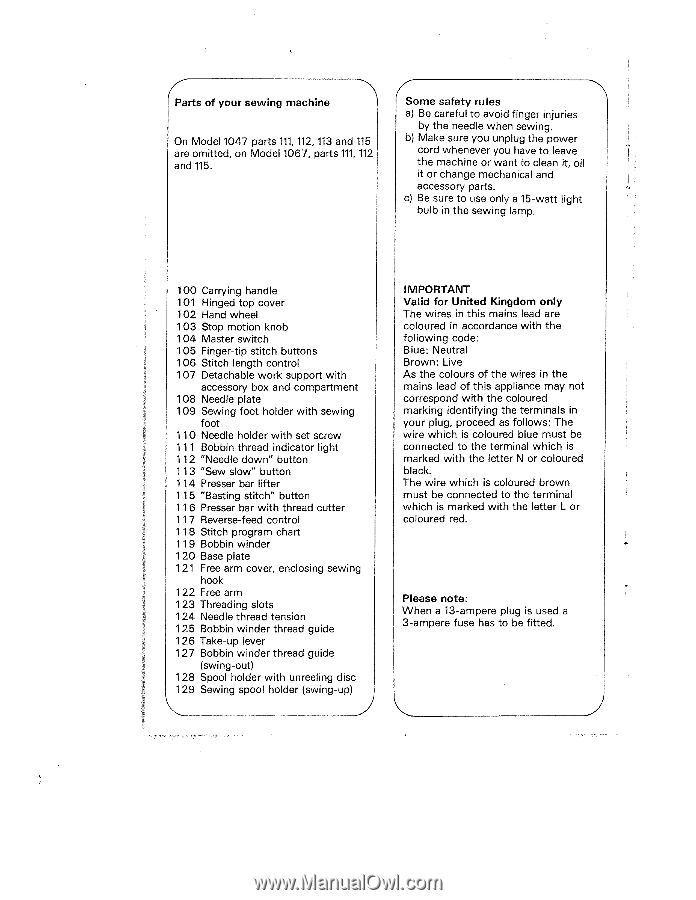
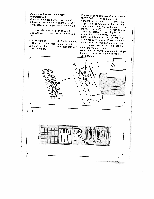
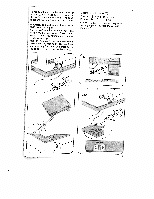
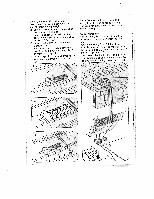
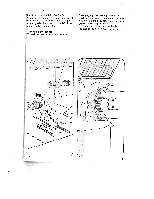
Parts of your sewing machine On Model 1047 parts 111, 112, 113 and 115 are omitted, on Model 1067, parts 111, 112 and 115. 4 Some safety rules a) Be careful to avoid finger injuries by the needle when sewing. b) Make sure you unplug the power cord whenever you have to leave the machine or want to clean it, oil it or change mechanical and accessory parts. c) Be sure to use only a 15-watt light bulb in the sewing lamp. 100 Carrying handle 101 Hinged top cover 102 Hand wheel 103 Stop motion knob 1 04 Master switch 1 05 Finger-tip stitch buttons 1 06 Stitch length control 1 07 Detachable work support with accessory box and compartment 1 08 Needle plate 1 09 Sewing foot holder with sewing foot 110 Needle holder with set screw 111 Bobbin thread indicator light 112 "Needle down" button 113 "Sew slow" button 114 Presser bar lifter 115 "Basting stitch" button 116 Presser bar with thread cutter 117 Reverse-feed control 118 Stitch program chart 119 Bobbin winder 1 20 Base plate 121 Free arm cover, enclosing sewing hook 122 Free arm 123 Threading slots 124 Needle thread tension 125 Bobbin winder thread guide 1 26 Take-up lever 127 Bobbin winder thread guide (swing-out) 128 Spool holder with unreeling disc 1 29 Sewing spool holder (swing-up) ) IMPORTANT Valid for United Kingdom only The wires in this mains lead are coloured in accordance with the following code: Blue: Neutral Brown: Live As the colours of the wires in the mains lead of this appliance may not correspond with the coloured marking identifying the terminals in your plug, proceed as follows: The wire which is coloured blue must be connected to the terminal which is marked with the letter N or coloured black. The wire which is coloured brown must be connected to the terminal which is marked with the letter L or coloured red. Please note: When a 13-ampere plug is used a 3-ampere fuse has to be fitted.
-
 1
1 -
 2
2 -
 3
3 -
 4
4 -
 5
5 -
 6
6 -
 7
7 -
 8
8 -
 9
9 -
 10
10 -
11
-
12
-
13
-
14
-
15
-
16
-
17
-
18
-
19
-
20
-
21
-
22
-
23
-
24
-
25
-
26
-
27
-
28
-
29
-
30
-
31
-
32
-
33
-
34
 |
 |