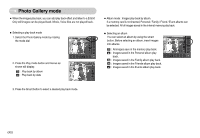
Samsung NV5 User Manual - Page 36
Auto Exposure Lock AEL, White balance
 |
View all Samsung NV5 manuals
Add to My Manuals
Save this manual to your list of manuals |
Page 36 highlights
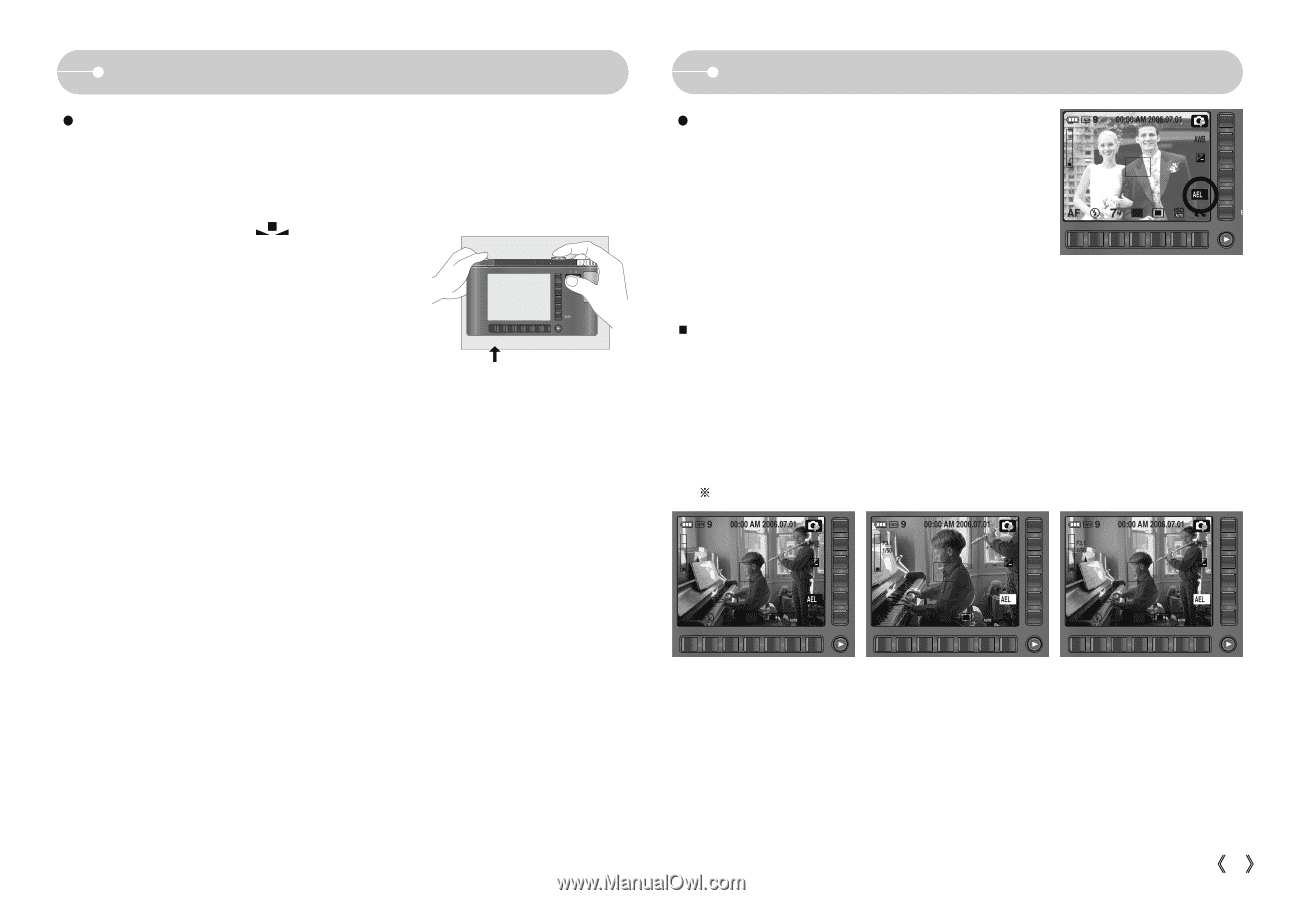
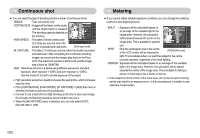
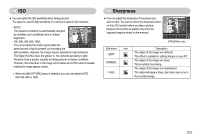
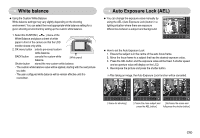
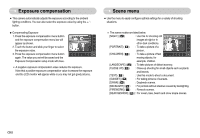
White balance ƀ Using the Custom White Balance White balance settings may vary slightly depending on the shooting environment. You can select the most appropriate white balance setting for a given shooting environment by setting up the custom white balance. 1. Select the CUSTOM ( ) menu of the White Balance and place a sheet of white paper in front of the camera so that the LCD monitor shows only white. 2. OK menu button : selects pre-saved custom BACK button white balance. : cancels the custom white balance. ط [White paper] Shutter button : stored the new custom white balance. - The custom white balance value will be applied, starting with the next picture you take. - The user configured white balance will be remain effective until it is overwritten. Auto Exposure Lock (AEL) ƀ You can change the exposure value manually by using the AEL (Auto Exposure Lock) button in a lighting situation where there are exposure differences between a subject and background. 9 00:00 AM 2006.07.01 AEL 7 ƅ How to set the Auto Exposure Lock 1. Ensure the subject is in the centre of the auto focus frame. 2. Move the focus frame to a subject that has the desired exposure value. 3. Press the AEL button and the exposure value will be fixed. A shutter speed and an aperture value will display on the LCD. 4. Recompose the picture and press the shutter button. żAfter taking an image, the Auto Exposure Lock function will be cancelled. 9 00:00 AM 2006.07.01 9 F3.1 1/50 00:00 AM 2006.07.01 9 F3.1 1/50 00:00 AM 2006.07.01 AEL 7 AEL 7 AEL 7 [ Scene for shooting ] [ Frame the main subject and [ Re-frame the scene and press the AEL button ] fully press the shutter button ] Ś35ś
-
 1
1 -
2
-
3
-
4
-
5
-
6
-
7
-
8
-
9
-
10
-
11
-
12
-
13
-
14
-
15
-
16
-
17
-
18
-
19
-
20
-
21
-
22
-
23
-
24
-
25
-
26
-
27
-
28
-
29
-
30
-
 31
31 -
 32
32 -
 33
33 -
 34
34 -
 35
35 -
 36
36 -
 37
37 -
 38
38 -
 39
39 -
 40
40 -
 41
41 -
42
-
43
-
44
-
45
-
46
-
47
-
48
-
49
-
50
-
51
-
52
-
53
-
54
-
55
-
56
-
57
-
58
-
59
-
60
-
61
-
62
-
63
-
64
-
65
-
66
-
67
-
68
-
69
-
70
-
71
-
72
-
73
-
74
-
75
-
76
-
77
-
78
-
79
-
80
-
81
-
82
 |
 |