Sony CDX-GT720 Operating Instructions - Page 10
Customizing the equalizer curve - EQ3 Tune, Adjusting setup items - MENU, EQ3 Tune
 |
View all Sony CDX-GT720 manuals
Add to My Manuals
Save this manual to your list of manuals |
Page 10 highlights
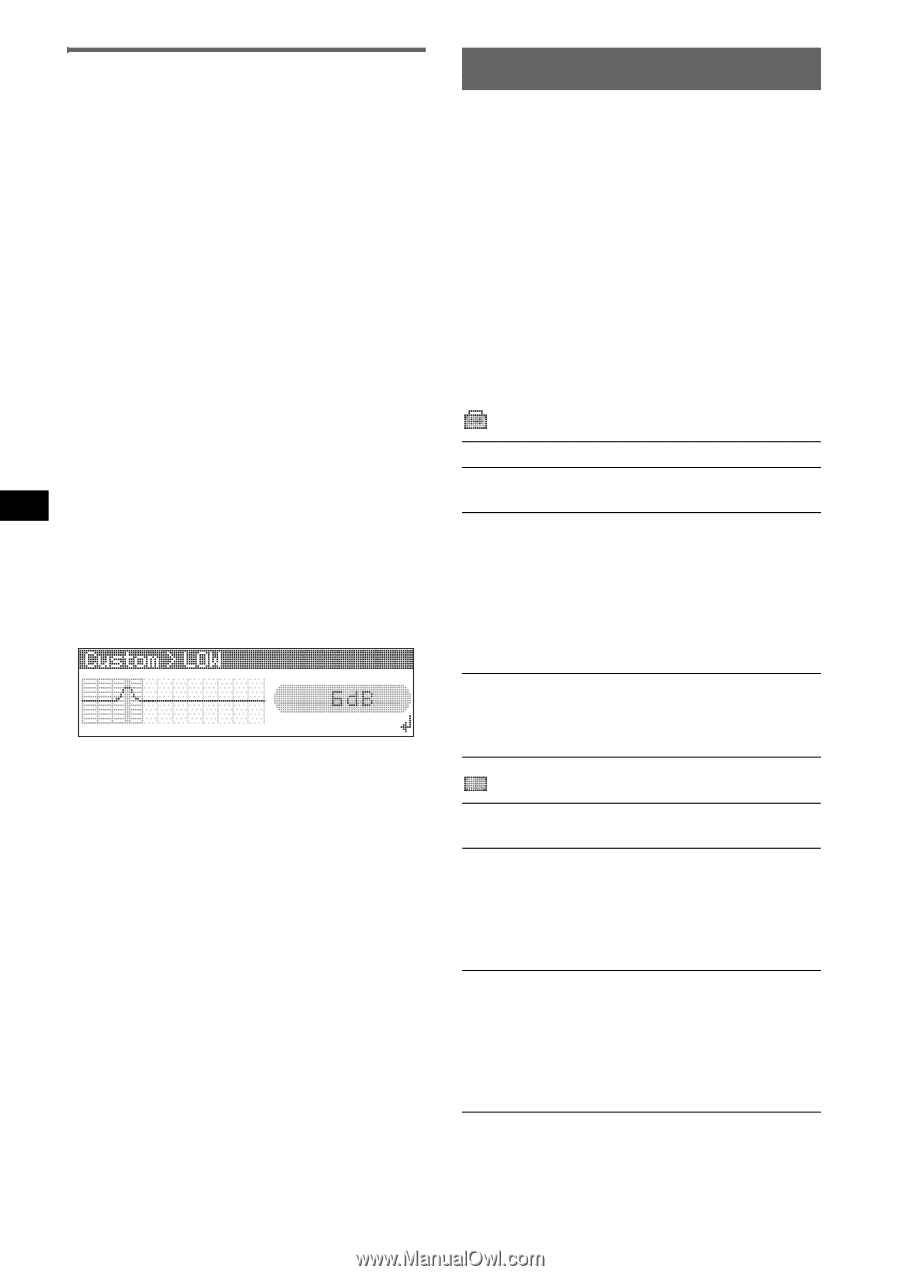
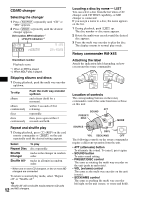
Customizing the equalizer curve - EQ3 Tune "Custom" of EQ3 allows you to make your own equalizer settings. 1 Select a source, then press the multi way encoder. 2 Rotate the multi way encoder to select "EQ3 parametric," then press it. 3 Rotate the multi way encoder to select "Custom," then push it right. 4 Rotate the multi way encoder to select "EQ3 Mode Tune," then press it. 5 Rotate the multi way encoder to select the desired frequency range from "LOW," "MID" or "HI," then press it. 6 Rotate the multi way encoder to select the center frequency you wish to adjust, then press it. Selectable frequency in each range: LOW: 60 Hz or 100 Hz MID: 500 Hz or 1.0 kHz HI: 10.0 kHz or 12.5 kHz 7 Rotate the multi way encoder to adjust the equalizer curve. The volume level is adjustable in 1 dB steps, from -10 dB to +10 dB. 8 Press the multi way encoder. Repeat steps 5 to 8 to adjust other frequency ranges. 9 Push (BACK) down twice. The display returns to normal play/reception mode. To restore the factory-set equalizer curve, select "EQ3 Mode Initialize" and "Yes" in step 4. Tip Other equalizer types are also adjustable. Adjusting setup items - MENU 1 Press and hold the multi way encoder. 2 Rotate the multi way encoder until the desired menu item appears, then press it. 3 Rotate the multi way encoder to select the setting, then press it. The setting is complete. 4 Push (BACK) down. The display returns to normal play/reception mode. The following items can be set (follow the page reference for details): "z" indicates the default settings. Setup Clock Adjust (page 4) Beep To set "on" (z) or "off." RM (Rotary Commander) To change the operative direction of the rotary commander controls. - "NORM" (z): to use the rotary commander in the factory-set position. - "REV": when you mount the rotary commander on the right side of the steering column. Auto Off To shut off automatically after a desired time when the unit is turned off: "NO" (z), "30 sec," "30 min" or "60 min." Display Demo (Demonstration) To set "on" (z) or "off." Image To set various display images. - "Movie 1 (z) - 3": to display a movie. - "SA 1 - 3": to display the Spectrum Analyzer. - "Wall.P 1 - 3": to display a wallpaper. - "off": to not display any image. Auto Image To set various display images. - "All": to step repeatedly through the display images in all display modes. - "Movie" (z): to display a movie. - "SA": to display the Spectrum Analyzer. - "off": to not display any image. 10
-
 1
1 -
2
-
3
-
4
-
 5
5 -
 6
6 -
 7
7 -
 8
8 -
 9
9 -
 10
10 -
 11
11 -
 12
12 -
 13
13 -
 14
14 -
 15
15 -
16
-
17
-
18
-
19
-
20
-
21
-
22
-
23
-
24
-
25
-
26
-
27
-
28
-
29
-
30
-
31
-
32
-
33
-
34
-
35
-
36
-
37
-
38
-
39
-
40
 |
 |