Sony ICD-UX512BLK Operating Instructions - Page 15
Step 4: Setting the Clock, Setting the clock after recharging the battery
 |
UPC - 027242819603
View all Sony ICD-UX512BLK manuals
Add to My Manuals
Save this manual to your list of manuals |
Page 15 highlights
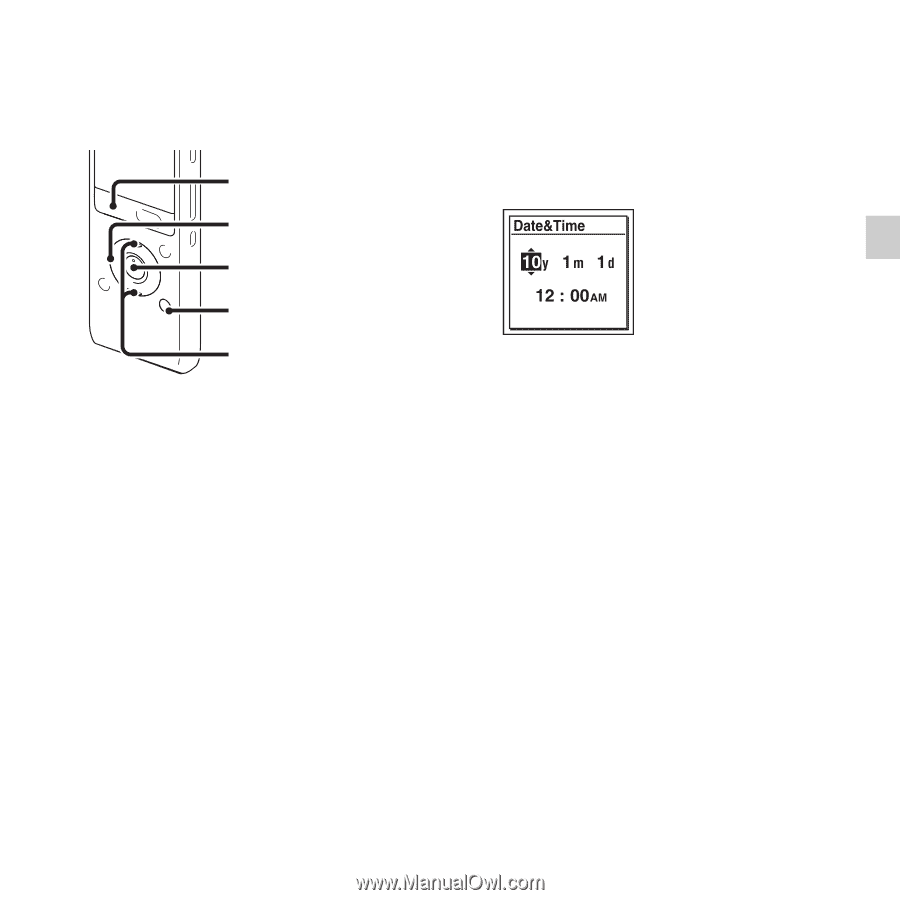
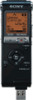
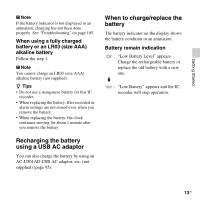
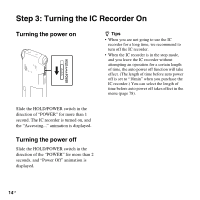
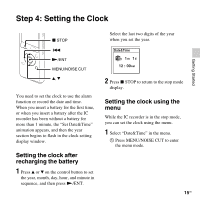
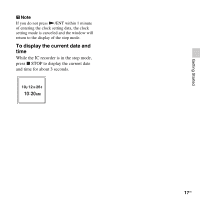
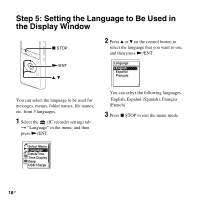
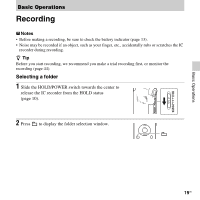
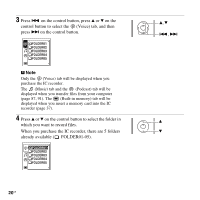
Step 4: Setting the Clock Getting Started x STOP . N/ENT MENU/NOISE CUT v, V You need to set the clock to use the alarm function or record the date and time. When you insert a battery for the first time, or when you insert a battery after the IC recorder has been without a battery for more than 1 minute, the "Set Date&Time" animation appears, and then the year section begins to flash in the clock setting display window. Setting the clock after recharging the battery 1 Press v or V on the control button to set the year, month, day, hour, and minute in sequence, and then press N/ENT. Select the last two digits of the year when you set the year. 2 Press x STOP to return to the stop mode display. Setting the clock using the menu While the IC recorder is in the stop mode, you can set the clock using the menu. 1 Select "Date&Time" in the menu. 1 Press MENU/NOISE CUT to enter the menu mode. 15GB
-
 1
1 -
2
-
3
-
4
-
5
-
6
-
7
-
8
-
9
-
 10
10 -
 11
11 -
 12
12 -
 13
13 -
 14
14 -
 15
15 -
 16
16 -
 17
17 -
 18
18 -
 19
19 -
 20
20 -
21
-
22
-
23
-
24
-
25
-
26
-
27
-
28
-
29
-
30
-
31
-
32
-
33
-
34
-
35
-
36
-
37
-
38
-
39
-
40
-
41
-
42
-
43
-
44
-
45
-
46
-
47
-
48
-
49
-
50
-
51
-
52
-
53
-
54
-
55
-
56
-
57
-
58
-
59
-
60
-
61
-
62
-
63
-
64
-
65
-
66
-
67
-
68
-
69
-
70
-
71
-
72
-
73
-
74
-
75
-
76
-
77
-
78
-
79
-
80
-
81
-
82
-
83
-
84
-
85
-
86
-
87
-
88
-
89
-
90
-
91
-
92
-
93
-
94
-
95
-
96
-
97
-
98
-
99
-
100
-
101
-
102
-
103
-
104
-
105
-
106
-
107
-
108
-
109
-
110
-
111
-
112
-
113
-
114
-
115
-
116
-
117
-
118
-
119
-
120
-
121
-
122
-
123
-
124
-
125
-
126
-
127
-
128
 |
 |