Toshiba Satellite Pro 6000 User Guide - Page 48
Turning on the power, For the meaning of each light on the system indicator panel
 |
View all Toshiba Satellite Pro 6000 manuals
Add to My Manuals
Save this manual to your list of manuals |
Page 48 highlights
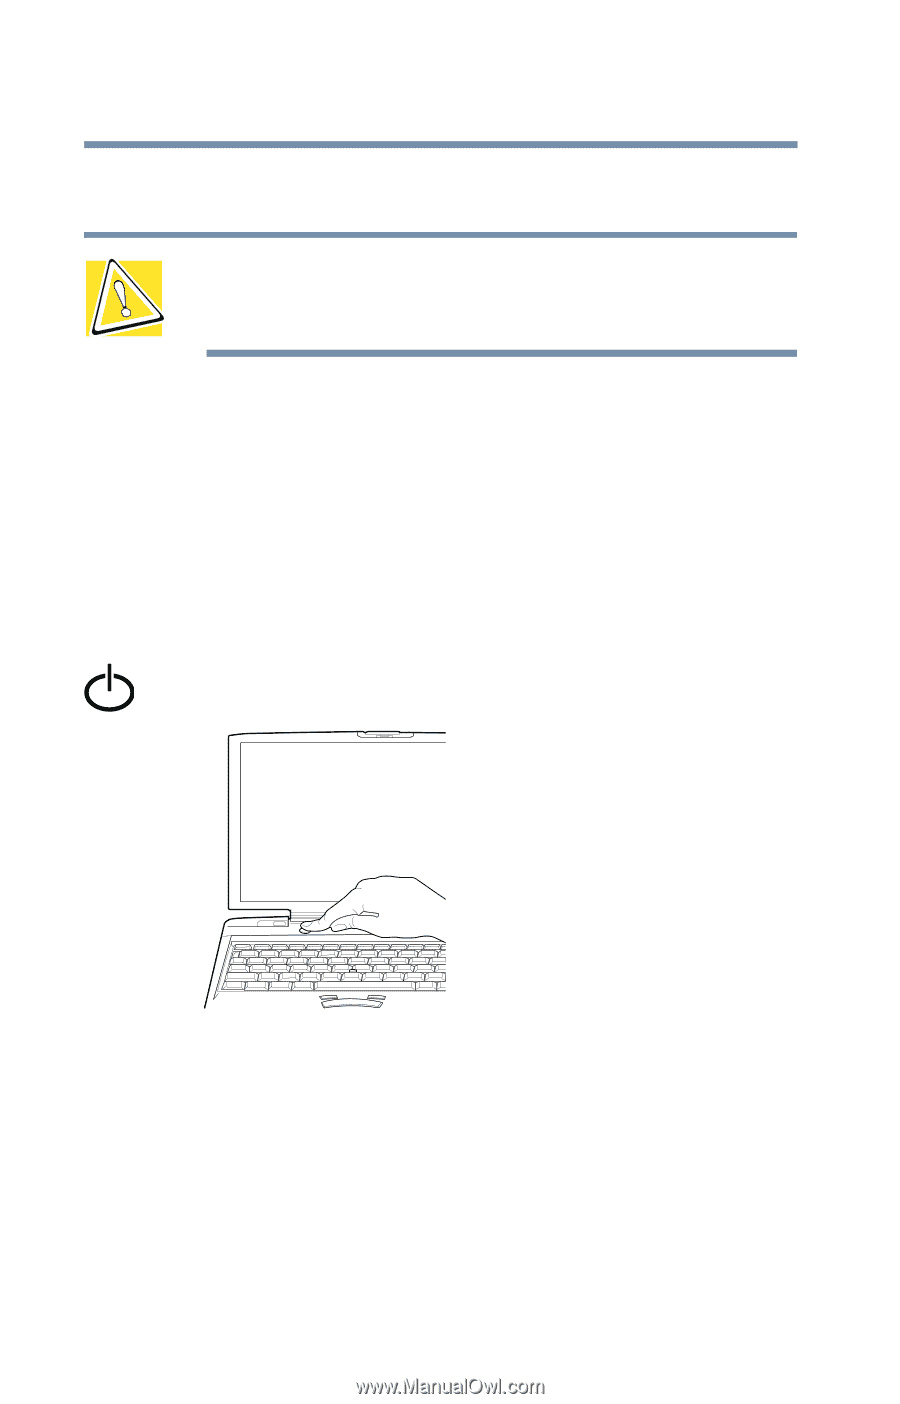
48 Getting Started Turning on the computer 2 Lift the display panel. CAUTION: To avoid damaging the display panel, do not force it beyond the point where it moves easily, and never lift the computer by the display panel. Turning on the power To turn on the computer: 1 Make sure any external devices (such as the AC adapter, if you plan to use AC power rather than battery power) are properly connected and ready. 2 Check to ensure that any floppy drives are empty. 3 Press and hold the power button in until the on/off light on the system indicator panel glows green-about one second. Turning on the power For the meaning of each light on the system indicator panel, see "Indicator panel lights" on page 36.
-
 1
1 -
2
-
3
-
4
-
5
-
6
-
7
-
8
-
9
-
10
-
11
-
12
-
13
-
14
-
15
-
16
-
17
-
18
-
19
-
20
-
21
-
22
-
23
-
24
-
25
-
26
-
27
-
28
-
29
-
30
-
31
-
32
-
33
-
34
-
35
-
36
-
37
-
38
-
39
-
40
-
41
-
42
-
 43
43 -
 44
44 -
 45
45 -
 46
46 -
 47
47 -
 48
48 -
 49
49 -
 50
50 -
 51
51 -
 52
52 -
 53
53 -
54
-
55
-
56
-
57
-
58
-
59
-
60
-
61
-
62
-
63
-
64
-
65
-
66
-
67
-
68
-
69
-
70
-
71
-
72
-
73
-
74
-
75
-
76
-
77
-
78
-
79
-
80
-
81
-
82
-
83
-
84
-
85
-
86
-
87
-
88
-
89
-
90
-
91
-
92
-
93
-
94
-
95
-
96
-
97
-
98
-
99
-
100
-
101
-
102
-
103
-
104
-
105
-
106
-
107
-
108
-
109
-
110
-
111
-
112
-
113
-
114
-
115
-
116
-
117
-
118
-
119
-
120
-
121
-
122
-
123
-
124
-
125
-
126
-
127
-
128
-
129
-
130
-
131
-
132
-
133
-
134
-
135
-
136
-
137
-
138
-
139
-
140
-
141
-
142
-
143
-
144
-
145
-
146
-
147
-
148
-
149
-
150
-
151
-
152
-
153
-
154
-
155
-
156
-
157
-
158
-
159
-
160
-
161
-
162
-
163
-
164
-
165
-
166
-
167
-
168
-
169
-
170
-
171
-
172
-
173
-
174
-
175
-
176
-
177
-
178
-
179
-
180
-
181
-
182
-
183
-
184
-
185
-
186
-
187
-
188
-
189
-
190
-
191
-
192
-
193
-
194
-
195
-
196
-
197
-
198
-
199
-
200
-
201
-
202
-
203
-
204
-
205
-
206
-
207
-
208
-
209
-
210
-
211
-
212
-
213
-
214
-
215
-
216
-
217
-
218
-
219
-
220
-
221
-
222
-
223
-
224
-
225
-
226
-
227
-
228
-
229
-
230
-
231
-
232
-
233
-
234
-
235
-
236
-
237
-
238
-
239
-
240
-
241
-
242
-
243
-
244
-
245
-
246
-
247
-
248
-
249
-
250
-
251
-
252
-
253
-
254
-
255
-
256
-
257
-
258
-
259
-
260
-
261
-
262
-
263
-
264
-
265
-
266
-
267
-
268
-
269
-
270
-
271
-
272
-
273
-
274
-
275
-
276
-
277
-
278
-
279
-
280
-
281
 |
 |
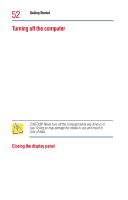
48
Getting Started
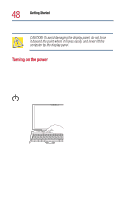
Turning on the computer
2
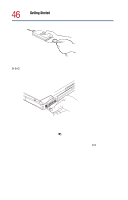
Lift the display panel.
CAUTION: To avoid damaging the display panel, do not force
it beyond the point where it moves easily, and never lift the
computer by the display panel.
Turning on the power
To turn on the computer:
1
Make sure any external devices (such as the AC adapter, if
you plan to use AC power rather than battery power) are
properly connected and ready.
2
Check to ensure that any floppy drives are empty.
3
Press and hold the power button in until the on/off light on the
system indicator panel glows green—about one second.
Turning on the power
For the meaning of each light on the system indicator panel,
see
“Indicator panel lights” on page 36
.