Uniden DRX402A English Owner's Manual - Page 3
Setting Up Your Handset, Install the Battery, Connect the Charger
 |
View all Uniden DRX402A manuals
Add to My Manuals
Save this manual to your list of manuals |
Page 3 highlights
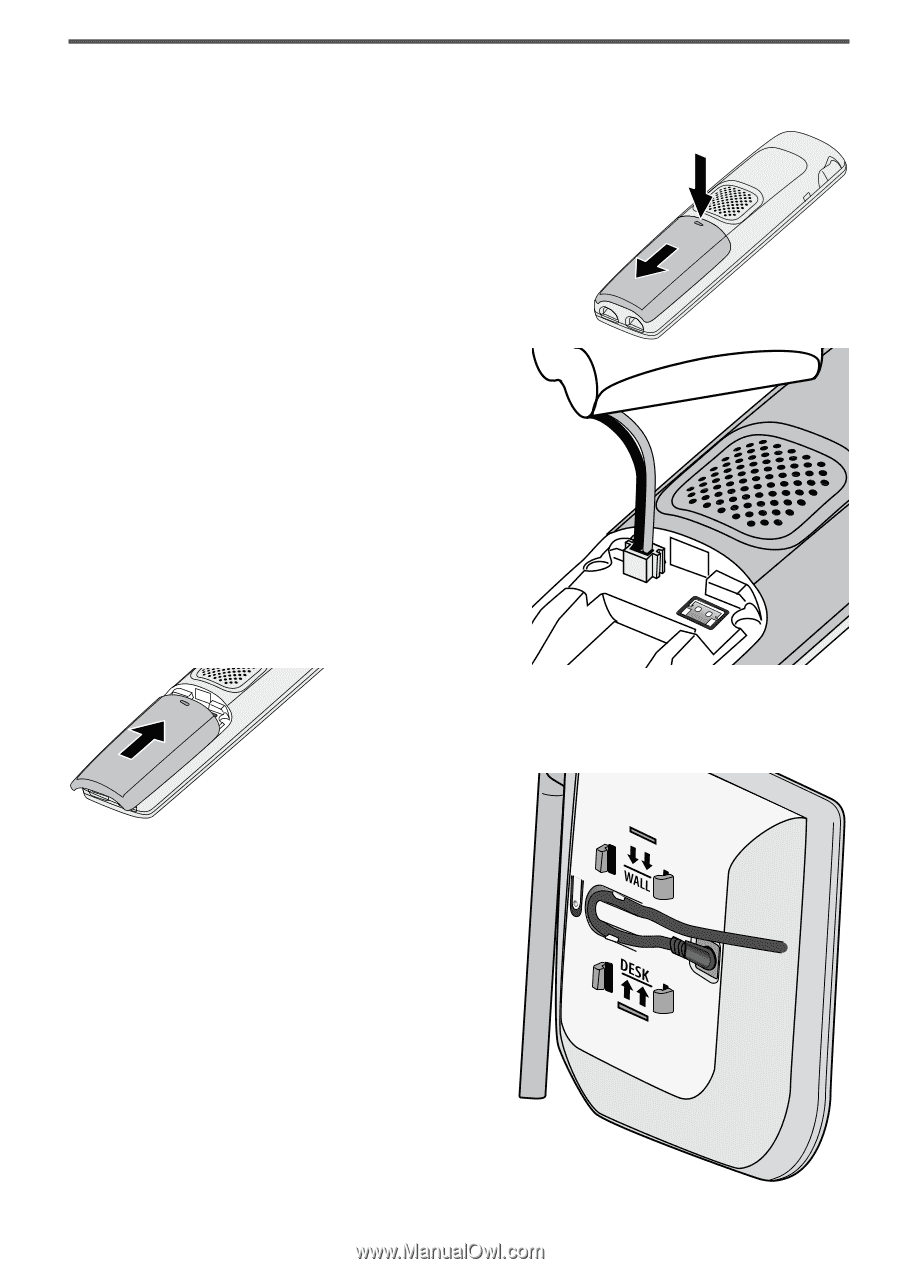
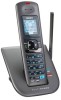
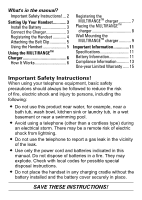
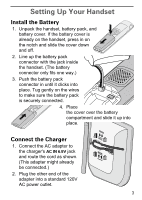
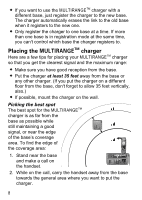
Setting Up Your Handset Install the Battery 1. Unpack the handset, battery pack, and battery cover. If the battery cover is already on the handset, press in on the notch and slide the cover down and off. 2. Line up the battery pack connector with the jack inside the handset. (The battery connector only fits one way.) 3. Push the battery pack connector in until it clicks into place. Tug gently on the wires to make sure the battery pack is securely connected. 4. Place the cover over the battery compartment and slide it up into place. Connect the Charger 1. Connect the AC adapter to the charger's AC IN 6.5V jack and route the cord as shown. (This adapter might already be connected.) 2. Plug the other end of the adapter into a standard 120V AC power outlet. 3
-
 1
1 -
 2
2 -
 3
3 -
 4
4 -
 5
5 -
 6
6 -
 7
7 -
 8
8 -
 9
9 -
10
-
11
-
12
-
13
-
14
-
15
-
16
 |
 |