Whirlpool WGT3300XQ Installation Guide - Page 4
Installation Requirements - washer
 |
View all Whirlpool WGT3300XQ manuals
Add to My Manuals
Save this manual to your list of manuals |
Page 4 highlights
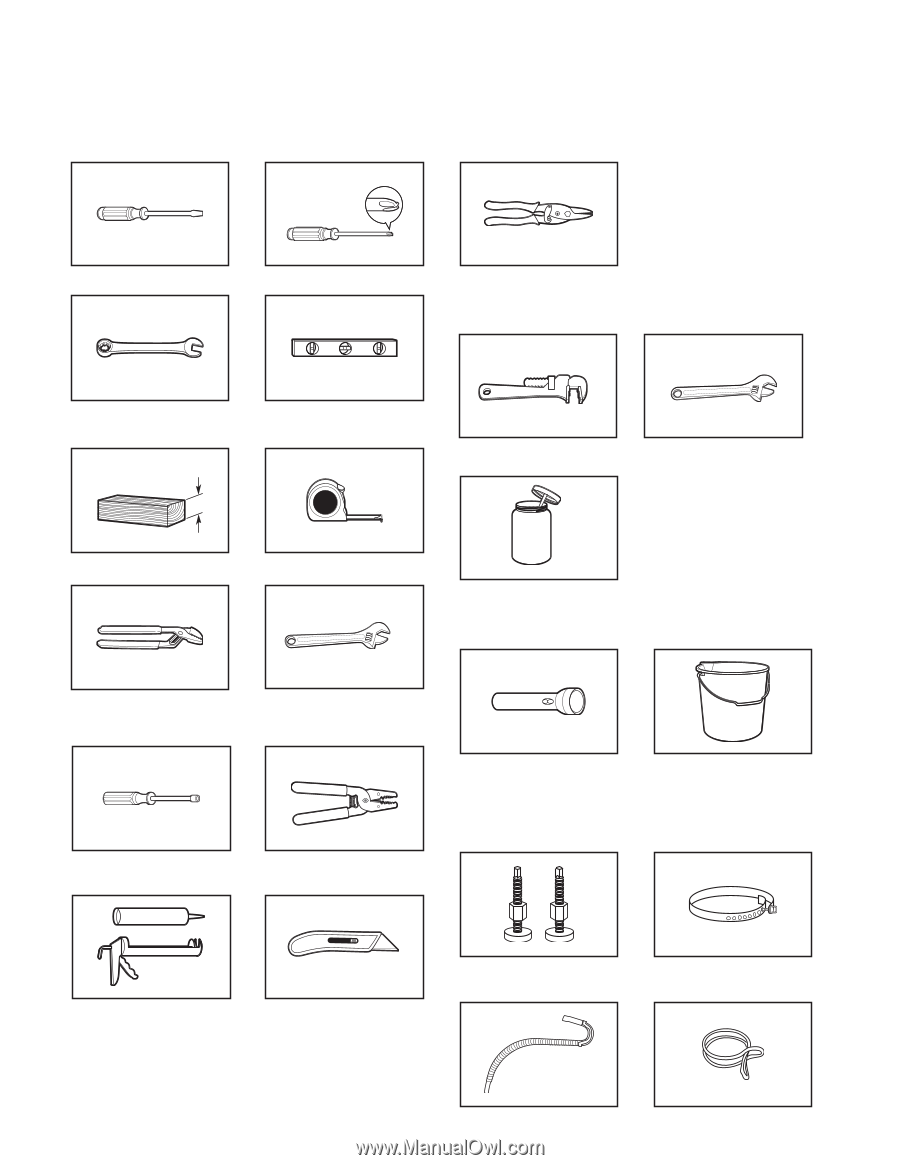
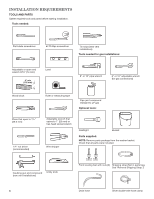
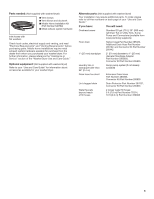
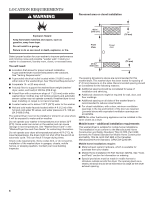
installation requirements Tools and Parts Gather required tools and parts before starting installation. Tools needed: Flat-blade screwdriver #2 Phillips screwdriver Tin snips (new vent installations) Tools needed for gas installations: Adjustable or open-end wrench 9/16" (14 mm) 4" min (102 mm) Level 8" or 10" pipe wrench 8" or 10" adjustable wrench (for gas connections) Wood block Pliers that open to 19⁄16" (39.5 mm) 1/4" nut driver (recommended) Ruler or measuring tape Pipe-joint compound resistant to LP gas Optional tools: Adjustable wrench that opens to 1" (25 mm) or hex-head socket wrench Wire stripper Flashlight Bucket Parts supplied: NOTE: Remove parts package from the washer basket. Check that all parts were included. Caulking gun and compound (new vent installations) Utility knife 4 Front leveling feet with nuts (2) Shipping strap (Not in parts bag. See "Remove Shipping Strap.") Drain hose Silver double-wire hose clamp
-
 1
1 -
 2
2 -
 3
3 -
 4
4 -
 5
5 -
 6
6 -
 7
7 -
 8
8 -
 9
9 -
 10
10 -
11
-
12
-
13
-
14
-
15
-
16
-
17
-
18
-
19
-
20
-
21
-
22
-
23
-
24
-
25
-
26
-
27
-
28
-
29
-
30
-
31
-
32
-
33
-
34
-
35
-
36
-
37
-
38
-
39
-
40
 |
 |