Xerox 3117 Driver Upgrade Instructions - Page 7
Installing updated drivers in Linux - driver download
 |
UPC - 095205220537
View all Xerox 3117 manuals
Add to My Manuals
Save this manual to your list of manuals |
Page 7 highlights
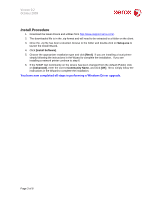
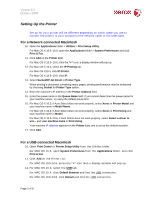
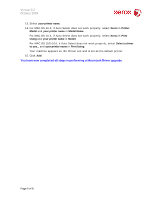
Version 0.2 October 2009 Installing updated drivers in Linux Uninstall Procedure Follow the steps below steps to uninstall the driver for Linux. 1. Make sure that the machine is connected to your computer and powered on. 2. When the Administrator Login window appears, type in "root" in the Login field and enter the system password. You must log in as a super user (root) to uninstall the printer driver. If you are not a super user, ask your system administrator. 3. Insert the supplied software CD into your CD-ROM drive. The software CD will run automatically. If the software CD does not run automatically, click the icon at the bottom of the desktop. When the Terminal screen appears, type in: If the software CD is secondary master and the location to mount is /mnt/cdrom, Note: If you have misplaced your original CD-ROM, you can initiate the uninstall procedure from the downloaded archive obtained from http://support.xerox.com . Simply extract the downloaded .tar file and follow the instructions below. [root@localhost root]#mount -t iso9660 /dev/hdc /mnt/cdrom [root@localhost root]#cd /mnt/cdrom/Linux [root@localhost Linux]#./uninstall.sh The installation program runs automatically if you have an autorun software package installed and configured. 4. Click Uninstall. 5. Click Next. 6. Click Finish. Install Procedure 1. Download the latest drivers and utilities from http://www.support.xerox.com/. 2. The downloaded file is in the .tar format and will need to be extracted to a folder on the client. 3. Once the .tar file has been extracted, browse to the folder and double-click on setup.sh to launch the Install Wizard. 4. The Xerox Installer window opens. Click Continue. 5. The Add printer wizard window opens. Click Next. 6. Select Network printer and click Search button. Page 7 of 8
-
 1
1 -
 2
2 -
 3
3 -
 4
4 -
 5
5 -
 6
6 -
 7
7 -
 8
8
 |
 |
