Yamaha DTX450K Owner's Manual - Page 45
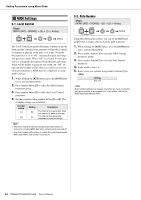
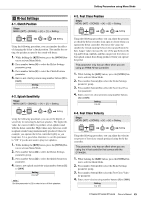
Hi-hat Settings, 1. Clutch Position, 2. Splash Sensitivity, 3. Foot Close Position
 |
View all Yamaha DTX450K manuals
Add to My Manuals
Save this manual to your list of manuals |
Page 45 highlights
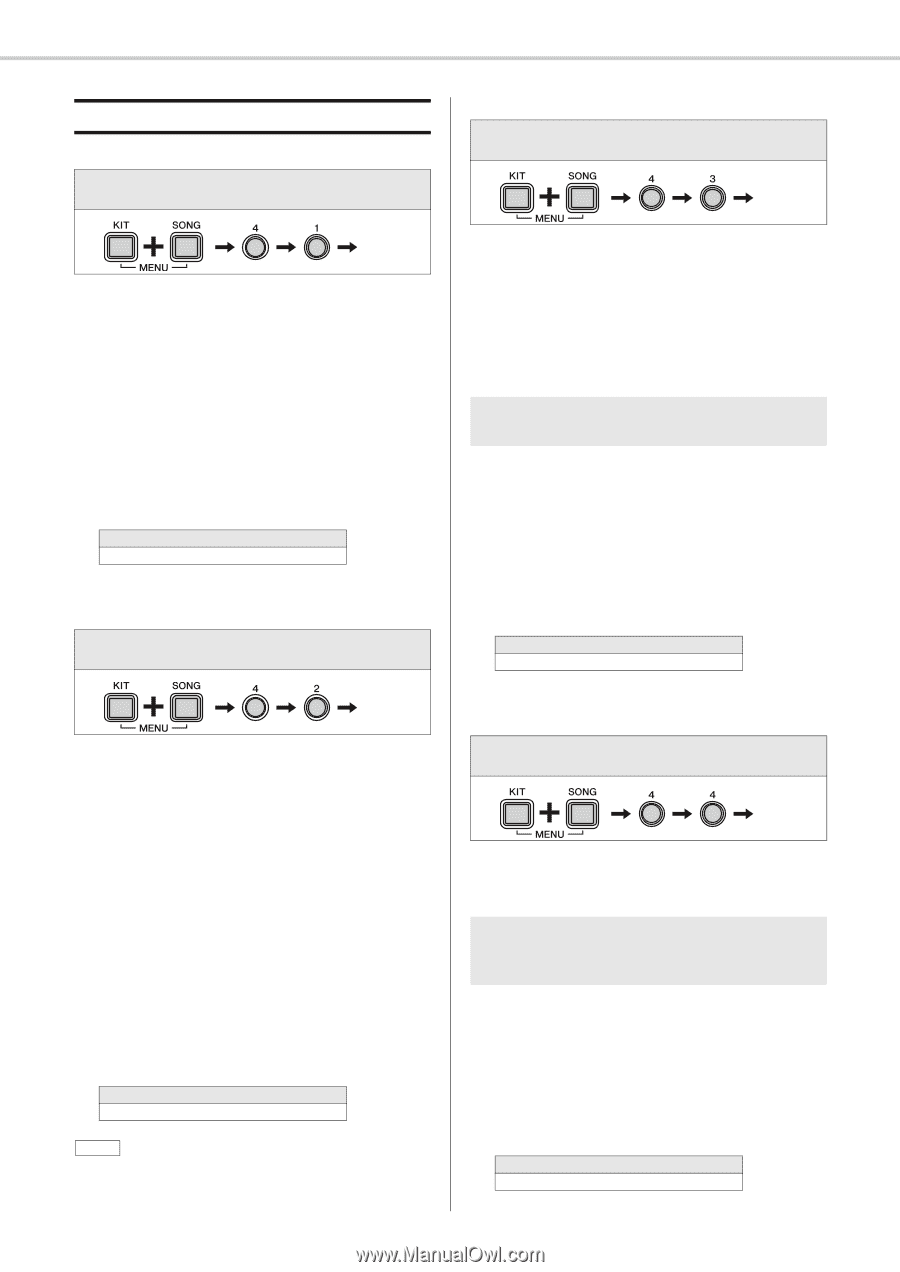
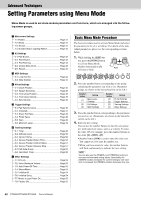
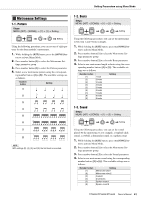
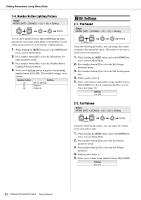
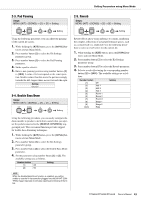
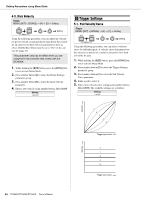
Setting Parameters using Menu Mode v Hi-hat Settings 4-1. Clutch Position Steps: MENU ([KIT] + [SONG]) [4] [1] Setting 4-3. Foot Close Position Steps: MENU ([KIT] + [SONG]) [4] [3] Setting Setting Setting Using the following procedure, you can simulate the effect of changing the hi-hat's clutch position. The smaller the setting, the quicker an open hi-hat sound will decay. 1. While holding the [KIT] button, press the [SONG] but- ton to activate Menu Mode. 2. Press number button [4] to select the Hi-hat Settings parameter group. 3. Press number button [1] to select the Clutch Position parameter. 4. Enter a new clutch position using number buttons [1] to [10/0]. Setting 0 to 64 4-2. Splash Sensitivity Steps: MENU ([KIT] + [SONG]) [4] [2] Setting Using the following procedure, you can adjust the position at which the hi-hat switches from open to closed when you operate the hi-hat controller. The lower the value, the smaller the virtual opening between the top and bottom hihats. Larger values increase the size of the gap between the top and bottom cymbals, and this can prevent foot close or foot splash sounds from being produced when you operate the pedal. This parameter only has an effect when you are using an HH65 Hi-hat Controller. 1. While holding the [KIT] button, press the [SONG] but- ton to activate Menu Mode. 2. Press number button [4] to select the Hi-hat Settings parameter group. 3. Press number button [3] to select the Foot Close Posi- tion parameter. 4. Enter a new foot close position using number buttons [1] to [10/0]. Setting 0 to 32 Setting Using the following procedure, you can set the degree of sensitivity for detecting hi-hat foot splashes. The higher the value, the easier it will be to produce a foot-splash sound with the hi-hat controller. High values may, however, result in splash sounds being unintentionally produced when, for example, you operate the hi-hat controller lightly as you keep time. It is a good idea, therefore, to set this parameter to "Off" if you do not want to play foot splashes. 1. While holding the [KIT] button, press the [SONG] but- ton to activate Menu Mode. 2. Press number button [4] to select the Hi-hat Settings parameter group. 3. Press number button [2] to select the Splash Sensitivity parameter. 4. Enter a new splash sensitivity using number buttons [1] to [10/0]. Setting 0 to 127 NOTE Set this parameter to [0] in order to turn off foot splashes. 4-4. Foot Close Velocity Steps: MENU ([KIT] + [SONG]) [4] [4] Setting Setting Using the following procedure, you can adjust the velocity (or power) of foot-close sounds produced using the hi-hat controller. This parameter only has an effect when you are using the hi-hat controller that comes with the DTX400K. 1. While holding the [KIT] button, press the [SONG] but- ton to activate Menu Mode. 2. Press number button [4] to select the Hi-hat Settings parameter group. 3. Press number button [4] to select the Foot Close Veloc- ity parameter. 4. Enter a new velocity using number buttons [1] to [10/0]. Setting 1 to 127 DTX400K/DTX430K/DTX450K Owner's Manual 45
-
 1
1 -
2
-
3
-
4
-
5
-
6
-
7
-
8
-
9
-
10
-
11
-
12
-
13
-
14
-
15
-
16
-
17
-
18
-
19
-
20
-
21
-
22
-
23
-
24
-
25
-
26
-
27
-
28
-
29
-
30
-
31
-
32
-
33
-
34
-
35
-
36
-
37
-
38
-
39
-
 40
40 -
 41
41 -
 42
42 -
 43
43 -
 44
44 -
 45
45 -
 46
46 -
 47
47 -
 48
48 -
 49
49 -
 50
50 -
51
-
52
-
53
-
54
-
55
-
56
-
57
-
58
-
59
-
60
-
61
-
62
-
63
-
64
-
65
-
66
-
67
-
68
 |
 |