2007 Nissan Quest Owner's Manual - Page 169
2007 Nissan Quest Manual
Page 169 highlights
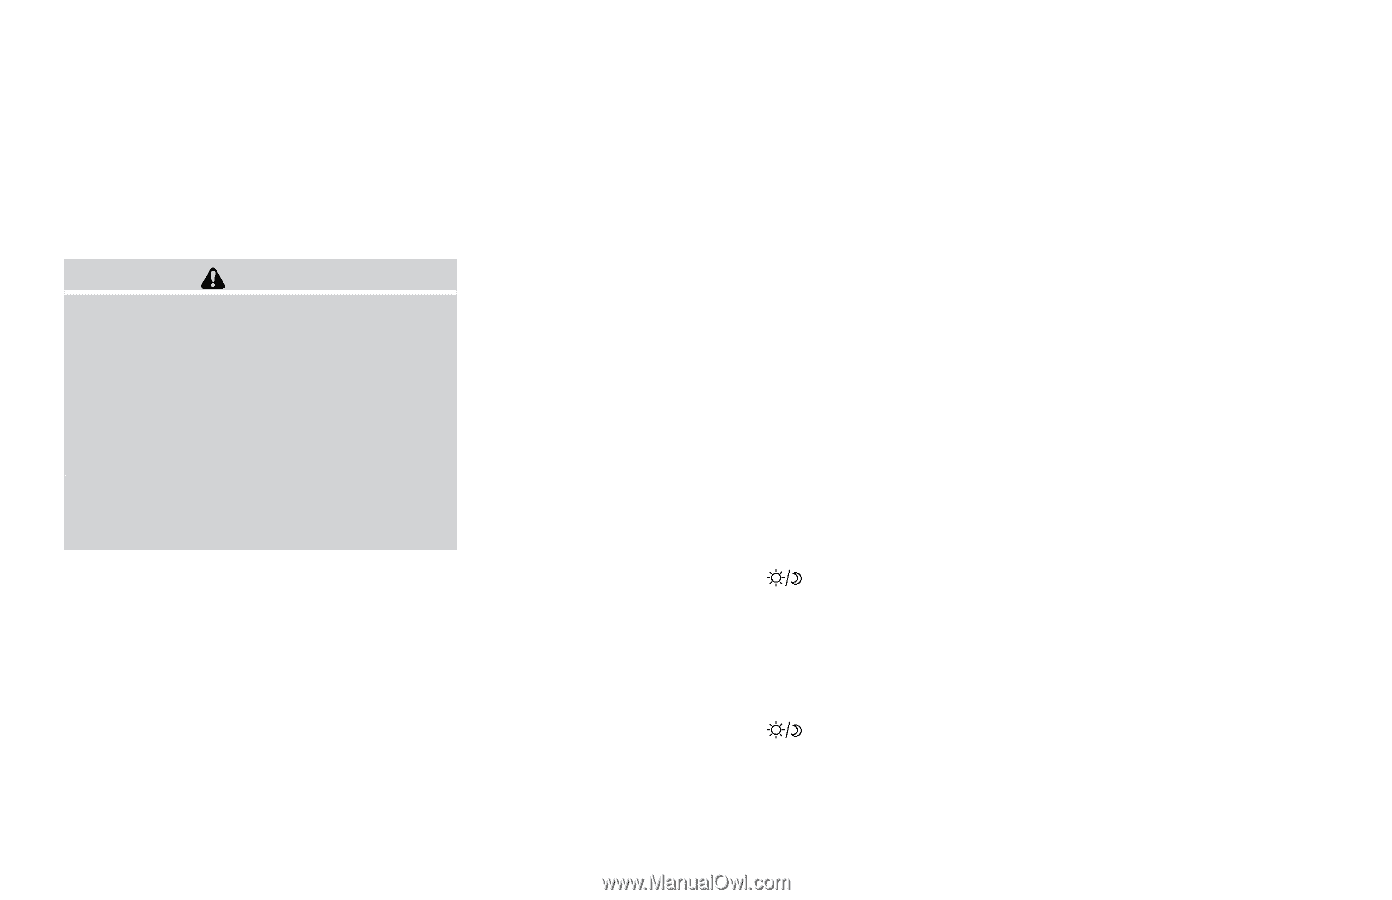
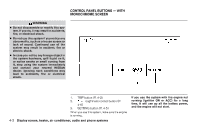
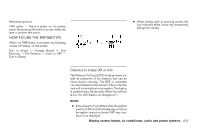
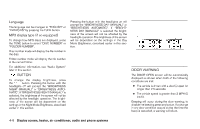
In case of low tire pressure, a message "LOW PRESSURE" or "CHECK ALL TIRES" is displayed on the screen: LOW PRESSURE - CHECK ALL TIRES. Backlight To turn off the screen, select "OFF" of the Backlight mode by pressing the TUNE button. The message "Press SETTINGS to resume" will display for approximately 5 seconds then the screen will turn off. To turn on the screen, press the SETTING button and select "ON" by pressing the TUNE button. When any button besides SETTING is pressed with the screen off, the screen turns on for further operation. The screen will turn off automatically after the operation is finished. Clock operation The digital clock displays time when the ignition key is in ACC or ON. If the power supply is disconnected, the clock will not indicate the correct time. Readjust the time. Clock adjust hours Press the SETTING button until Clock Adjust HOURS is shown in the display. Press the TUNE button up or down to adjust the hour. Clock adjust minutes Press the SETTING button again Clock Adjust Minutes is shown in the display. Press the TUNE button up or down to adjust the minutes. To exit the clock adjustment, press the SETTING button repeatedly. The screen will return to the audio display if the audio is on. If the audio is not on, the screen will return to a blank display. WARNING ● When a spare tire is mounted or a wheel is replaced, tire pressure will not be indicated, the Tire Pressure Monitoring System (TPMS) will not function and the low tire pressure warning light will flash. Contact your NISSAN dealer as soon as possible for tire replacement and/or system resetting. ● Replacing tires with those not originally specified by NISSAN could affect the proper operation of the TPMS. Day mode brightness The brightness of the screen during the day can be changed by pressing the TUNE button. For additional information, see " later in this section. button" HOW TO USE THE SETTING BUTTON Pressing the SETTING button will change the settings menu as follows: Backlight → Day Mode Brightness → Night Mode Brightness → Clock Adjust HOURS → Clock Adjust MINUTES → Units → Lang → MP3 Disp Type (if so equipped) → Audio or OFF → Backlight Night mode brightness The brightness of the screen during the night can be changed by pressing the TUNE button. For additional information, see " later in this section. button" Units To change the units press the TUNE button to select "ENGLISH" or "METRIC". Unit: US - MI, °F, MPG Metric - km, °C, L/100 km Display screen, heater, air conditioner, audio and phone systems 4-5
-
 1
1 -
2
-
3
-
4
-
5
-
6
-
7
-
8
-
9
-
10
-
11
-
12
-
13
-
14
-
15
-
16
-
17
-
18
-
19
-
20
-
21
-
22
-
23
-
24
-
25
-
26
-
27
-
28
-
29
-
30
-
31
-
32
-
33
-
34
-
35
-
36
-
37
-
38
-
39
-
40
-
41
-
42
-
43
-
44
-
45
-
46
-
47
-
48
-
49
-
50
-
51
-
52
-
53
-
54
-
55
-
56
-
57
-
58
-
59
-
60
-
61
-
62
-
63
-
64
-
65
-
66
-
67
-
68
-
69
-
70
-
71
-
72
-
73
-
74
-
75
-
76
-
77
-
78
-
79
-
80
-
81
-
82
-
83
-
84
-
85
-
86
-
87
-
88
-
89
-
90
-
91
-
92
-
93
-
94
-
95
-
96
-
97
-
98
-
99
-
100
-
101
-
102
-
103
-
104
-
105
-
106
-
107
-
108
-
109
-
110
-
111
-
112
-
113
-
114
-
115
-
116
-
117
-
118
-
119
-
120
-
121
-
122
-
123
-
124
-
125
-
126
-
127
-
128
-
129
-
130
-
131
-
132
-
133
-
134
-
135
-
136
-
137
-
138
-
139
-
140
-
141
-
142
-
143
-
144
-
145
-
146
-
147
-
148
-
149
-
150
-
151
-
152
-
153
-
154
-
155
-
156
-
157
-
158
-
159
-
160
-
161
-
162
-
163
-
 164
164 -
 165
165 -
 166
166 -
 167
167 -
 168
168 -
 169
169 -
 170
170 -
 171
171 -
 172
172 -
 173
173 -
 174
174 -
175
-
176
-
177
-
178
-
179
-
180
-
181
-
182
-
183
-
184
-
185
-
186
-
187
-
188
-
189
-
190
-
191
-
192
-
193
-
194
-
195
-
196
-
197
-
198
-
199
-
200
-
201
-
202
-
203
-
204
-
205
-
206
-
207
-
208
-
209
-
210
-
211
-
212
-
213
-
214
-
215
-
216
-
217
-
218
-
219
-
220
-
221
-
222
-
223
-
224
-
225
-
226
-
227
-
228
-
229
-
230
-
231
-
232
-
233
-
234
-
235
-
236
-
237
-
238
-
239
-
240
-
241
-
242
-
243
-
244
-
245
-
246
-
247
-
248
-
249
-
250
-
251
-
252
-
253
-
254
-
255
-
256
-
257
-
258
-
259
-
260
-
261
-
262
-
263
-
264
-
265
-
266
-
267
-
268
-
269
-
270
-
271
-
272
-
273
-
274
-
275
-
276
-
277
-
278
-
279
-
280
-
281
-
282
-
283
-
284
-
285
-
286
-
287
-
288
-
289
-
290
-
291
-
292
-
293
-
294
-
295
-
296
-
297
-
298
-
299
-
300
-
301
-
302
-
303
-
304
-
305
-
306
-
307
-
308
-
309
-
310
-
311
-
312
-
313
-
314
-
315
-
316
-
317
-
318
-
319
-
320
-
321
-
322
-
323
-
324
-
325
-
326
-
327
-
328
-
329
-
330
-
331
-
332
-
333
-
334
-
335
-
336
-
337
-
338
-
339
-
340
-
341
-
342
-
343
-
344
-
345
-
346
-
347
-
348
-
349
-
350
-
351
-
352
-
353
-
354
-
355
-
356
-
357
-
358
-
359
-
360
-
361
-
362
-
363
-
364
-
365
-
366
-
367
-
368
-
369
-
370
-
371
-
372
-
373
-
374
-
375
-
376
-
377
-
378
-
379
-
380
-
381
-
382
-
383
-
384
 |
 |