2008 Yamaha Motorsports Apex M-TX Owners Manual - Page 44
2008 Yamaha Motorsports Apex M-TX Manual

Page 44 highlights
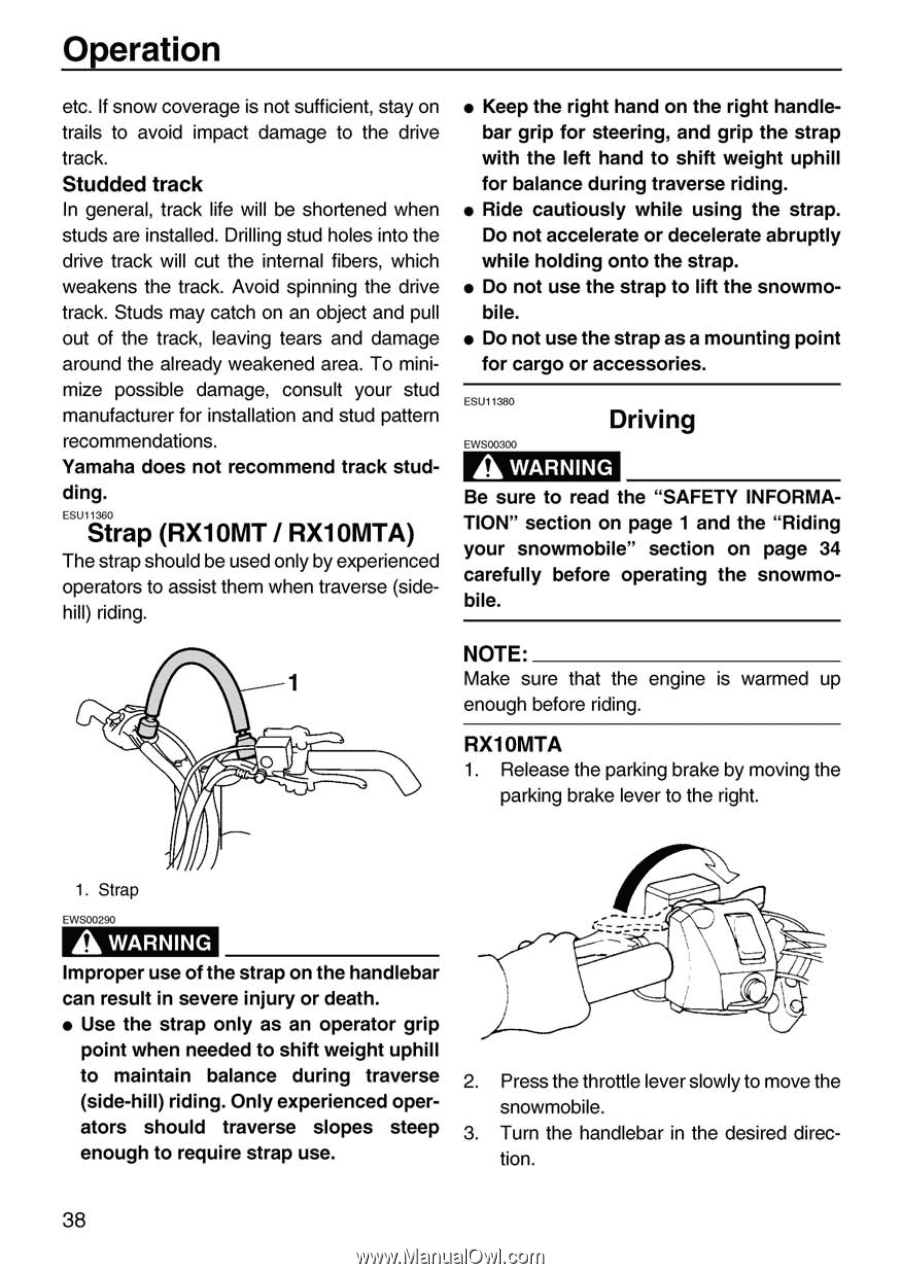
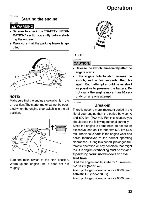
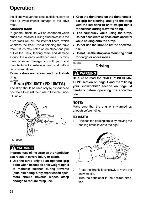
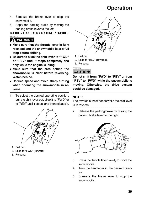
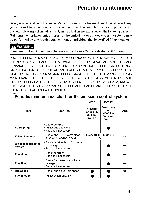
Operation etc. If snow coverage is not sufficient, stay on trails to avoid impact damage to the drive track. Studded track In general, track life will be shortened when studs are installed. Drilling stud holes into the drive track will cut the internal fibers, which weakens the track. Avoid spinning the drive track. Studs may catch on an object and pull out of the track, leaving tears and damage around the already weakened area. To minimize possible damage, consult your stud manufacturer for installation and stud pattern recommendations. Yamaha does not recommend track studding. ESU11360 • Keep the right hand on the right handlebar grip for steering, and grip the strap with the left hand to shift weight uphill for balance during traverse riding. • Ride cautiously while using the strap. Do not accelerate or decelerate abruptly while holding onto the strap. • Do not use the strap to lift the snowmobile. • Do not use the strap as a mounting point for cargo or accessories. ESU11380 Driving EWS00300 Strap (RX10MT / RX10MTA) The strap should be used only by experienced operators to assist them when traverse (sidehill) riding. Be sure to read the "SAFETY INFORMATION" section on page 1 and the "Riding your snowmobile" section on page 34 carefully before operating the snowmobile. NOTE: Make sure that the engine is warmed up enough before riding. RX10MTA 1. Release the parking brake by moving the parking brake lever to the right. 1. Strap EWS00290 Improper use of the strap on the handlebar can result in severe injury or death. • Use the strap only as an operator grip point when needed to shift weight uphill to maintain balance during traverse (side-hill) riding. Only experienced operators should traverse slopes steep enough to require strap use. 2. 3. Press the throttle lever slowly to move the snowmobile. Turn the handlebar in the desired direction. 38
-
 1
1 -
2
-
3
-
4
-
5
-
6
-
7
-
8
-
9
-
10
-
11
-
12
-
13
-
14
-
15
-
16
-
17
-
18
-
19
-
20
-
21
-
22
-
23
-
24
-
25
-
26
-
27
-
28
-
29
-
30
-
31
-
32
-
33
-
34
-
35
-
36
-
37
-
38
-
 39
39 -
 40
40 -
 41
41 -
 42
42 -
 43
43 -
 44
44 -
 45
45 -
 46
46 -
 47
47 -
 48
48 -
 49
49 -
50
-
51
-
52
-
53
-
54
-
55
-
56
-
57
-
58
-
59
-
60
-
61
-
62
-
63
-
64
-
65
-
66
-
67
-
68
-
69
-
70
-
71
-
72
-
73
-
74
-
75
-
76
-
77
-
78
-
79
-
80
-
81
-
82
-
83
-
84
-
85
-
86
-
87
-
88
-
89
-
90
-
91
-
92
-
93
-
94
-
95
-
96
-
97
-
98
 |
 |