ASRock 4Core1333-FullHD RAID Installation Guide - Page 10
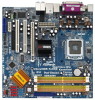
Review your choices when the Pre-Installation Summary screen appears. Click the Previous button
 |
View all ASRock 4Core1333-FullHD manuals
Add to My Manuals
Save this manual to your list of manuals |
Page 10 highlights
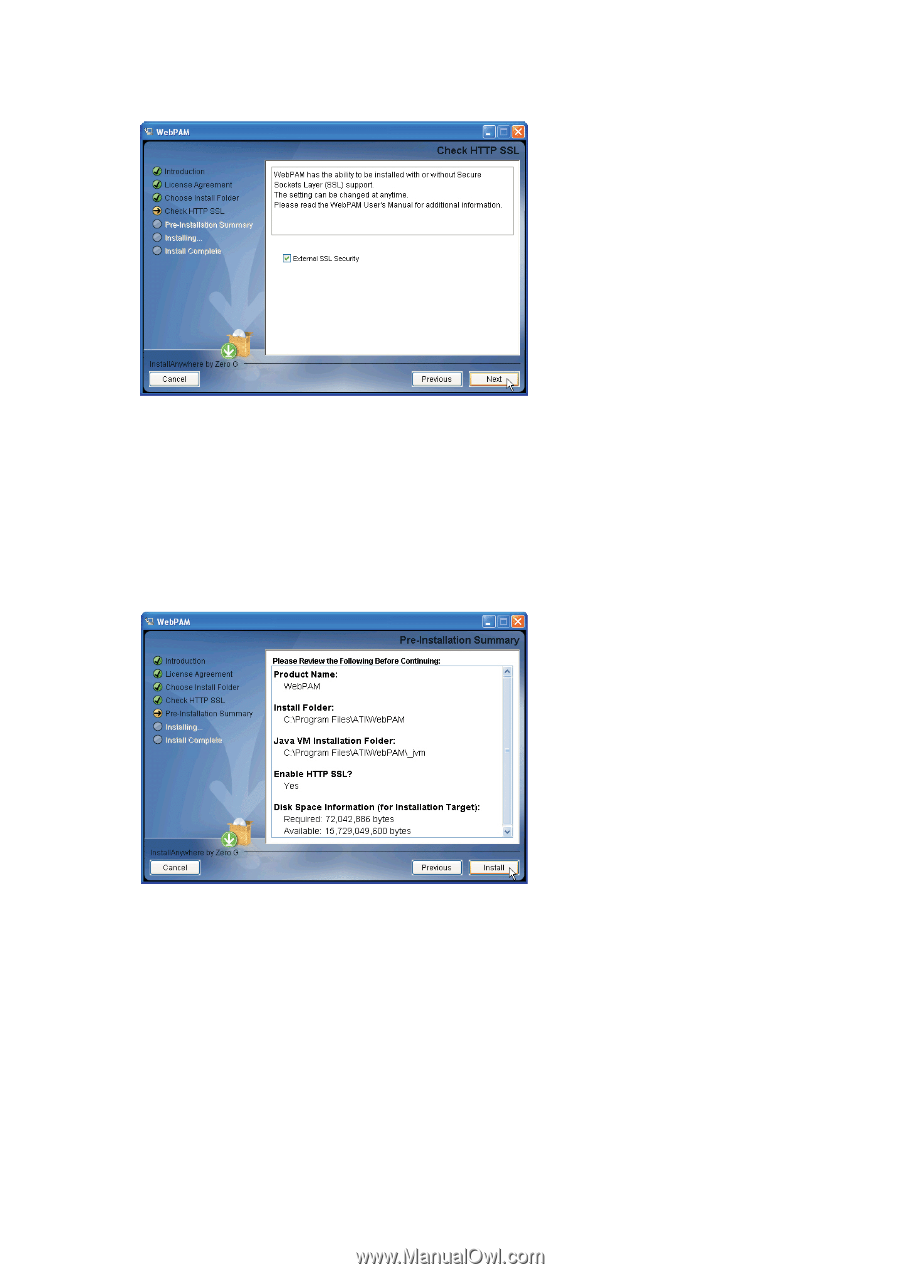
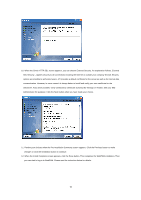
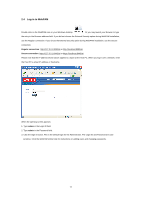
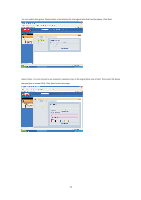
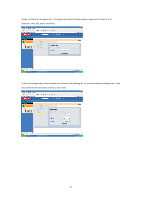
10. When the Check HTTP SSL screen appears, you can choose External Security. An explanation follows. External SSL Security - Applies security to all connections involving the Internet or outside your company firewall. Security options are invisible to authorized users. ATI provides a default certificate for the server as well as for internal data communication. However, in some cases it is always better to install and verify your own certificate for the webserver. And, and if possible, verify certificate by certificate authority like Verisign or Thwate. See your MIS Administrator for guidance. Click the Next button when you have made your choice. 11. Review your choices when the Pre-Installation Summary screen appears. Click the Previous button to make changes or click the Installation button to continue. 12. When the Install Complete screen appears, click the Done button. This completes the WebPAM installation. Then you can start to log-in to WebPAM. Please read the instruction below for details. 10
-
 1
1 -
2
-
3
-
4
-
 5
5 -
 6
6 -
 7
7 -
 8
8 -
 9
9 -
 10
10 -
 11
11 -
 12
12 -
 13
13 -
 14
14 -
 15
15 -
16
 |
 |