Acer AF715 AF715 User's Guide - Page 8
Adjusting the picture
 |
View all Acer AF715 manuals
Add to My Manuals
Save this manual to your list of manuals |
Page 8 highlights
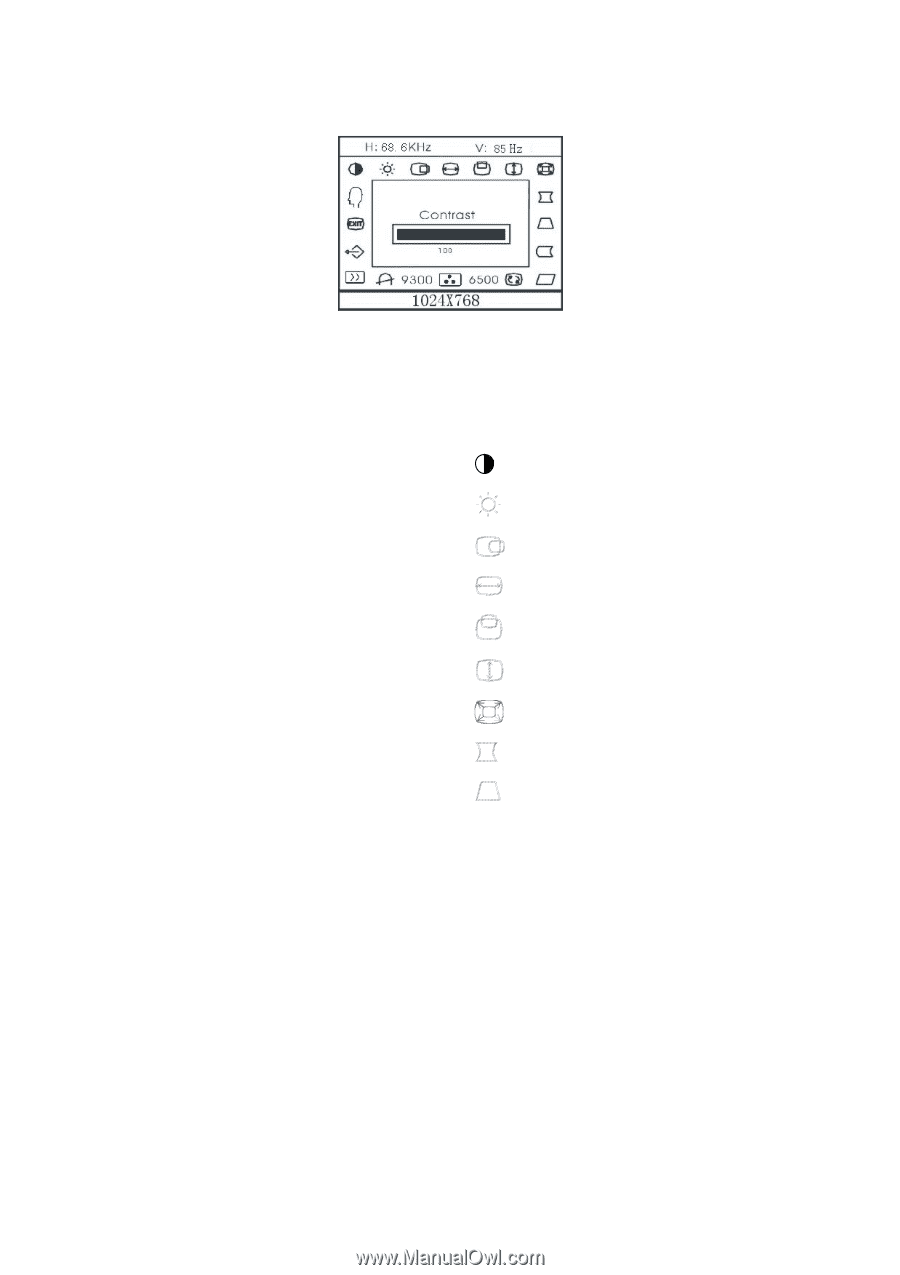
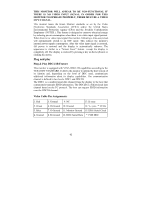
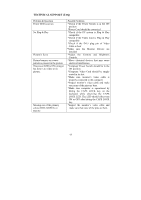
How to adjust a setting The monitor controls are accessed by pressing button MENU to enable OSD (On-Screen-Display). The main menu will be displayed as follows. Figure 4 The OSD Message Note: If adjustment or selection of any OSD menu is not made for more than 10 seconds, the current setup will be saved and the OSD will disappear automatically. Adjusting the picture The description for functional control icons 1. CONTRAST : Adjust the picture contrast. 2. BRIGHTNESS : Adjust the picture brightness. 3. H-CENTER : Adjust the horizontal position of the picture. 4. H-SIZE : Adjust the picture's horizontal size. 5. V-CENTER : Adjust the vertical position of the picture. 6. V-SIZE : Adjust the picture's vertical size. 7. ZOOM : Adjust the picture's horizontal and vertical size simultaneously. 8. PINCUSHION : Adjust the pincushion and barrel . 9. TRAPEZOID : Adjust the picture's trapezoid distortion. 8
-
 1
1 -
2
-
 3
3 -
 4
4 -
 5
5 -
 6
6 -
 7
7 -
 8
8 -
 9
9 -
 10
10 -
 11
11 -
 12
12 -
 13
13 -
14
 |
 |