Acer DV550 User Manual - Page 27
Subnet Mask
 |
View all Acer DV550 manuals
Add to My Manuals
Save this manual to your list of manuals |
Page 27 highlights
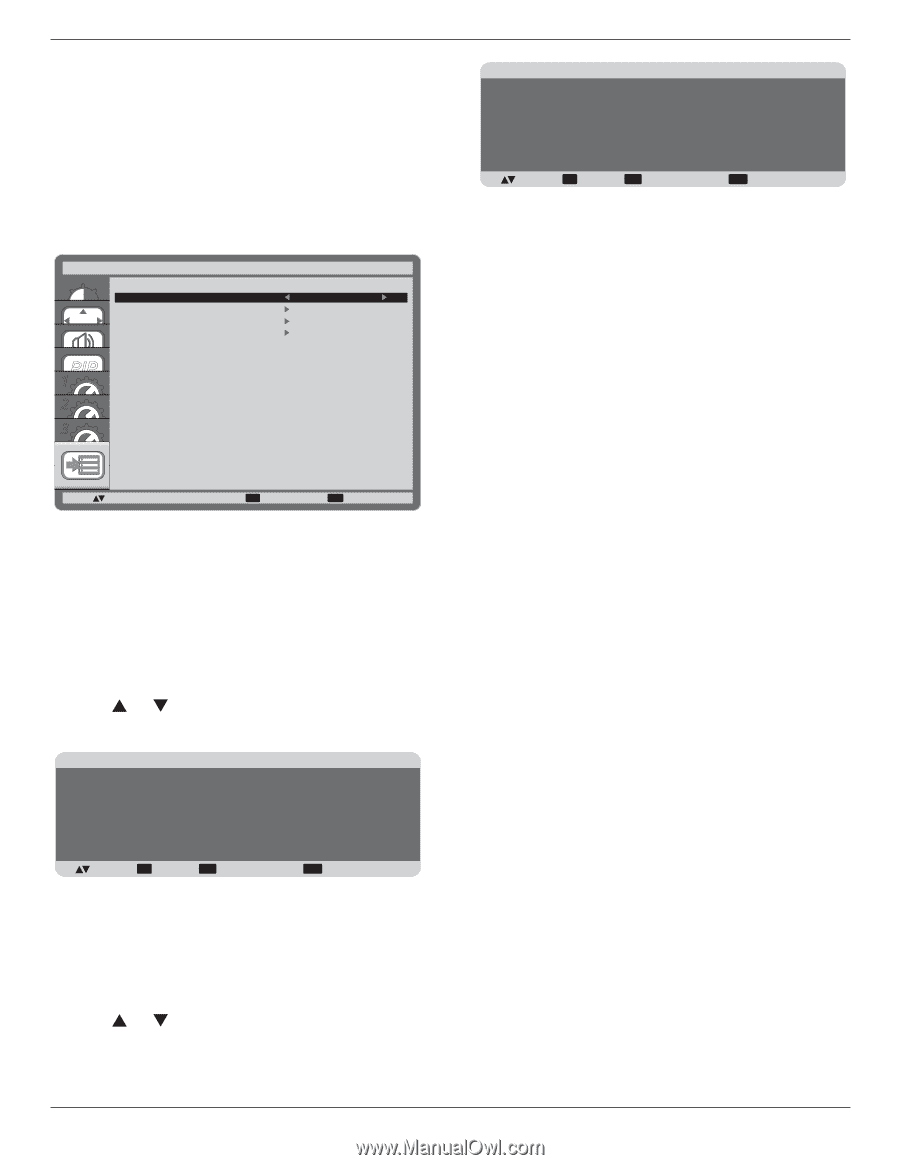
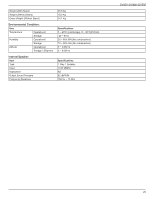
DV420 /DV460 /DV550 APM {ON} - Power & function recover when either H & V syncs or digital clock ard detected. {OFF} - It msut be used power key by remote control or Keypad. There is no Wake On LAN.Power on by remote control (power key), or keypad(power key) or RS232(DSUB 9pin),can't support wake on LAN function. LAN SETTING Assign {IP ADDRESS}, {SUBNET MASK}, and {DEFAULT GATEWAY} for the display. LAN SETTING DHCP CLIENT IP ADDRESS SUBNET MASK DEFAULT GATEWAY OFF PIP 1 2 3 :SEL +-:ADJ EXIT :RETURN MENU :EXIT MENU • DHCP - Choose to enable or disable the DHCP function. If enabled, the display will be assigned IP address, Subnet mask and Default gateway automatically. If disabled, you will be prompted to enter the following value manually. Finally, press [SET] button to store and save the chosen values. ADVANCED OPTION RESET Reset all settings in the ADVANCED OPTION menu to factory preset values. 1. Press [SET] button to enter the submenu. 2. Press [ ] or [ ] button to select {YES}, and then press [SET] button to do the reset. ADVANCED OPTION RESET NO YES :SEL SET :SET EXIT :RETURN MENU :EXIT MENU FACTORY RESET Reset all the settings in the OSD menus of {PICTURE}, {SCREEN}, {AUDIO}, {PIP}, {CONFIGURATION1}, {CONFIGURATION2}, {CONFIGURATION3}, and {ADVANCED OPTION} to factory preset values. 1. Press [SET] button to enter the submenu. 2. Press [ ] or [ ] button to select {YES}, and then press [SET] button to do the reset. FACTORY RESET NO YES :SEL SET :SET EXIT :RETURN MENU :EXIT MENU 20
-
 1
1 -
2
-
3
-
4
-
5
-
6
-
7
-
8
-
9
-
10
-
11
-
12
-
13
-
14
-
15
-
16
-
17
-
18
-
19
-
20
-
21
-
 22
22 -
 23
23 -
 24
24 -
 25
25 -
 26
26 -
 27
27 -
 28
28 -
 29
29 -
 30
30 -
 31
31 -
 32
32 -
33
-
34
-
35
-
36
-
37
 |
 |