Alesis SR-16 User Manual - Page 47
Receive Midi Drum Notes Drum In, Drum In, On V1, On V2, Transmit Midi Drum Notes - drum machine
 |
View all Alesis SR-16 manuals
Add to My Manuals
Save this manual to your list of manuals |
Page 47 highlights
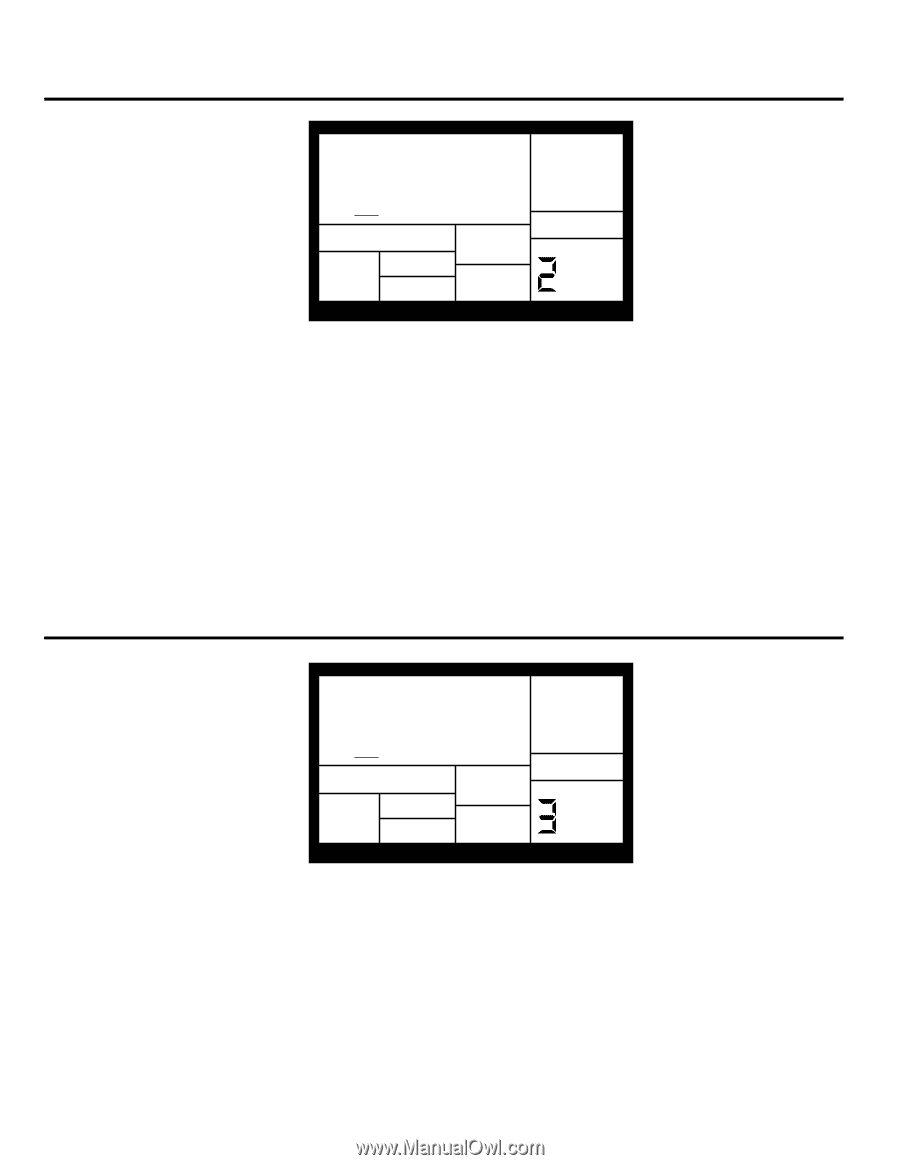
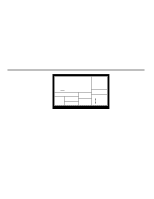
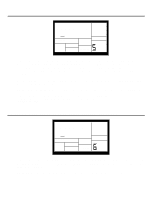
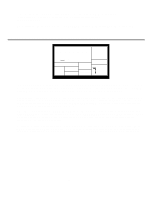
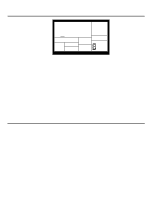
6.2 PAGE 2: RECEIVE MIDI DRUM NOTES (DRUM IN) DRUM IN ON V1 SETUPMIDI PAGE PERFORM The display shows DRUM IN. This page features two different MIDI input velocity curves (ON V1 and ON V2). To have the SR-16 receive note messages at its MIDI input, use the INC/DEC buttons to select ON V1 or ON V2. Select OFF to have the SR-16 ignore note messages. ON V1 is a normal linear velocity curve, and will not affect MIDI velocity data being sent by the controller. For keyboards that do not provide a full range of velocity (such as the Yamaha DX7), ON V2 will allow the drums to be played at full volume without having to send full velocity from the MIDI controller. Background Select ON V1 or ON V2 if you're using the SR-16 as an expander module, or want to play real time drum controllers into the SR-16 as it plays a Pattern or Song. Select O F F if you're using the SR-16 as a drum machine slaved to a sequencer; when O F F, the SR-16 follows the sequencer timing data but not note data (you don't want it to play other parts). Note that Clock In (page 5) must be on. 6.3 PAGE 3: TRANSMIT MIDI DRUM NOTES (DRUM OUT) DRUM OFF SETUPMIDI OUT PAGE PERFORM The display shows DRUM OUT. To have the SR-16 output MIDI note data from pad hits or when playing a Pattern/Song, use the INC/DEC buttons to select ON. Select OFF if you don't want the SR-16 to transmit note data. Background Select ON to send Pattern data into a sequencer for recording, or drive other drum sound expander modules. If the SR-16 is acting as a drum machine and provides the master clock to a MIDI system, select O F F so that other devices don't respond to the MIDI note data. 43
-
 1
1 -
2
-
3
-
4
-
5
-
6
-
7
-
8
-
9
-
10
-
11
-
12
-
13
-
14
-
15
-
16
-
17
-
18
-
19
-
20
-
21
-
22
-
23
-
24
-
25
-
26
-
27
-
28
-
29
-
30
-
31
-
32
-
33
-
34
-
35
-
36
-
37
-
38
-
39
-
40
-
41
-
 42
42 -
 43
43 -
 44
44 -
 45
45 -
 46
46 -
 47
47 -
 48
48 -
 49
49 -
 50
50 -
 51
51 -
 52
52 -
53
-
54
-
55
-
56
-
57
-
58
-
59
-
60
-
61
-
62
-
63
-
64
-
65
-
66
-
67
-
68
-
69
-
70
-
71
 |
 |