Asus B75M-A B75M-A User's Manual - Page 68
AMT Configuration
 |
View all Asus B75M-A manuals
Add to My Manuals
Save this manual to your list of manuals |
Page 68 highlights
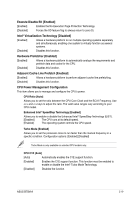
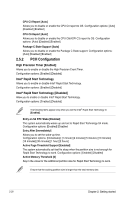
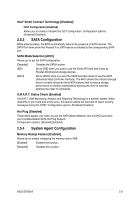
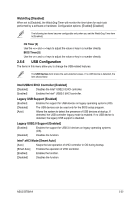
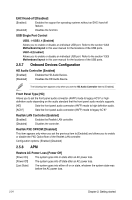
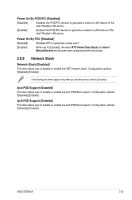
Graphics Configuration Allows you to select a primary display from iGPU, and PCIe graphical devices. Primary Display [Auto] Allows you to select which of the iGPU/PCIE Graphics device should be the Primary Display. Configuration options: [Auto] [iGPU] [PCIE] [PCI] iGPU Memory [Auto] Allows you to select the amount of system memory allocated to DVMT 5.0 used by the iGPU. Configuration options: [Auto] [32M]~[1024M] Render Standby [Enabled] Allows you to enable the Intel® Graphics Render Standby support to reduce the iGPU power use when idle. Configuration options: [Disabled] [Enabled] iGPU Multi-Monitor [Disabled] Allows you to enable the iGPU Multi-Monitor. For Lucid Virtu MVP function supports, set this item to [Enabled] to empower both integrated and discrete graphics. iGPU shared system memory size is fixed in 64MB. Configuration options: [Disabled] [Enabled] NB PCIe Configuration Allows you to configure the NB PCI Express settings. PCIEx16 Link Speed [Auto] Allows you to configure the PCIEx16 speed. Configuration options: [Auto] [Gen1] [Gen2] [Gen3] 2.5.5 AMT Configuration The items in this menu allow you to change the Intel® Active Management Technology (AMT) feature. Intel® AMT [Enabled] Allow you to enable or disable the Intel® Active Management Technology (AMT) in the BIOS extension. Configuration options: [Enabled] [Disabled] • iAMT H/W is always enabled. This option just controls the BIOS extension execution. If enabled, this requires additional firmware in the SPI device. • The following two items become configurable only when you set the Intel®AMT item to [Enabled]. Invoke MEBx [Disabled] This item become configurable only when the previous item is set to [Enabled] and allows you to enable or disable this function. Configuration options: [Enabled] [Disabled] Un-Configure ME [Disabled] Sets this item to [Disabled] to unconfigure AMT/ME without using a password or set it to [Enabled] to use a password. Configuration options: [Enabled] [Disabled] 2-22 Chapter 2: Getting started
-
 1
1 -
2
-
3
-
4
-
5
-
6
-
7
-
8
-
9
-
10
-
11
-
12
-
13
-
14
-
15
-
16
-
17
-
18
-
19
-
20
-
21
-
22
-
23
-
24
-
25
-
26
-
27
-
28
-
29
-
30
-
31
-
32
-
33
-
34
-
35
-
36
-
37
-
38
-
39
-
40
-
41
-
42
-
43
-
44
-
45
-
46
-
47
-
48
-
49
-
50
-
51
-
52
-
53
-
54
-
55
-
56
-
57
-
58
-
59
-
60
-
61
-
62
-
 63
63 -
 64
64 -
 65
65 -
 66
66 -
 67
67 -
 68
68 -
 69
69 -
 70
70 -
 71
71 -
 72
72 -
 73
73 -
74
-
75
-
76
-
77
-
78
-
79
-
80
-
81
-
82
-
83
-
84
-
85
-
86
 |
 |