Audiovox VE705 Operation Manual - Page 11
Front Panel Controls - remote
 |
UPC - 044476027703
View all Audiovox VE705 manuals
Add to My Manuals
Save this manual to your list of manuals |
Page 11 highlights
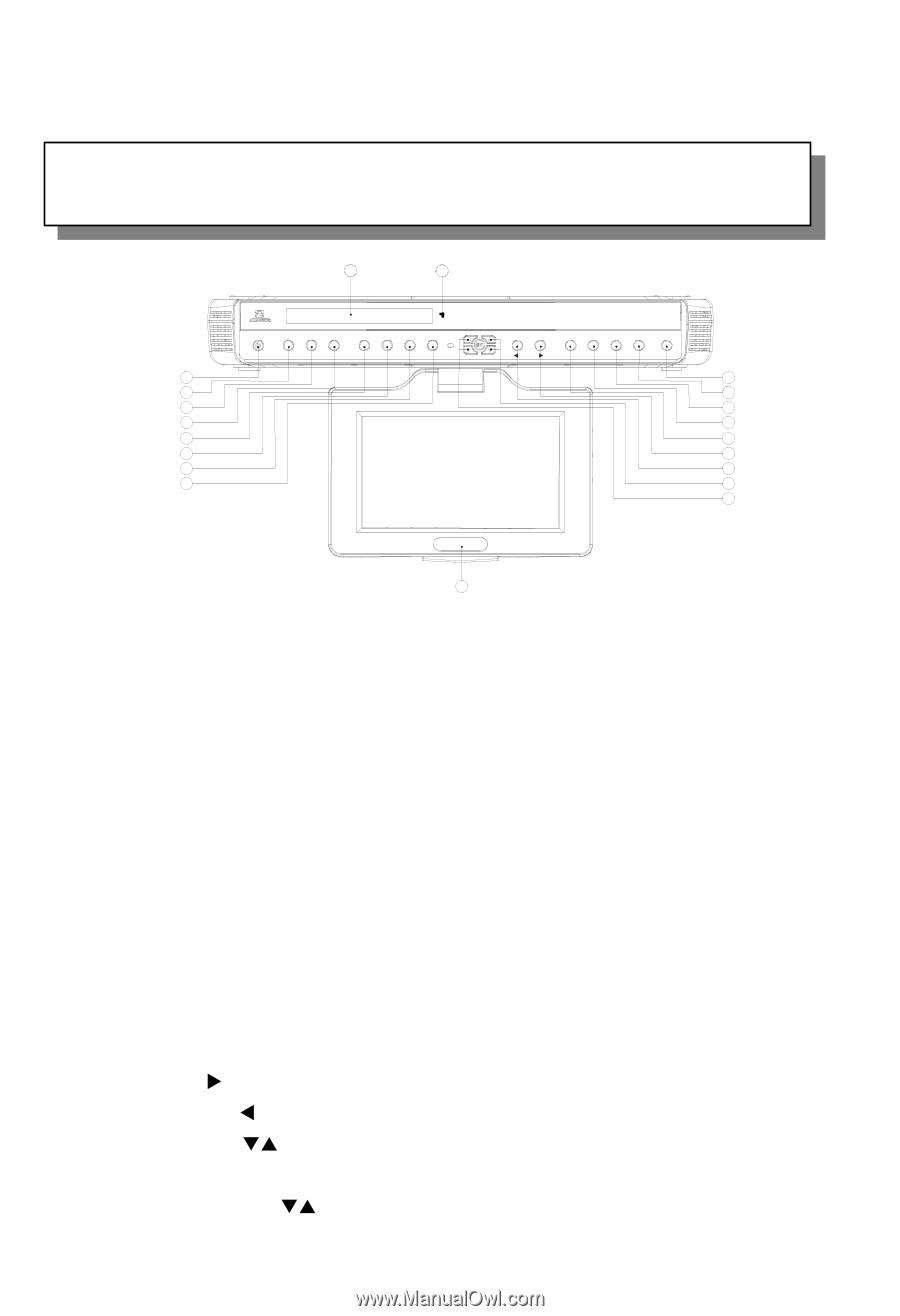
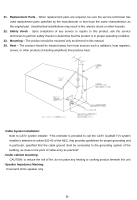
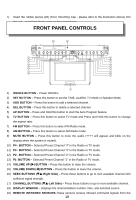
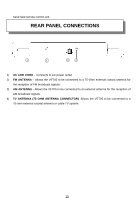
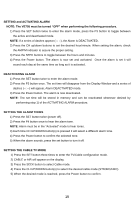
7) Insert the rubber pieces (#6) (Foot, Mounting Cap - please refer to the illustration above) into the unit. Install the blank cover on the unused port. FRONT PANEL CONTROLS 18 19 ON/OFF 12:00 SET ADD DEL AP TV FM AM CH SEEK VOLUME P1 P2 P3 P4 MUTE 1 9 2 10 3 11 4 12 5 13 6 14 7 15 8 16 17 19 1) ON/OFF BUTTON - Power ON/OFF. 2) SET BUTTON - Press this button to set the TIME, ALARM, TV Mode or Speaker Mode. 3) ADD BUTTON - Press this button to add a selected channel. 4) DEL BUTTON - Press this button to delete a selected channel. 5) AP BUTTON - Press and Hold this button to start the Auto Program feature. 6) TV BUTTON - Press this button to select TV mode and Press and Hold this button to change the aspect ratio. 7) FM BUTTON - Press this button to select FM Radio mode. 8) AM BUTTON - Press this button to select AM Radio mode. 9) MUTE BUTTON - Press this button to mute the audio (++++ will appear and blink on the display when the system is muted). 10) P4 - BUTTON - Selected Preset Channel "4" in the Radio or TV mode 11) P3 - BUTTON - Selected Preset Channel "3" in the Radio or TV mode. 12) P2 - BUTTON - Selected Preset Channel "2" in the Radio or TV mode. 13) P1- BUTTON - Selected Preset Channel "1" in the Radio or TV mode. 14) VOLUME UP (X) BUTTON - Press this button to raise the volume. 15) VOLUME DOWN (W) BUTTON - Press this button to lower the volume. 16) SEEK BUTTONS (TS-Right Side) - Press these buttons to go to next available channel with sufficient signal strength. 17) CHANNEL BUTTONS (TS-Left Side) - Press these buttons to go to next available channel. 18) DISPLAY WINDOW - Displays the channel/station number, time, and selected source. 19) REMOTE INFRARED SENSORS-These sensors receive infrared command signals from the 10-
-
 1
1 -
2
-
3
-
4
-
5
-
 6
6 -
 7
7 -
 8
8 -
 9
9 -
 10
10 -
 11
11 -
 12
12 -
 13
13 -
 14
14 -
 15
15 -
 16
16 -
17
-
18
-
19
-
20
 |
 |