Belkin F1DH102L User Manual - Page 9
Connecting the KVM Switch
 |
View all Belkin F1DH102L manuals
Add to My Manuals
Save this manual to your list of manuals |
Page 9 highlights
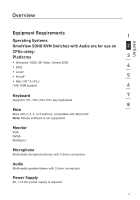
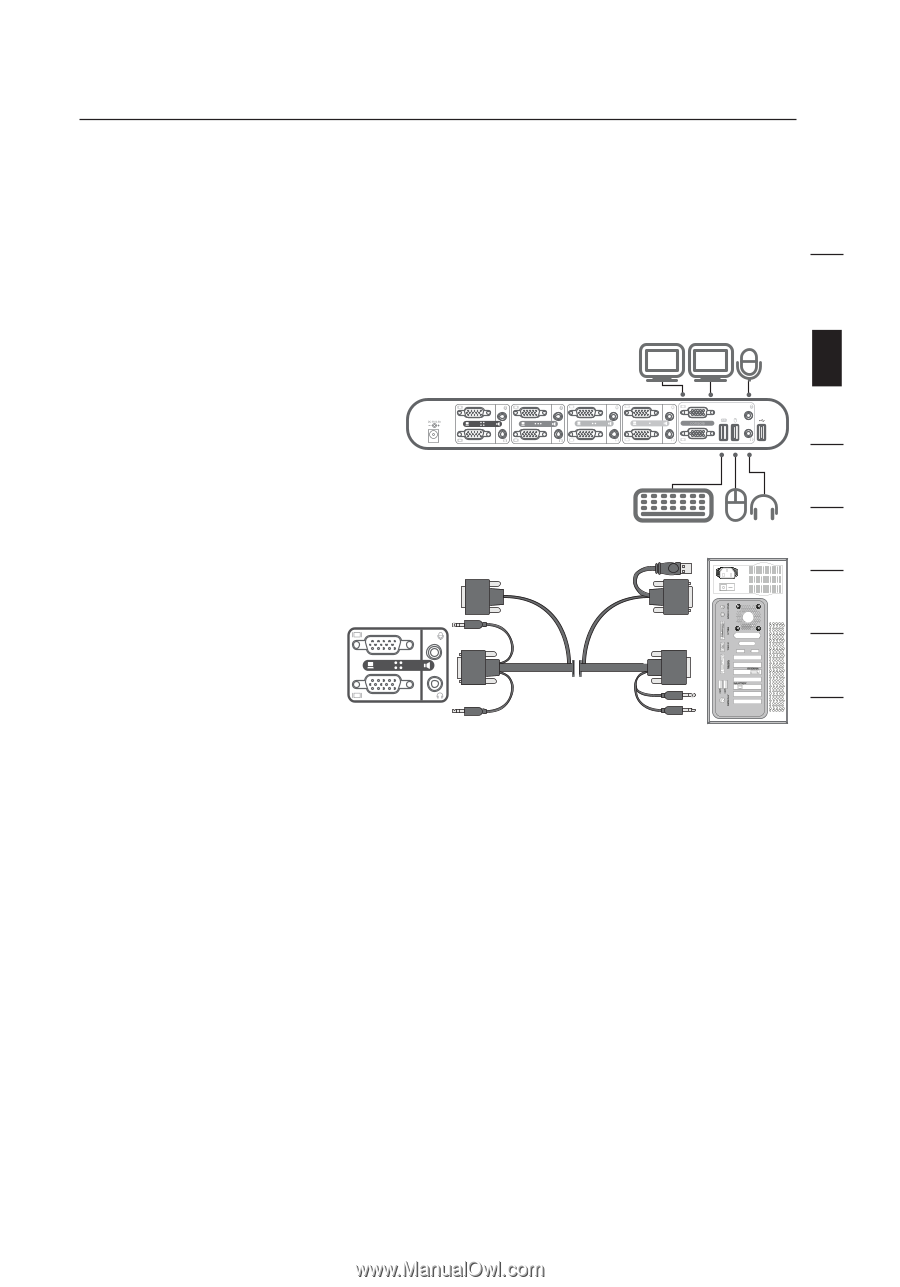
section Installing the KVM Switch Connecting the KVM Switch 1 The KVM Switch is a plug-and-play device for installation. For a quick start on installation and operation, please follow the instructions below for the 2 setup sequence: Step 1 3 Connect the monitors to the console ports marked A and B. Connect the keyboard and mouse (also speaker 4 set and microphone) to the console port of the KVM Switch. 5 6 Step 2 Connect each of your computers to the KVM 7 Switch, using the USB KVM cable, and audio and mic cables. 8 7
-
 1
1 -
2
-
3
-
 4
4 -
 5
5 -
 6
6 -
 7
7 -
 8
8 -
 9
9 -
 10
10 -
 11
11 -
 12
12 -
 13
13 -
 14
14 -
15
-
16
-
17
-
18
-
19
-
20
-
21
-
22
-
23
-
24
-
25
-
26
-
27
-
28
-
29
-
30
-
31
-
32
-
33
-
34
-
35
-
36
 |
 |
7
1
2
3
4
5
6
7
8
section
Installing the KVM Switch
Connecting the KVM Switch
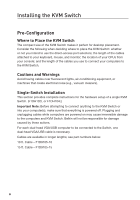
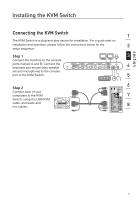
The KVM Switch is a plug-and-play device for installation. For a quick start on
installation and operation, please follow the instructions below for the
setup sequence:
Step 1
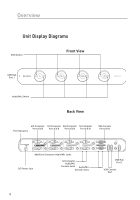
Connect the monitors to the console
ports marked A and B. Connect the
keyboard and mouse (also speaker
set and microphone) to the console
port of the KVM Switch.
Step 2
Connect each of your
computers to the KVM
Switch, using the USB KVM
cable, and audio and
mic cables.