Belkin F1DS102T User Manual - Page 8
Fig. 6, Fig. 7 - kvm
 |
View all Belkin F1DS102T manuals
Add to My Manuals
Save this manual to your list of manuals |
Page 8 highlights
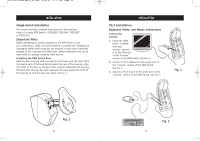
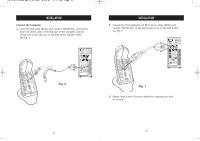
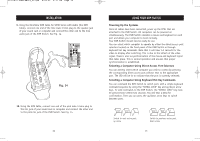
P73778-C-SOHO-man-9_02.qxd 9/18/02 5:17 PM Page 12 INSTALLATION Connect the Computer 4. Using the VGA cable (Belkin part number F1D9100-XX), connect the male end of the cable to the VGA port of the computer, and the female end to the VGA port of the KVM Switch labeled "VGA1". See Fig. 6. INSTALLATION 5. Connect the PS/2 keyboard and PS/2 mouse cables (Belkin part number F1D9100-XX), to the appropriate ports on the KVM Switch. See Fig. 7. Fig. 6 12 Fig. 7 6. Repeat steps 4 and 5 for each additional computer you wish to connect. 13
-
 1
1 -
2
-
 3
3 -
 4
4 -
 5
5 -
 6
6 -
 7
7 -
 8
8 -
 9
9 -
 10
10 -
 11
11 -
 12
12 -
 13
13 -
14
-
15
-
16
-
17
-
18
-
19
-
20
 |
 |
INSTALLATION
13
INSTALLATION
12
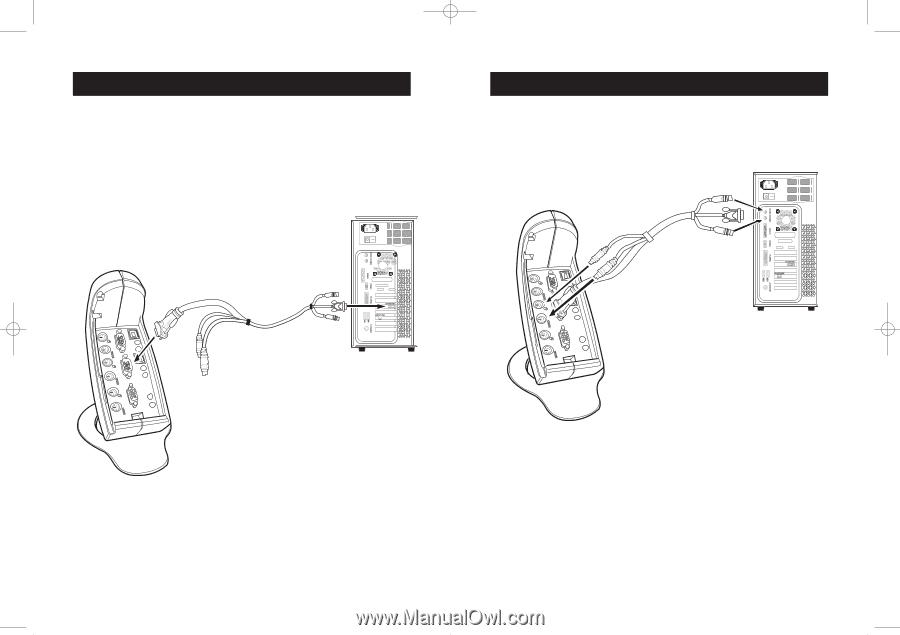
Connect the Computer
4.
Using the VGA cable (Belkin part number F1D9100-XX), connect the
male end of the cable to the VGA port of the computer, and the
female end to the VGA port of the KVM Switch labeled “VGA1”.
See Fig. 6.
Fig. 6
5.
Connect the PS/2 keyboard and PS/2 mouse cables (Belkin part
number F1D9100-XX), to the appropriate ports on the KVM Switch.
See Fig. 7.
6.
Repeat steps 4 and 5 for each additional computer you wish
to connect.
Fig. 7
P73778-C-SOHO-man-9_02.qxd
9/18/02
5:17 PM
Page 12