BenQ TH671ST User Manual - Page 28
D Mode, 3D Sync Invert, Settings, Wall Color, Projector, Position, Test Pattern, Auto Source
 |
View all BenQ TH671ST manuals
Add to My Manuals
Save this manual to your list of manuals |
Page 28 highlights
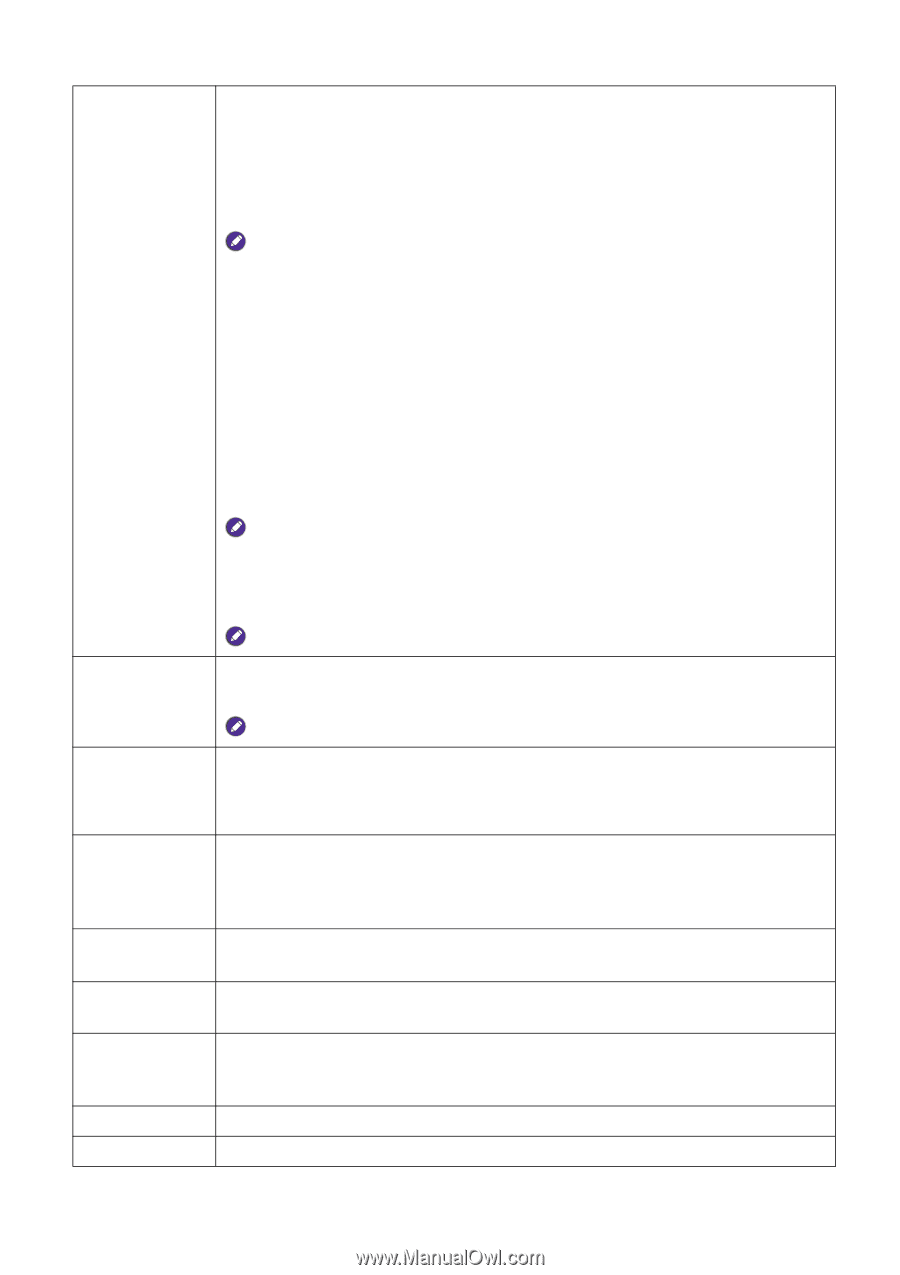
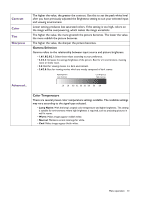
3D Mode This projector supports playing three-dimensional (3D) content transferred through your 3D-compatible video devices and contents, such as PlayStation consoles (with 3D game discs), 3D Blu-ray players (with 3D Blu-ray discs), 3D TV (with 3D channel), and so on. After you have connected the 3D video devices to the projector, wear the BenQ 3D glasses and make sure the power is on to view 3D contents. When watching 3D contents, • the image may seem misplaced, however, this is not a product malfunction. • take appropriate breaks when watching 3D content. • stop watching 3D content if you feel fatigue or discomfort. • keep a distance from the screen of about three times the effective height of the screen when watching 3D content. • children and people with a history of oversensitivity to light, heart problems, or have any other existing medical condition should be refrained from watching 3D content. The default setting is Auto and the projector automatically chooses an appropriate 3D format when detecting 3D contents. If the projector cannot recognize the 3D format, manually choose a 3D mode according to your preference. When this function is enabled: • The brightness level of the projected image decreases. • The Picture Mode cannot be adjusted. • The Vertical Keystone can only be adjusted within limited degrees. The function is accessible through the remote control. When your 3D image is distorted, enable this function to switch between the 3D Sync Invert image for the left eye and the right eye for comfortable 3D viewing experience. The function is accessible through the remote control. Press OK to enter its submenu. Settings Press BACK to save your changes and exit. See below for more details. • Wall Color Enable this function to help correct the projected picture's color when the projection surface is not white. You may choose a color similar to that of the projection surface from these options: Light Yellow, Pink, Light Green, or Blue. • Projector Position The projector can be installed on a ceiling or behind a screen, or with one or more mirrors. See Choosing a location for details. • Test Pattern Enable this function to display the grid test pattern, which helps you adjust the image size and focus so as to check if the projected image is free of distortion. Sets whether the projector searches automatically for input sources. Select On to • Auto Source enable the projector to scan for input sources until it acquires a signal. If the function is set to Off, the projector selects the last used input source. • Menu Type Switches to the Advanced OSD menu. • HDMI Range Sets the HDMI Range to Auto, Full, or Limited. 28 Menu operation
-
 1
1 -
2
-
3
-
4
-
5
-
6
-
7
-
8
-
9
-
10
-
11
-
12
-
13
-
14
-
15
-
16
-
17
-
18
-
19
-
20
-
21
-
22
-
 23
23 -
 24
24 -
 25
25 -
 26
26 -
 27
27 -
 28
28 -
 29
29 -
 30
30 -
 31
31 -
 32
32 -
 33
33 -
34
-
35
-
36
-
37
-
38
-
39
-
40
-
41
-
42
-
43
-
44
-
45
-
46
-
47
-
48
-
49
 |
 |