Bernina 009DCC Owners Manual - Page 3
Mastering Your - owners manual
 |
View all Bernina 009DCC manuals
Add to My Manuals
Save this manual to your list of manuals |
Page 3 highlights
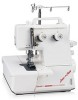
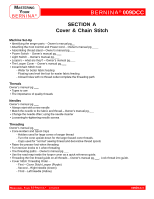
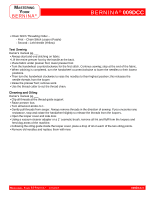
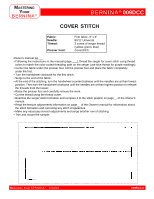
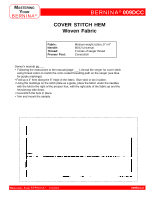
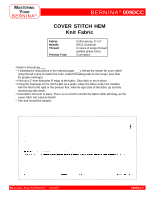
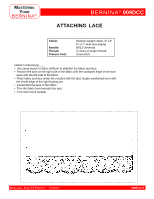
MASTERING YOUR BERNINA® BERNINA® 009DCC • Chain Stitch Threading Order - - First - Chain Stitch Looper (Purple) - Second - Left Needle (Yellow) Test Sewing Owner's manual pg.___ • Always start and end stitching on fabric. • Lift the entire presser foot by the handle at the back. • Place fabric under presser foot; lower presser foot. • Turn the handwheel counterclockwise for the first stitch. Continue sewing; stop at the end of the fabric. • When stitching is completed, turn the handwheel counterclockwise to lower the needles to their lowest positions. • Then turn the handwheel clockwise to raise the needles to their highest position; this releases the needle threads from the looper. • Raise the presser foot; remove work. • Use the thread cutter to cut the thread chain. Cleaning and Oiling Owner's manual pg.___ • Clip all threads at the thread guide support. • Raise presser foot. • Turn all tension knobs to 1. • Gently pull threads from serger. Always remove threads in the direction of sewing. If you encounter any resistance, stop and rotate the handwheel slightly to release the threads from the loopers. • Open the looper cover and side door. • Using a vacuum cleaner adapter or a 1" cosmetic brush, remove all lint and fluff from the loopers and feed dog areas of the machine. • Following the oiling guide inside the looper cover, place a drop of oil on each of the two oiling points. • Remove old needles and replace them with new. MASTERING YOUR BERNINA® 1/04/02 009DCC/3
-
 1
1 -
 2
2 -
 3
3 -
 4
4 -
 5
5 -
 6
6 -
 7
7 -
 8
8 -
 9
9 -
10
-
11
-
12
 |
 |