Bosch WFMC5301UC Pedestal Installation Instructions - Page 3
Preparing, Appliance - pedestal
 |
UPC - 825225852117
View all Bosch WFMC5301UC manuals
Add to My Manuals
Save this manual to your list of manuals |
Page 3 highlights
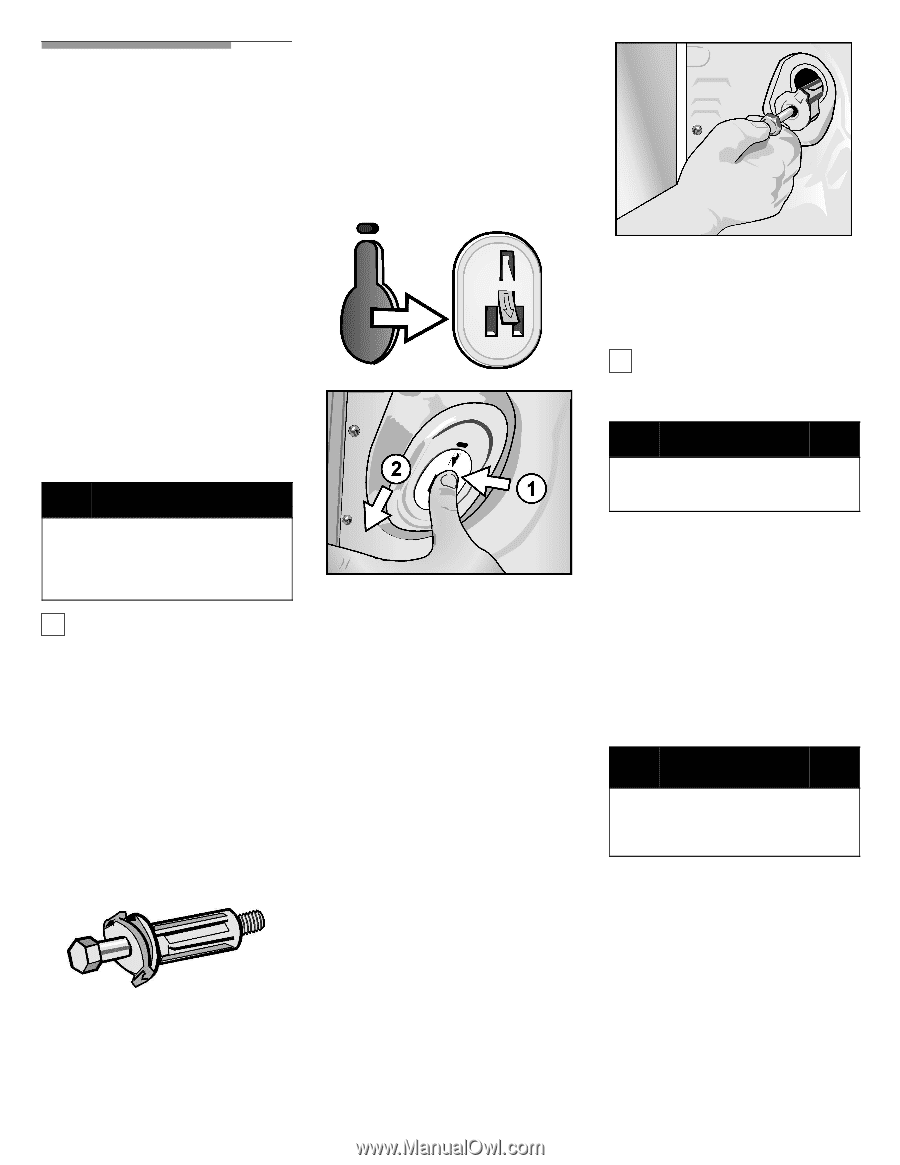
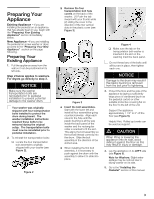
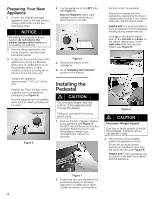
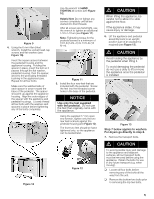
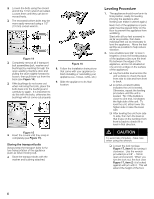
Preparing Your Appliance Existing Appliance - If you are installing the pedestal on an appliance that has already been in use, begin with the Preparing Your Existing Appliance" section immediately below. New Appliance -If you are installing the pedestal on a new washer or dryer, proceed to the Preparing Your New Appliance" section on the page following. Preparing Your Existing Appliance 1. Pull the appliance away from the wall so it can be positioned on its left side. Step 2 below applies to washers. For dryers go directly to step 3. NOTICE Make sure the washer transportation bolts are reinstalled prior to pedestal installation to prevent potential damage to the washer drum. i Your washer was originally shipped with four transportation bolts installed to protect the drum during transit. The washer installation instructions required these bolts to be removed during the original setup. The transportation bolts must now be reinstalled prior to pedestal installation. 2. To reinstall the transportation bolts: q Locate the four transportation bolt assemblies originally shipped with your washer (see Figure 2). Figure 2 q Remove the four transportation bolt hole covers on the back of the washer. (1) Push the tab inward with your thumb while (2) sliding the cover in the direction of the two vertical slots in the plastic cover (see Figure 3). Figure 3 q Insert the bolt assemblies. Start with the lower left and install all four assemblies going counterclockwise. Align each one into the hole until the plastic bushing is all the way inside the back panel of the washer and the rectangular collar is oriented to fit the slot. This aligns the bolt assembly so the bolt will thread correctly into the drum. Slide the bolt assembly in the direction of the slotted area. q When installing the first bolt assembly, it is necessary to push against the drum with the assembly to allow it to slide into place. Figure 4 q Make sure the tab on the transportation bolt washer is inserted in the slot on the washing machine back panel. i Do not thread any of the bolts until all four are in place, then tighten each one. NOTICE Damage to the drum may result if the plastic bushing is removed from the bolt prior to tightening. 3. Protect the floor and the side of the appliance by laying a sufficiently large piece of cardboard (such as the pedestal carton) or other suitable protective covering flat on the floor to the left of the unit. Support the appliance approximately 1 1/2" to 2" off the floor (see Figure 5). Helpful Hint: Rolled up towels can be used as support. d CAUTION When lifting or lowering the appliance onto its side, avoid sliding it against the floor as this may result in injury or damage. 4. Lay the appliance on its LEFT side (see Figure 6). Note for Washers: Slight water spillage may be noticed due to laying washer on its side. 5. Go to the Installing the Pedestal" section of this manual. 3
-
 1
1 -
 2
2 -
 3
3 -
 4
4 -
 5
5 -
 6
6 -
 7
7 -
 8
8 -
 9
9 -
10
-
11
-
12
-
13
-
14
-
15
-
16
-
17
-
18
-
19
-
20
-
21
-
22
-
23
-
24
 |
 |