Boss Audio BV7949B User Manual - Page 15
Boss Audio BV7949B Manual
 |
View all Boss Audio BV7949B manuals
Add to My Manuals
Save this manual to your list of manuals |
Page 15 highlights
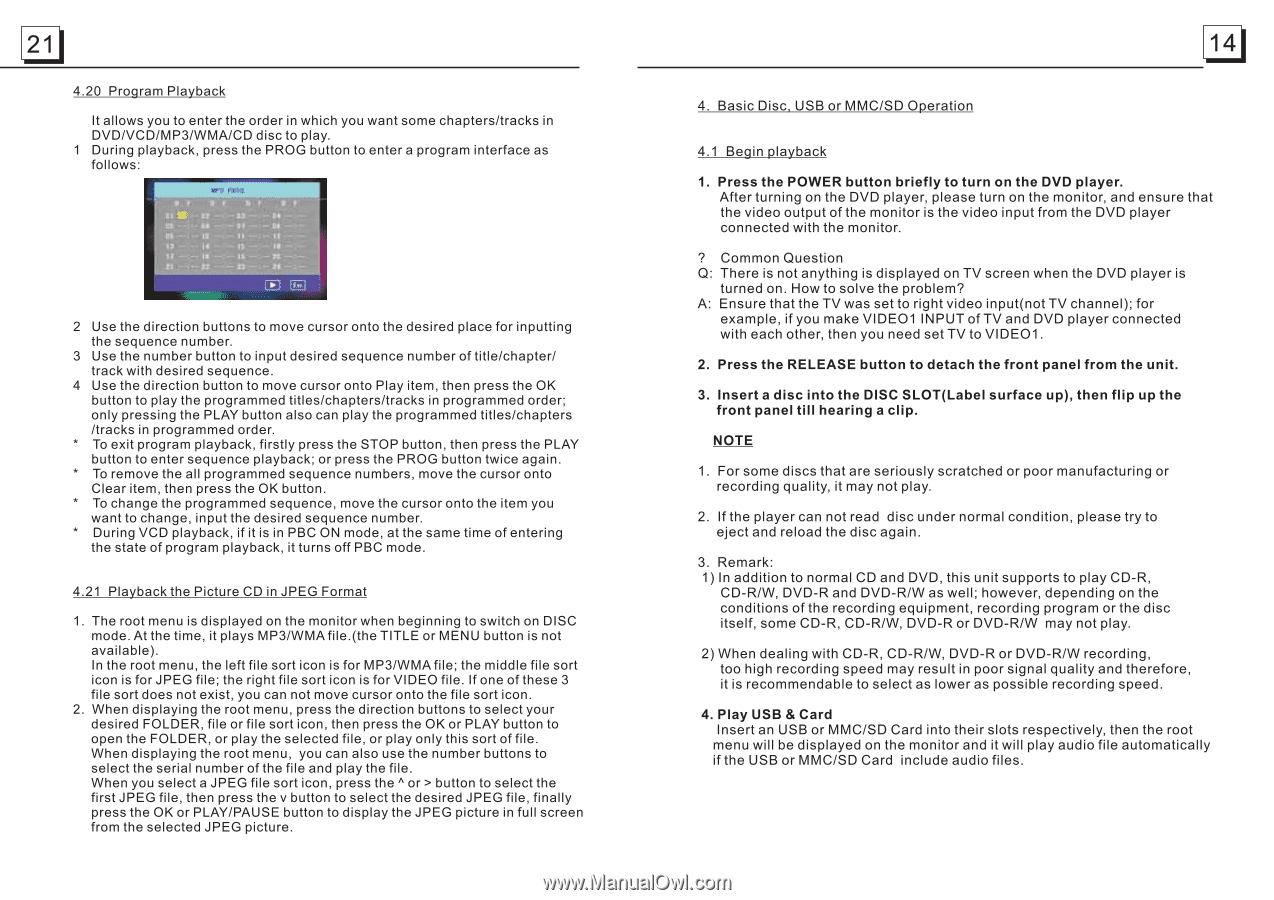
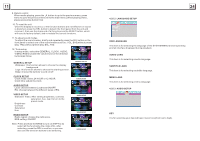
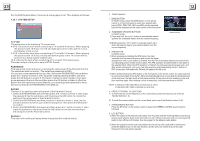
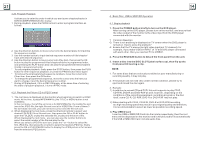
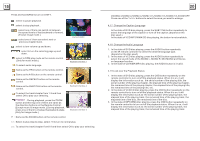
21 4.20 Program Playback It allows you to enter the order in which you want some chapters/tracks in DVD/VCD/MP3/WMA/CD disc to play. 1 During playback, press the PROG button to enter a program interface as follows: 2 Use the direction buttons to move cursor onto the desired place for inputting the sequence number. 3 Use the number button to input desired sequence number of title/chapter/ track with desired sequence. 4 Use the direction button to move cursor onto Play item, then press the OK button to play the programmed titles/chapters/tracks in programmed order; only pressing the PLAY button also can play the programmed titles/chapters /tracks in programmed order. * To exit program playback, firstly press the STOP button, then press the PLAY button to enter sequence playback; or press the PROG button twice again. * To remove the all programmed sequence numbers, move the cursor onto Clear item, then press the OK button. * To change the programmed sequence, move the cursor onto the item you want to change, input the desired sequence number. * During VCD playback, if it is in PBC ON mode, at the same time of entering the state of program playback, it turns off PBC mode. 4.21 Playback the Picture CD in JPEG Format 1. The root menu is displayed on the monitor when beginning to switch on DISC mode. At the time, it plays MP3/WMA file.(the TITLE or MENU button is not available). In the root menu, the left file sort icon is for MP3/WMA file; the middle file sort icon is for JPEG file; the right file sort icon is for VIDEO file. If one of these 3 file sort does not exist, you can not move cursor onto the file sort icon. 2. When displaying the root menu, press the direction buttons to select your desired FOLDER, file or file sort icon, then press the OK or PLAY button to open the FOLDER, or play the selected file, or play only this sort of file. When displaying the root menu, you can also use the number buttons to select the serial number of the file and play the file. When you select a JPEG file sort icon, press the ^ or > button to select the first JPEG file, then press the v button to select the desired JPEG file, finally press the OK or PLAY/PAUSE button to display the JPEG picture in full screen from the selected JPEG picture. 14 4. Basic Disc, USB or MMC/SD Operation 4.1 Begin playback 1. Press the POWER button briefly to turn on the DVD player. After turning on the DVD player, please turn on the monitor, and ensure that the video output of the monitor is the video input from the DVD player connected with the monitor. ? Common Question Q: There is not anything is displayed on TV screen when the DVD player is turned on. How to solve the problem? A: Ensure that the TV was set to right video input(not TV channel); for example, if you make VIDEO1 INPUT of TV and DVD player connected with each other, then you need set TV to VIDEO1. 2. Press the RELEASE button to detach the front panel from the unit. 3. Insert a disc into the DISC SLOT(Label surface up), then flip up the front panel till hearing a clip. NOTE 1. For some discs that are seriously scratched or poor manufacturing or recording quality, it may not play. 2. If the player can not read disc under normal condition, please try to eject and reload the disc again. 3. Remark: 1) In addition to normal CD and DVD, this unit supports to play CD-R, CD-R/W, DVD-R and DVD-R/W as well; however, depending on the conditions of the recording equipment, recording program or the disc itself, some CD-R, CD-R/W, DVD-R or DVD-R/W may not play. 2) When dealing with CD-R, CD-R/W, DVD-R or DVD-R/W recording, too high recording speed may result in poor signal quality and therefore, it is recommendable to select as lower as possible recording speed. 4. Play USB & Card Insert an USB or MMC/SD Card into their slots respectively, then the root menu will be displayed on the monitor and it will play audio file automatically if the USB or MMC/SD Card include audio files.
-
 1
1 -
2
-
3
-
4
-
5
-
6
-
7
-
8
-
9
-
 10
10 -
 11
11 -
 12
12 -
 13
13 -
 14
14 -
 15
15 -
 16
16 -
 17
17 -
 18
18
 |
 |