Canon CD 300 User Guide - Page 32
Install the Paper Cassette for Panorama - ink
 |
UPC - 082966161872
View all Canon CD 300 manuals
Add to My Manuals
Save this manual to your list of manuals |
Page 32 highlights
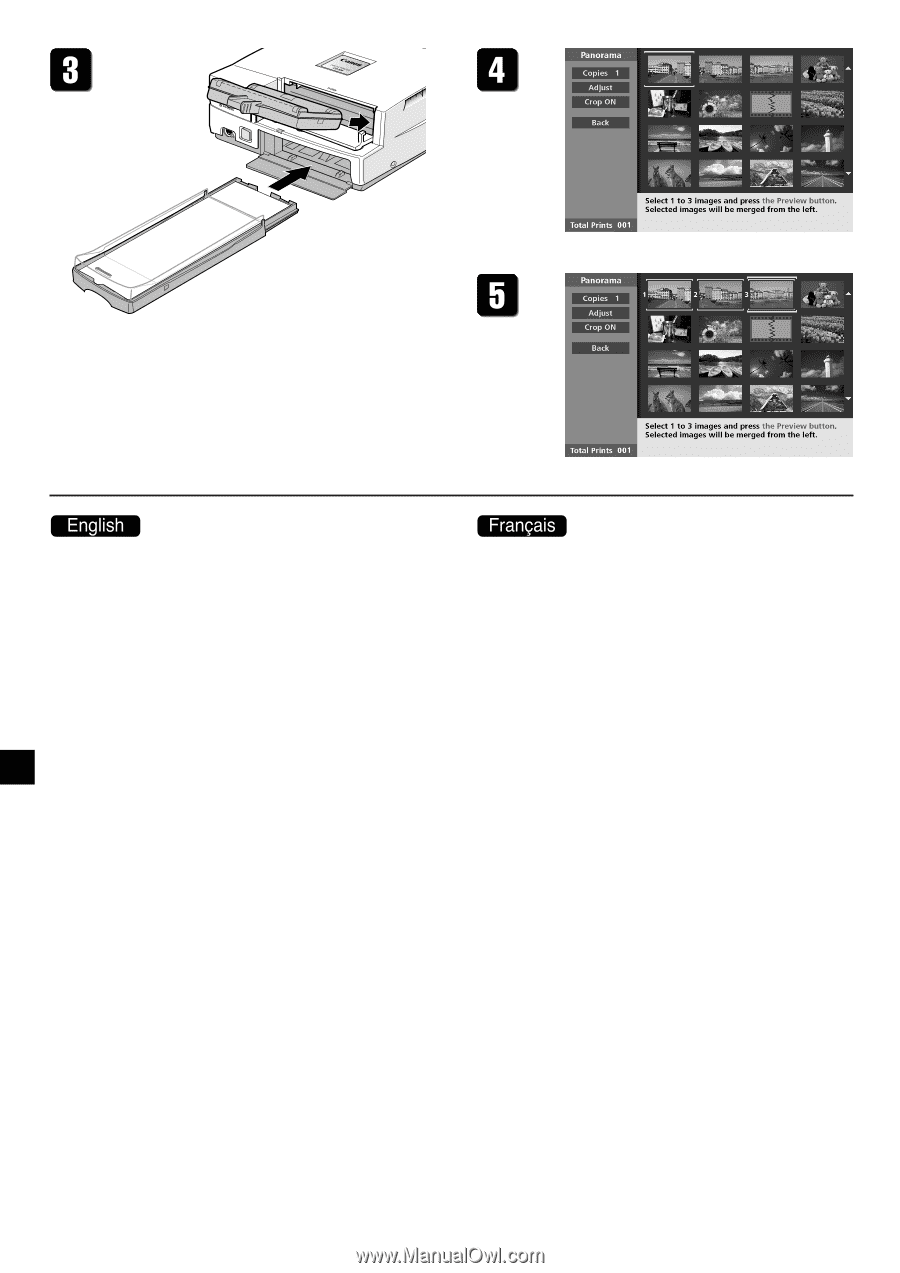
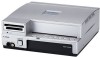
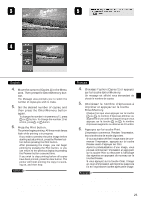
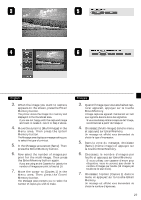
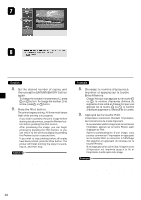
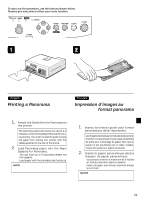
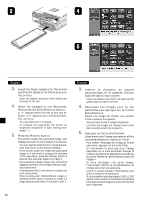
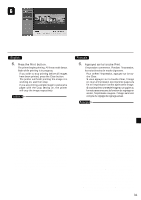
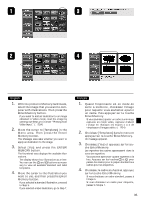
3. Install the Paper Cassette for Panorama and the Ink Cassette for Panorama into the printer. • Insert the cassette evenly so that it slides over the base of the slot. 4. Select the images for the Panorama, then press the Enter/Memory button. A "1" appears next to the left of your first selection, a "2" appears next to the second selection, and so on. • You can select up to 3 images. • To compose the panorama, the printer ar- ranges the images left to right, starting from image "1." 5. Press the Preview button. The printer creates the panorama image, and displays a preview of print results on the screen. • You can use the Clear button to close the preview and return to the previous display. • If the printer could not create the panorama image or if you wish to change the contents of the panorama, press the Preview button a second time and start again from Step 4. • If you selected a single image only, the printer displays a preview of the image without creating a panorama. • It takes some time for the printer to create and print panoramas. When working with 1600x1200-dot images, it takes the printer about 5 minutes to merge a 3 image panorama and about 10 minutes to print it. 30 3. Insérez la chargeur de papier panpramique et la cassette d'encre associée dans l'imprimante. • Insérez la cassette, bien droite, de façon qu'elle glisse jusqu'au bas de la fente. 4. Choisissez les images pour la vue panorama puis appuyez sur la touche Enter/Memory. Quand une image est choisie, son numéro d'ordre apparaît à sa gauche. • Vous pouvez choisir 3 images maximum. • La fusion des images est réalisée dans l'ordre des numéros à partir de la gauche. 5. Appuyez sur la touche Preview. L'imprimante crée l'image panorama et affiche une prévisualisation du résultat sur l'écran. • Pour arrêter l'affichage de l'image au format panorama, appuyez sur la touche Clear. • Si l'imprimante ne peut pas créer l'image panorama ou si vous souhaitez changer le contenu du panorama, appuyez de nouveau sur la touche Preview et recommencez à partir de l'étape 4. •Si vous choisissez une seule image, l'imprimante affiche la prévisualisation de l'image sans créer de panorama. • Il faut un certain temps à l'imprimante pour créer et imprimer le panorama. Si vous travaillez avec des images 1 600 x 1 200 points, il faut environ 5 minutes à l'imprimante pour fusionner les 3 images et environ 10 minutes pour l'imprimer.
-
 1
1 -
2
-
3
-
4
-
5
-
6
-
7
-
8
-
9
-
10
-
11
-
12
-
13
-
14
-
15
-
16
-
17
-
18
-
19
-
20
-
21
-
22
-
23
-
24
-
25
-
26
-
 27
27 -
 28
28 -
 29
29 -
 30
30 -
 31
31 -
 32
32 -
 33
33 -
 34
34 -
 35
35 -
 36
36 -
 37
37 -
38
-
39
-
40
-
41
-
42
-
43
-
44
-
45
-
46
-
47
-
48
-
49
-
50
-
51
-
52
-
53
-
54
 |
 |