Canon imageCLASS D860 imageCLASS D800 Series Set-Up Instructions - Page 8
For USB connection - drivers
 |
View all Canon imageCLASS D860 manuals
Add to My Manuals
Save this manual to your list of manuals |
Page 8 highlights
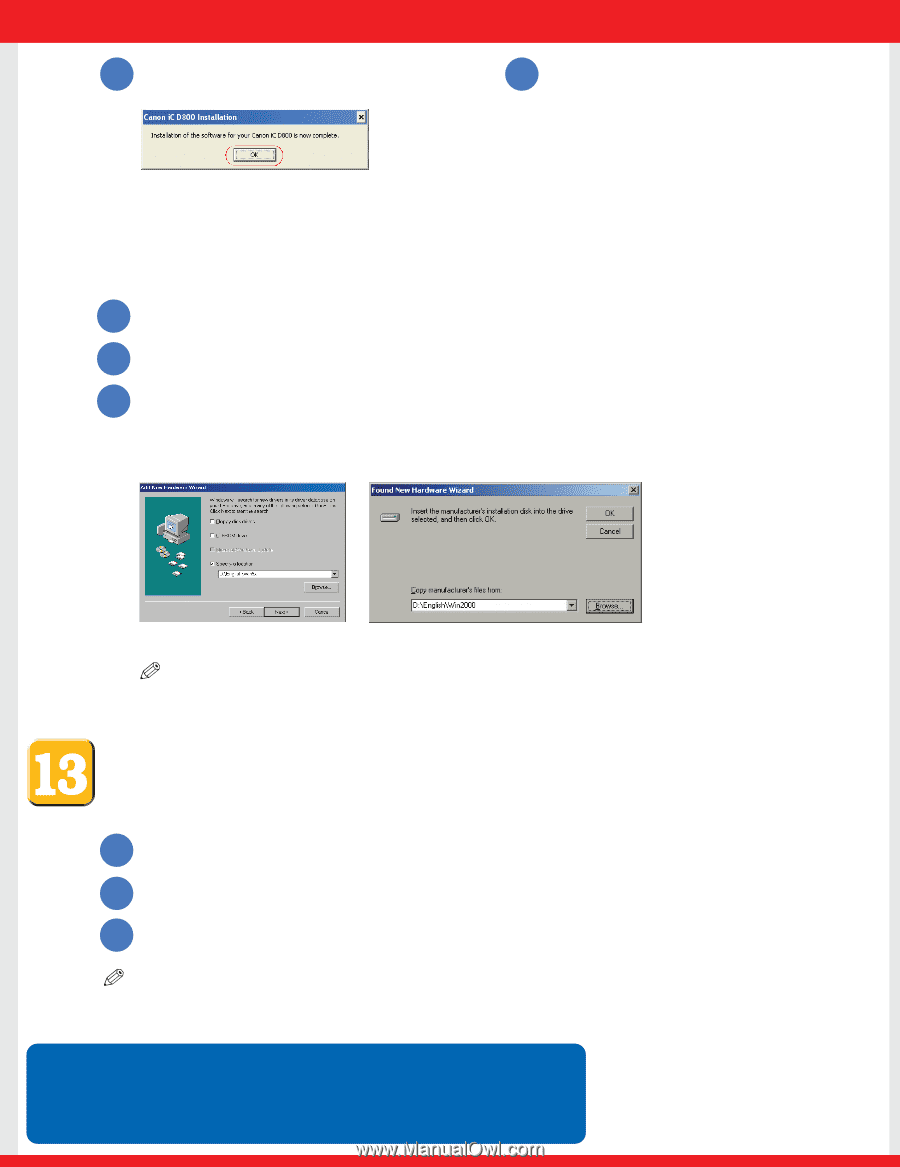
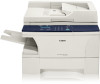
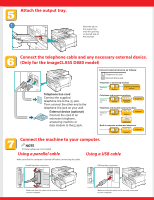
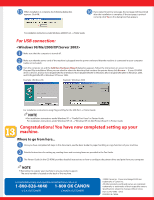
15 When installation is complete, the following dialog box appears. Click OK. 16 If you opted to print a test page, the test page will be printed after the installation is complete. If the test page is printed correctly, click Yes on the dialog box that appears. For installation instructions under Windows 2000/NT 4.0 → Printer Guide For USB connection: 1 Make sure that the computer is turned off. 2 Make sure that the power cord of the machine is plugged into the power outlet and that the machine is connected to your computer (cable not included). 3 Turn the computer on and the Add New Hardware Wizard dialog box appears. Follow the instructions on screen to initiate Plug and Play installation. When you are asked to select the directory that contains the printer driver, click Browse.... If your CD-ROM drive is drive D:, browse to D:\English\Win9x in Windows 98, D:\English\WinMe in Windows Me, D:\English\Win2000 in Windows 2000, and D:\English\WinXP in Windows XP/Server 2003. Example: Windows 98 Example: Windows 2000 For installation instructions using Plug and Play for the USB Port → Printer Guide NOTE ● For installation instructions under Windows 95 → "Parallel Port Users" in Printer Guide. For installation instructions under Windows NT 4.0 → "Windows NT 4.0 Add Printer Wizard" in Printer Guide. Congratulations! You have now completed setting up your machine. Where to go from here... 1 Once you have completed all steps in this document, see the Basic Guide for paper handling or copy functions of your machine. 2 Detailed instructions for setting up, sending faxes and receiving faxes are provided in the Fax Guide. 3 The Printer Guide (in the CD-ROM) provides detailed instructions on how to configure the printer driver and print from your computer. NOTE ● Remember to register your machine to ensure product support. The serial number is located on the back of the machine. For installation help and operational instructions, call us at: 1-800-828-4040 1-800 OK CANON U.S.A. CUSTOMERS CANADA CUSTOMERS ©2004 Canon Inc. Canon and imageCLASS are trademarks of Canon Inc. All other products and brand names are registered trademarks or trademarks of their respective owners. Specifications subject to change without notice. Part no. FA7-5983 (010) PRINTED IN CHINA
-
 1
1 -
2
-
 3
3 -
 4
4 -
 5
5 -
 6
6 -
 7
7 -
 8
8
 |
 |