Casio EX-H10BK Owners Manual - Page 96
Optimizing Image Brightness (Lighting), Using Red Eye Correction (Red Eye), Snapshot Screen, MENU]
 |
View all Casio EX-H10BK manuals
Add to My Manuals
Save this manual to your list of manuals |
Page 96 highlights
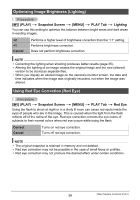
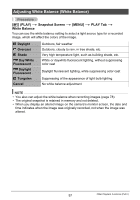
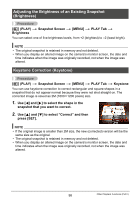
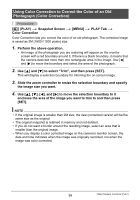
Optimizing Image Brightness (Lighting) Procedure [p] (PLAY) * Snapshot Screen * [MENU] * PLAY Tab * Lighting You can use this setting to optimize the balance between bright areas and dark areas in existing images. +2 +1 Cancel Performs a higher level of brightness correction than the "+1" setting. Performs brightness correction. Does not perform brightness correction. NOTE • Correcting the lighting when shooting produces better results (page 35). • Altering the lighting of an image causes the original image and the new (altered) version to be stored as separate files. • When you display an altered image on the camera's monitor screen, the date and time indicates when the image was originally recorded, not when the image was altered. Using Red Eye Correction (Red Eye) Procedure [p] (PLAY) * Snapshot Screen * [MENU] * PLAY Tab * Red Eye Using the flash to shoot at night or in a dimly lit room can cause red spots inside the eyes of people who are in the image. This is caused when the light from the flash reflects off of the retina of the eye. Red eye correction corrects the eye colors of subjects to their normal colors when red eye occurs while using the flash. Correct Cancel Turns on red eye correction. Turns off red eye correction. NOTE • The original snapshot is retained in memory and not deleted. • Red eye correction may not be possible in the case of small faces or profiles. • Red eye correction may not produce the desired effect under certain conditions. 96 Other Playback Functions (PLAY)
-
 1
1 -
2
-
3
-
4
-
5
-
6
-
7
-
8
-
9
-
10
-
11
-
12
-
13
-
14
-
15
-
16
-
17
-
18
-
19
-
20
-
21
-
22
-
23
-
24
-
25
-
26
-
27
-
28
-
29
-
30
-
31
-
32
-
33
-
34
-
35
-
36
-
37
-
38
-
39
-
40
-
41
-
42
-
43
-
44
-
45
-
46
-
47
-
48
-
49
-
50
-
51
-
52
-
53
-
54
-
55
-
56
-
57
-
58
-
59
-
60
-
61
-
62
-
63
-
64
-
65
-
66
-
67
-
68
-
69
-
70
-
71
-
72
-
73
-
74
-
75
-
76
-
77
-
78
-
79
-
80
-
81
-
82
-
83
-
84
-
85
-
86
-
87
-
88
-
89
-
90
-
 91
91 -
 92
92 -
 93
93 -
 94
94 -
 95
95 -
 96
96 -
 97
97 -
 98
98 -
 99
99 -
 100
100 -
 101
101 -
102
-
103
-
104
-
105
-
106
-
107
-
108
-
109
-
110
-
111
-
112
-
113
-
114
-
115
-
116
-
117
-
118
-
119
-
120
-
121
-
122
-
123
-
124
-
125
-
126
-
127
-
128
-
129
-
130
-
131
-
132
-
133
-
134
-
135
-
136
-
137
-
138
-
139
-
140
-
141
-
142
-
143
-
144
-
145
-
146
-
147
-
148
-
149
-
150
-
151
-
152
-
153
-
154
-
155
-
156
-
157
-
158
-
159
-
160
-
161
-
162
-
163
-
164
-
165
-
166
-
167
-
168
-
169
-
170
-
171
-
172
-
173
-
174
-
175
-
176
-
177
-
178
-
179
-
180
-
181
-
182
-
183
-
184
-
185
-
186
-
187
-
188
-
189
 |
 |
