Celestron TrekGuide Orange TrekGuide Manual (English, French, German, Italian, - Page 4
Time Mode Altimeter And Barometer Compass
 |
View all Celestron TrekGuide Orange manuals
Add to My Manuals
Save this manual to your list of manuals |
Page 4 highlights
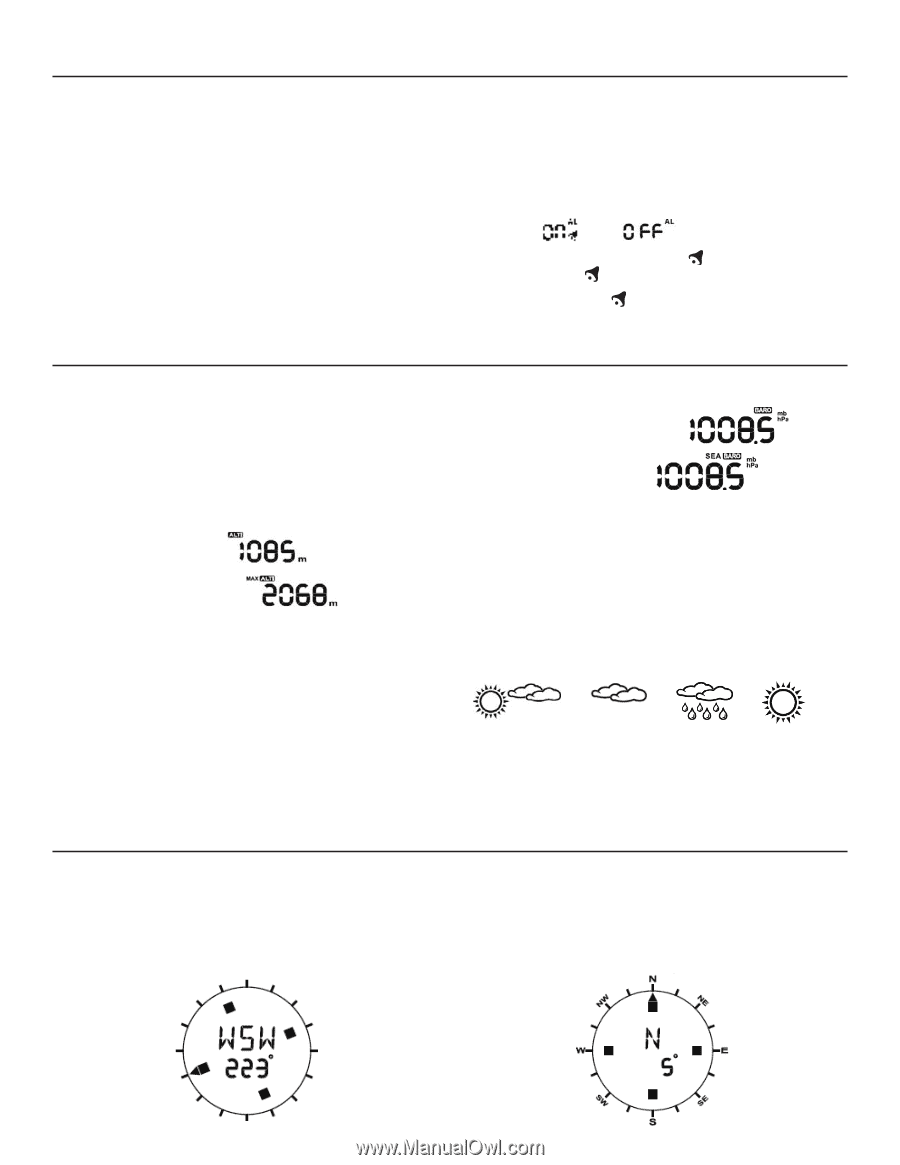
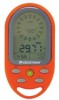
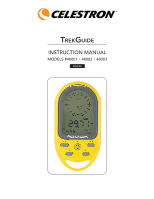
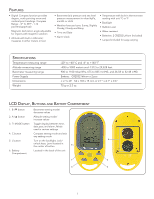
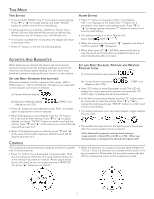
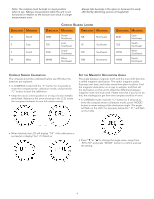
Time Mode Time Setting • Press and hold "MODE" key for 3 seconds to enter settings. Press "▼"or "▲"to change setting, and press "MODE" button to confirm and move to next setting. • Setting sequence is as follows: 12/24 hour format, Hour, Minute, Second, Year, Month/Day sequence, Month, Day, Temperature unit, Air Pressure unit, and Altitude unit. • If no button is pressed for 15 seconds, the display will return to previous mode. • Press "C" button to exit the Time Setting Mode. Altimeter And Barometer When batteries are inserted, the device will automatically measure the barometer (air pressure) readings as well as the maximum sea level pressure reading. You can check exact barometric pressure readings for your location on the website. Set and Reset Altimeter (for altitude): Altimeter measures in either meters or feet, range: -400 to 9000 meters or -1312 to 29,528 feet. The device provides both current altitude and maximum altitude. (i) Current Altitude display . (ii) Maximum Altitude display display on the LCD). ("MAX" icon • Press "A" button to enter altimeter mode. Press "A" button again to display the maximum altitude. • When LCD displays current altitude, hold the "A" button for 3 seconds to enter setting. Press "▼"or "▲"to adjust altitude, and press "MODE" button to confirm and quit the setting. Press "▼"and "▲" at the same time, current altitude value will be reset to 0. • When LCD displays maximum altitude, press "▼"and "▲" at the same time and the maximum altitude record will be cleared and reset to 0. Compass The compass shows the bearing in degrees due North together with 16 cardinal points. • Press "C" button, the unit will enter Compass mode. Hold the unit horizontal. Point the 12 o'clock position of the unit in the direction you want to measure. As the graph below shows, the direction you are measuring now is WSW 223°. The arrow "▲" always point to North. Alarm Setting • Press "T" button to navigate to Alarm Time Display ("AL" icon displays on the LCD) Hold "T" button for 3 seconds to enter alarm clock setting mode. Press "▼"or "▲"to change setting, and press "T" button to confirm and move to next setting. • The setting sequence is: Hour, Minute and Alarm ON ( )/OFF ( ). • When the alarm is on, the symbol " " appears and when it is off the symbol " " disappears. • When alarm goes off " " will flash, press any button to stop the alarm and if no button is pressed the alarm will automatically stop after 2 minutes. Set and Reset Sea Level Pressure and Weather Forecast Icons (i) Current barometric (air) pressure . (ii) Current Sea level pressure display on the LCD). ("SEA" icon • Press "B" button to enter Barometer mode. The LCD will display the current barometric pressure and press the "B" button again to display the sea level pressure. • In the Sea Level pressure display, hold the "B" button down for 3 seconds to enter the setting. Press "▼"or "▲"to change the setting and press "MODE" button to confirm and move to next setting. • The setting sequence is as: sea level pressure, toggle weather forecast icons. → → → • The weather forecast will start the first forecast 6 hours later after the current weather status is entered. Note: Barometric pressure and sea level pressure measurement in mbar/hPa, mmHG or inHG. When sea level pressure is changed, the altitude will adjust itself. • When the direction of compass is pointing North (degree for -12.5 to +12.5), the direction icon outside will be shown. If no key is pressed for 30 seconds, the unit will automatically shut off the compass and return to the temperature mode. 3
-
 1
1 -
 2
2 -
 3
3 -
 4
4 -
 5
5 -
 6
6 -
 7
7 -
 8
8 -
 9
9 -
 10
10 -
11
-
12
-
13
-
14
-
15
-
16
-
17
-
18
-
19
-
20
-
21
-
22
-
23
-
24
-
25
-
26
-
27
-
28
-
29
-
30
-
31
-
32
-
33
-
34
-
35
-
36
-
37
-
38
-
39
-
40
 |
 |