Cisco HGA9N Administration Guide - Page 19
Connect the Access Point to the Cable, Cisco HGA9N High Gain Omni-Directional Antenna.
 |
UPC - 745883577392
View all Cisco HGA9N manuals
Add to My Manuals
Save this manual to your list of manuals |
Page 19 highlights
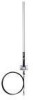
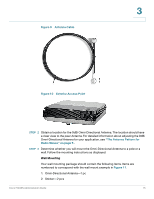
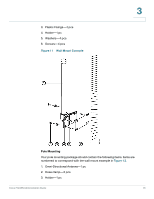
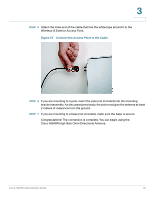
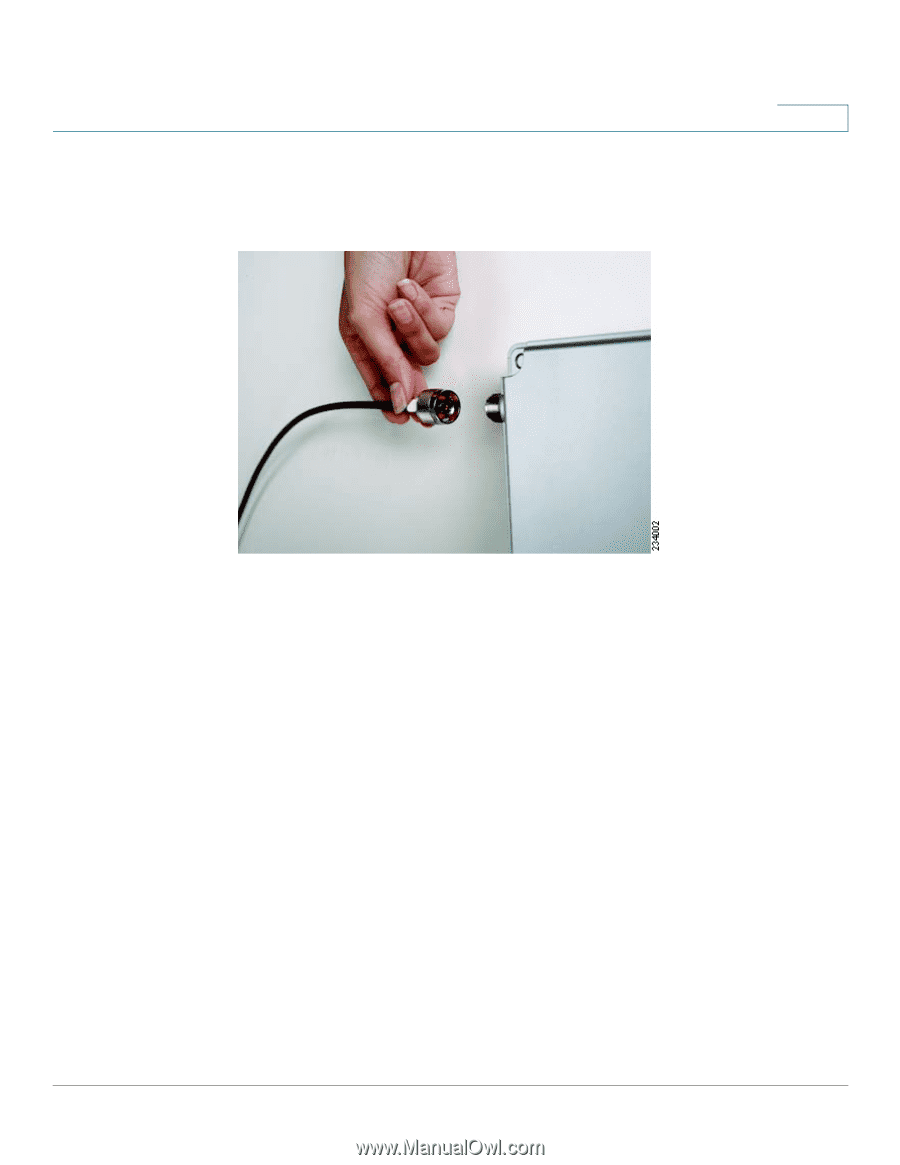
3 STEP 5 Attach the male end of the cable that has the white tape around it to the Wireless-G Exterior Access Point. Figure 15 Connect the Access Point to the Cable STEP 6 If you are mounting to a pole, insert the pole (not included) into the mounting bracket assembly. As discussed previously, the pole must give the antenna at least 2 meters of clearance from the ground. STEP 7 If you are mounting to a base (not included), make sure the base is secure. Congratulations! The connection is complete. You can begin using the Cisco HGA9N High Gain Omni-Directional Antenna. Cisco HGA9N Administration Guide 19
-
 1
1 -
2
-
3
-
4
-
5
-
6
-
7
-
8
-
9
-
10
-
11
-
12
-
13
-
 14
14 -
 15
15 -
 16
16 -
 17
17 -
 18
18 -
 19
19 -
 20
20 -
 21
21 -
 22
22
 |
 |
Cisco HGA9N Administration Guide
19
3
STEP
5
Attach the male end of the cable that has the white tape around it to the
Wireless-G Exterior Access Point.
Figure 15
Connect the Access Point to the Cable
STEP
6
If you are mounting to a pole, insert the pole (not included) into the mounting
bracket assembly. As discussed previously, the pole must give the antenna at least
2 meters of clearance from the ground.
STEP
7
If you are mounting to a base (not included), make sure the base is secure.
Congratulations! The connection is complete. You can begin using the
Cisco HGA9N High Gain Omni-Directional Antenna.