Coby DP700 Instruction Manual - Page 10
Function Buttons, Conecte el soporte
 |
UPC - 716829907009
View all Coby DP700 manuals
Add to My Manuals
Save this manual to your list of manuals |
Page 10 highlights
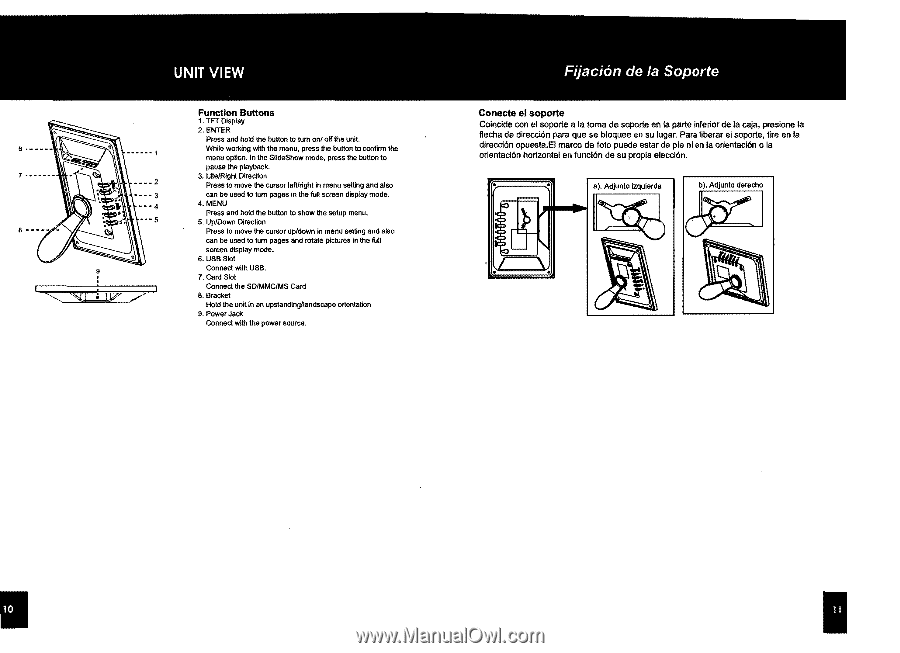
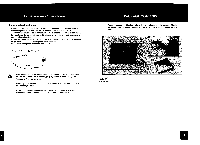
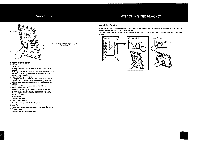
1 ~ ~! ~ IE 7 Function Buttons 1. TFT Display 2. ENTER Press and hold the button to tum onl off the unit. While working with the menu, press the bullon to confirm the menu option. In the SlideShow mode, press the butlon to pause the playback. 3. LftelRlght Direction Press to move the cursor left/right in menu seiling and also can be used to tum pages in the full screen display mode, 4. MENU Press and hold the button 1o show Ihe selup menu. 5, UplDown Direction Press to move the cursor upldown In menu setting and also can be used 10 tum pages and rotate pictures in the full screen display mode. 6, USB Slot Connect with USB. 7. Card Sial Connect the SDIMMClMS Card 8. Bracket Hold the unit in an upslandingnandscape orientation 9. Power Jack Connect with the power source, Conecte el soporte Coincide con el soporte a la lorna de soporte en la parte infenor de la caja, presione la flecha de direcci6n para que se bloquee en su lugar. Para IIberar el soporte, lire en la direccl6n opuesta.EI marco de folo puede eslar de pie ni en la orienlaci6n 0 la orienlaci6n horizontal en funcl6n de su propia erecci6n.
-
 1
1 -
2
-
3
-
4
-
 5
5 -
 6
6 -
 7
7 -
 8
8 -
 9
9 -
 10
10 -
 11
11 -
 12
12 -
 13
13 -
 14
14 -
 15
15 -
16
-
17
-
18
-
19
-
20
-
21
-
22
-
23
-
24
-
25
-
26
-
27
-
28
-
29
-
30
 |
 |