Compaq 621 Compaq 320, 321, 420, 421, 620, 621 Notebook PCs and HP 420, 620 No - Page 111
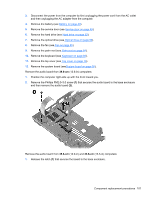
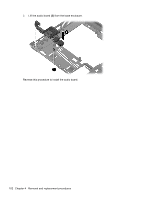
that secures the audio board to the base enclosure
 |
View all Compaq 621 manuals
Add to My Manuals
Save this manual to your list of manuals |
Page 111 highlights
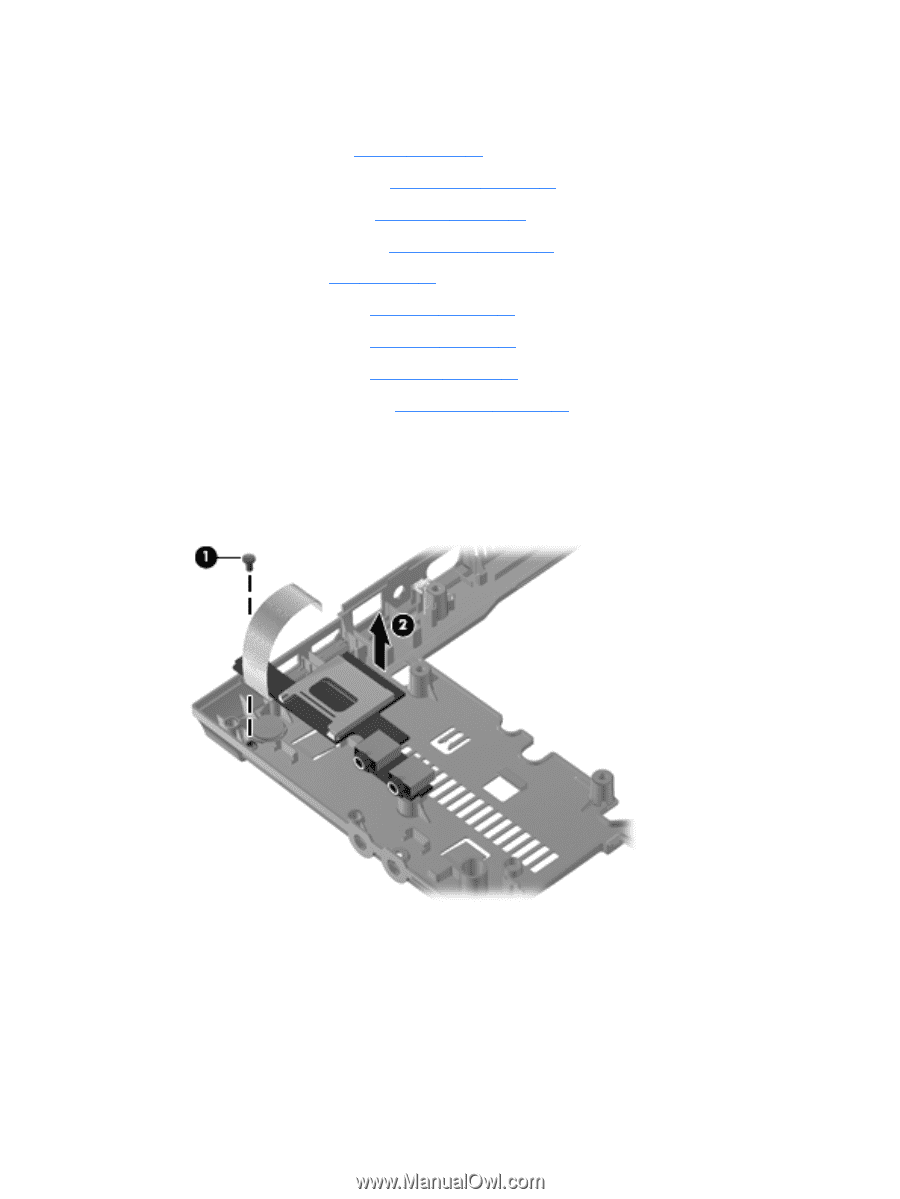
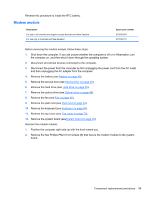
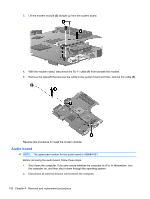
3. Disconnect the power from the computer by first unplugging the power cord from the AC outlet and then unplugging the AC adapter from the computer. 4. Remove the battery (see Battery on page 49). 5. Remove the service door (see Service door on page 49). 6. Remove the hard drive (see Hard drive on page 52). 7. Remove the optical drive (see Optical drive on page 58). 8. Remove the fan (see Fan on page 60). 9. Remove the palm rest (see Palm rest on page 64). 10. Remove the keyboard (see Keyboard on page 69). 11. Remove the top cover (see Top cover on page 73). 12. Remove the system board (seeSystem board on page 92). Remove the audio board from 39.6-cm (15.6-in) computers: 1. Position the computer right-side up with the front toward you. 2. Remove the Phillips PM2.0×3.0 screw (1) that secures the audio board to the base enclosure and then remove the audio board (2). Remove the audio board from 35.6-cm (14.0-in) and 33.8-cm (13.3-in) computers: 1. Release the latch (1) that secures the board to the base enclosure. Component replacement procedures 101
-
 1
1 -
2
-
3
-
4
-
5
-
6
-
7
-
8
-
9
-
10
-
11
-
12
-
13
-
14
-
15
-
16
-
17
-
18
-
19
-
20
-
21
-
22
-
23
-
24
-
25
-
26
-
27
-
28
-
29
-
30
-
31
-
32
-
33
-
34
-
35
-
36
-
37
-
38
-
39
-
40
-
41
-
42
-
43
-
44
-
45
-
46
-
47
-
48
-
49
-
50
-
51
-
52
-
53
-
54
-
55
-
56
-
57
-
58
-
59
-
60
-
61
-
62
-
63
-
64
-
65
-
66
-
67
-
68
-
69
-
70
-
71
-
72
-
73
-
74
-
75
-
76
-
77
-
78
-
79
-
80
-
81
-
82
-
83
-
84
-
85
-
86
-
87
-
88
-
89
-
90
-
91
-
92
-
93
-
94
-
95
-
96
-
97
-
98
-
99
-
100
-
101
-
102
-
103
-
104
-
105
-
 106
106 -
 107
107 -
 108
108 -
 109
109 -
 110
110 -
 111
111 -
 112
112 -
 113
113 -
 114
114 -
 115
115 -
 116
116 -
117
-
118
-
119
-
120
-
121
-
122
-
123
-
124
-
125
-
126
-
127
-
128
-
129
-
130
-
131
-
132
-
133
-
134
-
135
-
136
-
137
-
138
-
139
-
140
-
141
-
142
-
143
-
144
-
145
-
146
-
147
-
148
-
149
-
150
-
151
-
152
-
153
-
154
-
155
-
156
-
157
-
158
-
159
-
160
 |
 |