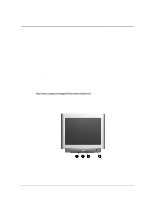
Compaq 7550 Reference Guide Compaq Color Monitors Series 5500, 7500, 7550, 950 - Page 16
On-Screen Display Functions - windows 7
 |
View all Compaq 7550 manuals
Add to My Manuals
Save this manual to your list of manuals |
Page 16 highlights
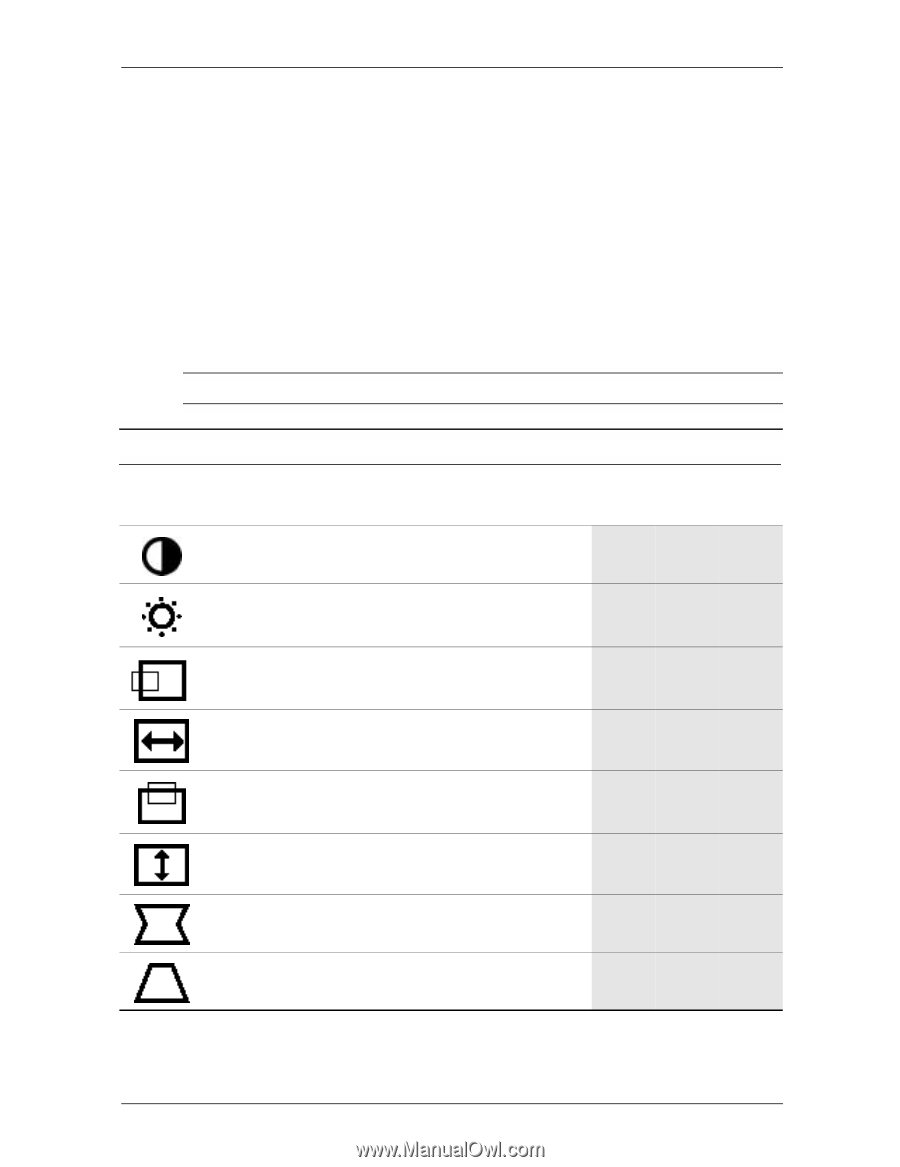
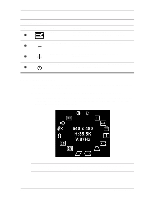
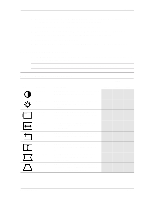
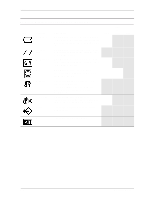
Operation 3. To move to a function, press the Right-Adjustment or Left-Adjustment button on the front panel of your monitor until the function is highlighted. 4. Press the Select button on the monitor choose the function. 5. The adjustment window displays. Press the Right-Adjustment or Left-Adjustment buttons to increase (Right) or decrease (Left) the level of adjustment. 6. Press Select to save the new adjustment. 7. To exit the On-Screen Display, select the Exit icon and press the Select button once. On-Screen Display Functions Use the Right-Adjustment and Left-Adjustment buttons found on the front control panel of your monitor to adjust these functions. ✎ The shaded area indicates that this function is available in the model indicated. On-Screen Display Icons and Functions Icon Function Contrast Description Right-Adjustment increases the contrast and Left-Adjustment decreases the contrast. 5500 7500 & 7550 9500 Brightness Horizontal Position Horizontal Size Vertical Position Right-Adjustment increases the brightness and Left-Adjustment decreases the brightness. Right-Adjustment moves the image to the right and Left-Adjustment moves the image to the left. Right-Adjustment increases the horizontal size and Left-Adjustment decreases the horizontal size. Right-Adjustment moves the image up and Left-Adjustment moves the image down. Vertical Size Pincushion Trapezoid Right-Adjustment increases the vertical size and Left-Adjustment decreases the vertical size. Right-Adjustment makes the image sides convex and Left-Adjustment makes the image concave. Right-Adjustment adjusts the image so the top is larger and Left-Adjustment adjusts the image so that the bottom is larger. Reference Guide 4-3
-
 1
1 -
2
-
3
-
4
-
5
-
6
-
7
-
8
-
9
-
10
-
 11
11 -
 12
12 -
 13
13 -
 14
14 -
 15
15 -
 16
16 -
 17
17 -
 18
18 -
 19
19 -
 20
20 -
 21
21 -
22
-
23
-
24
-
25
-
26
-
27
-
28
-
29
-
30
-
31
-
32
-
33
-
34
-
35
-
36
 |
 |