Cuisinart CSB-55 CSB-55N Manual - Page 7
Chopper Grinder Parts and Assembly - hand blender parts
 |
UPC - 086279106438
View all Cuisinart CSB-55 manuals
Add to My Manuals
Save this manual to your list of manuals |
Page 7 highlights
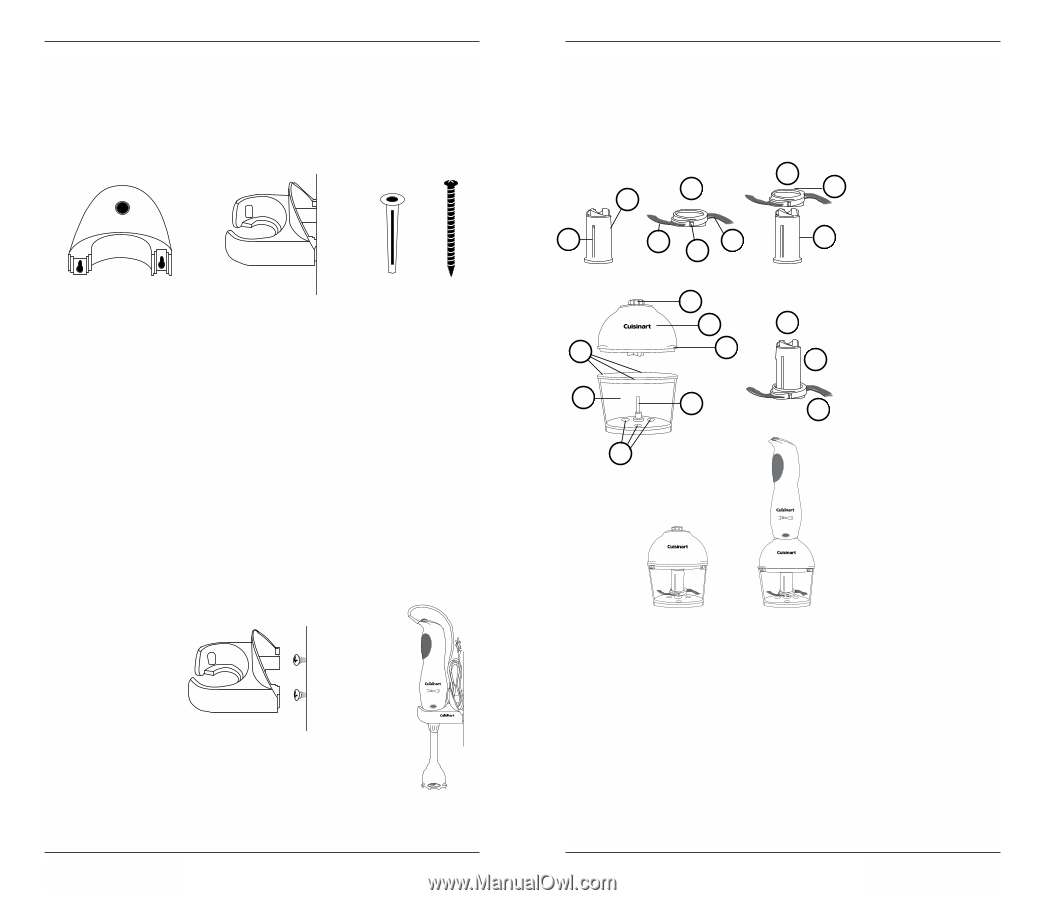
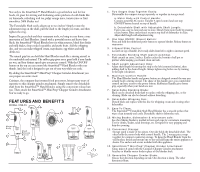
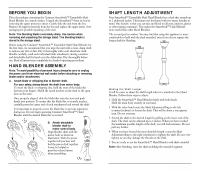
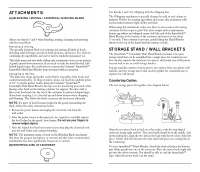
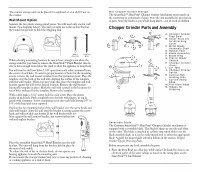
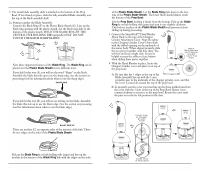
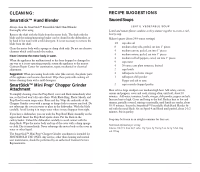
The counter storage unit can be placed in a cupboard or on a shelf if not on the counter. Wall Mount Option Separate the two plastic storage stand pieces. You will need only one for wall mount. (See diagrams below). The unit you must use is the section that has the round storage hole to hold the whipping disk. Wall Anchor Anchor Bolt When selecting a mounting location, be sure to leave enough room above the storage stand for your hand to remove the SmartStick™ Hand Blender. Also be sure to leave enough room below the stand to allow the appliance to hang freely. You will need to drill two holes 2 5/8" apart from each other, measured from the center of each hole. To assist in proper location of holes for the mounting screws, remove the wall mount template from this instruction book. Place the template over the back of the wall unit, aligning the outline of the template with the wall bracket. When you have done this, place the template and wall bracket against the wall in the desired location. Remove the wall bracket, leaving the template in place. Mark the wall with a pencil in the locations for screw holes indicated by the template. Remove the template. With a drill, make a 3/16" starter hole for each screw. Place the plastic anchor in each hole. Push completely into the hole with fingers, or tap in gently with a hammer. Screw a mounting screw into each hole leaving 1/8" to 1/4" of the head and screw exposed. Position the two mounting holes of the wall bracket over the screw heads and slide wall bracket down the wall until the bracket is resting against the screw head, and will not slide any further. If the wall bracket feels too loose against the wall, remove bracket, put screws further into wall and replace bracket. ® SmartStickTM EXTENDABLE SHAFT PRESS BUTTON TO DETACH ® Use only this piece for wall mounting. Connect to other half for countertop storage. Place the assembled SmartStick™ Hand Blender into the wall bracket. The unit will hang from the bracket, held in place by the motor body width. To reduce the risk of fire or electric shock, do not operate any heating appliance beneath the mounting unit. Do not mount the storage bracket/ unit over or near any portion of a heating or cooking appliance or a sink or basin. 12 Mini Chopper Grinder Storage. The SmartStick™ Mini Prep® Chopper Grinder Attachment stores neatly on the countertop in a minimum of space. Store the unit assembled to prevent loss of parts. Store the blades as you would sharp knives-out of reach of children. Chopper Grinder Parts and Assembly F G N L M K B ® SmartStick™ MINI PREP® Chopper Grinder Attachment J H I A C D E F G E G F A. Chopper Grinder Prep Bowl B. Cover Slots (3) for Attaching Cover C. Metal Blade Assembly Shaft D. Rubber Feet E. Blade Assembly F. Blade Ring G. Plastic Blade Sheath H. Chopper Grinder Cover I. Lift Tabs J. Chopper Grinder Spline K. Central Hub Holding Ribs L. Curved Sharp Edge M. Flat Blunt Edge N. Ridges for Gripping ® SmartStick™ MINI PREP® Chopper Grinder Attachment ® SmartStickTM EXTENDABLE SHAFT PRESS BUTTON TO DETACH ® SmartStick™ MINI PREP® Chopper Grinder Attachment Reversible Blade. The Cuisinart SmartStick™ Mini Prep® Chopper Grinder attachment is equipped with a reversible blade. This blade is sharp on one side and blunt on the other. The blade is attached to a plastic ring which slides over the blade assembly shaft, so it can be easily turned over to select the appropriate blade. A guide for proper blade selection follows in the section, Chopper Grinder Tips for Processing Foods. Before you process any food, assemble the parts. 1. Place the Prep Bowl on a flat, dry, stable surface. It should be close to an electrical outlet of the same voltage as stated on the rating plate on the SmartStick™ Hand Blender. 13
-
 1
1 -
 2
2 -
 3
3 -
 4
4 -
 5
5 -
 6
6 -
 7
7 -
 8
8 -
 9
9 -
 10
10 -
 11
11 -
 12
12 -
13
-
14
-
15
 |
 |