Cuisinart SS-10 Owner Manual - Page 13
Stopping the Brew, Process, Adding Water, Programming
 |
View all Cuisinart SS-10 manuals
Add to My Manuals
Save this manual to your list of manuals |
Page 13 highlights
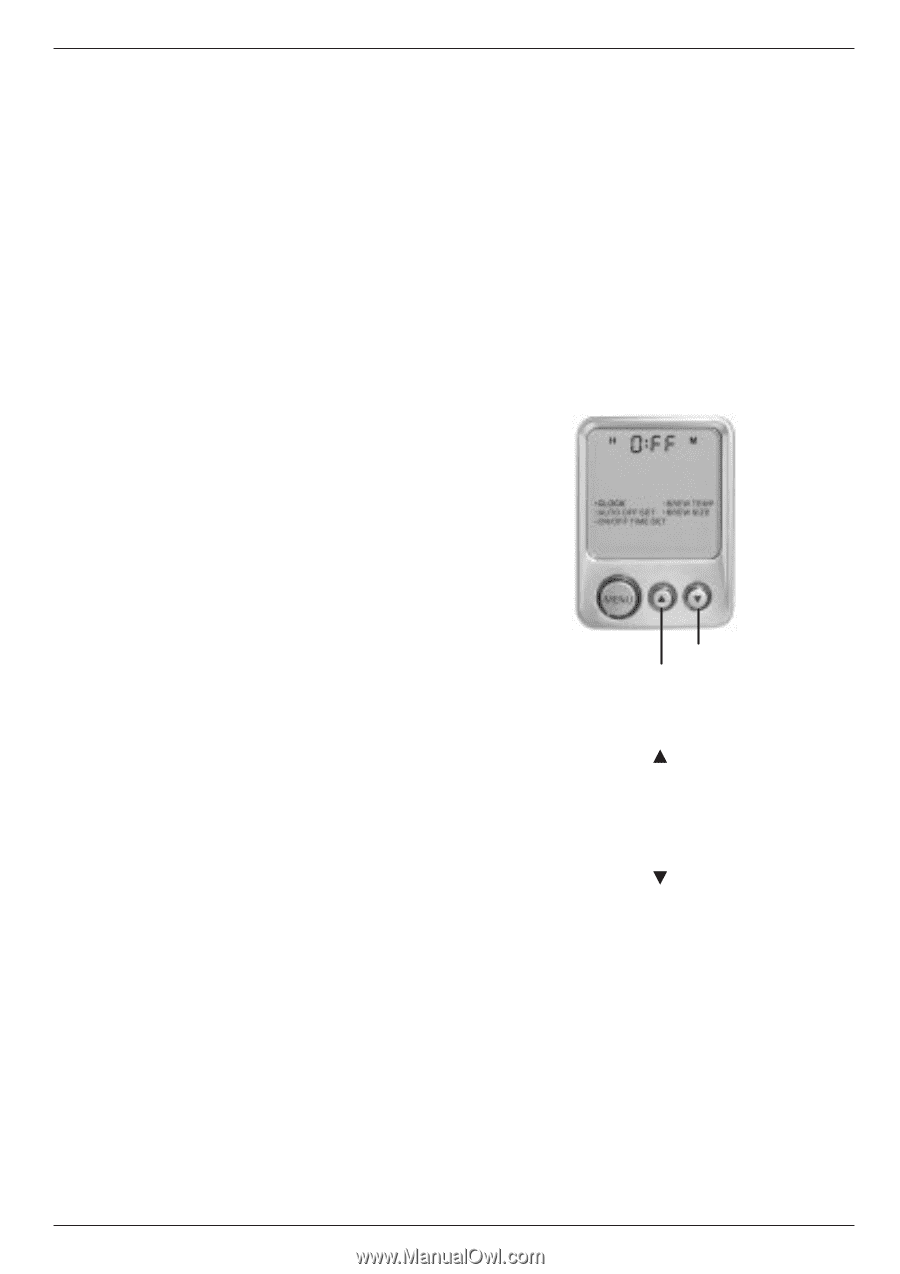
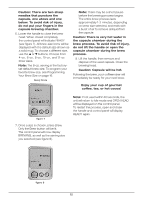
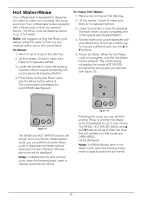
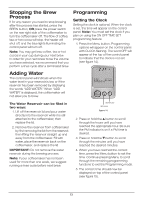
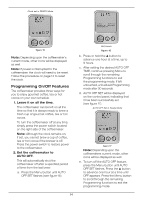
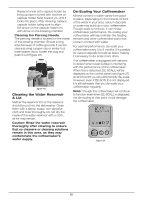
Stopping the Brew Process If for any reason you need to stop brewing after the process has started, press the BREW button, OR press the power switch on the rear right side of the coffeemaker to turn the coffeemaker off. The flow of coffee, tea or hot cocoa will stop, the heater will shut off, and the blue lights illuminating the control panel will turn off. Note: You may get less coffee, tea or hot cocoa in your cup during your next brew. In order for your next brew to be the volume you have selected, we recommend that you perform a rinse cycle after a terminated brew. Programming Setting the Clock Setting the clock is optional. When the clock is set, the time will appear on the control panel. Note: You must set the clock if you plan on using the ON OFF TIME SET programming feature. 1. Press the Menu button. Programming options will appear on the control panel with CLOCK flashing. The word OFF will appear at the top of the control panel to indicate that the clock is not set (see figure 14). Adding Water The control panel will indicate when the water level in your reservoir is low or if the reservoir has been removed by displaying the words "ADD WATER." When "ADD WATER" is displayed, the coffeemaker will not allow you to brew. The Water Reservoir can be filled in two ways: 1. Lift off the reservoir lid and pour water directly into the reservoir while it is still attached to the coffeemaker, then replace the lid. 2. Remove the reservoir from coffeemaker by first removing the lid from the reservoir, then lifting the reservoir straight up and away from the coffeemaker. Fill with water, place the reservoir back on the coffeemaker, and replace the lid. IMPORTANT: Do not remove the water reservoir during the brewing process. Note: If your coffeemaker has not been used for more than one week, we suggest running a rinse cycle before next brew. Set Minutes Set Hours figure 14 2. Press or hold the button to scroll through the hours until you have reached the appropriate hour. Be sure the PM indicator is on if a PM time is desired. 3. Press or hold the button to scroll through the minutes until you have reached the desired minutes. 4. When you have reached the correct time, press the Menu button to set the time. Continue pressing Menu to scroll through the remaining programming functions to exit the Programming mode. 5. The correct time should now be displayed on top of the control panel (see figure 15). 13
-
 1
1 -
2
-
3
-
4
-
5
-
6
-
7
-
 8
8 -
 9
9 -
 10
10 -
 11
11 -
 12
12 -
 13
13 -
 14
14 -
 15
15 -
 16
16 -
 17
17 -
 18
18 -
19
-
20
-
21
-
22
-
23
-
24
-
25
-
26
-
27
-
28
-
29
-
30
-
31
-
32
-
33
-
34
-
35
-
36
-
37
-
38
-
39
-
40
-
41
-
42
-
43
-
44
 |
 |