D-Link DES-3526 Product Manual - Page 245
Download Configuration File, Upload Configuration, Upload Settings to TFTP Server window - des firmware update
 |
UPC - 790069265969
View all D-Link DES-3526 manuals
Add to My Manuals
Save this manual to your list of manuals |
Page 245 highlights
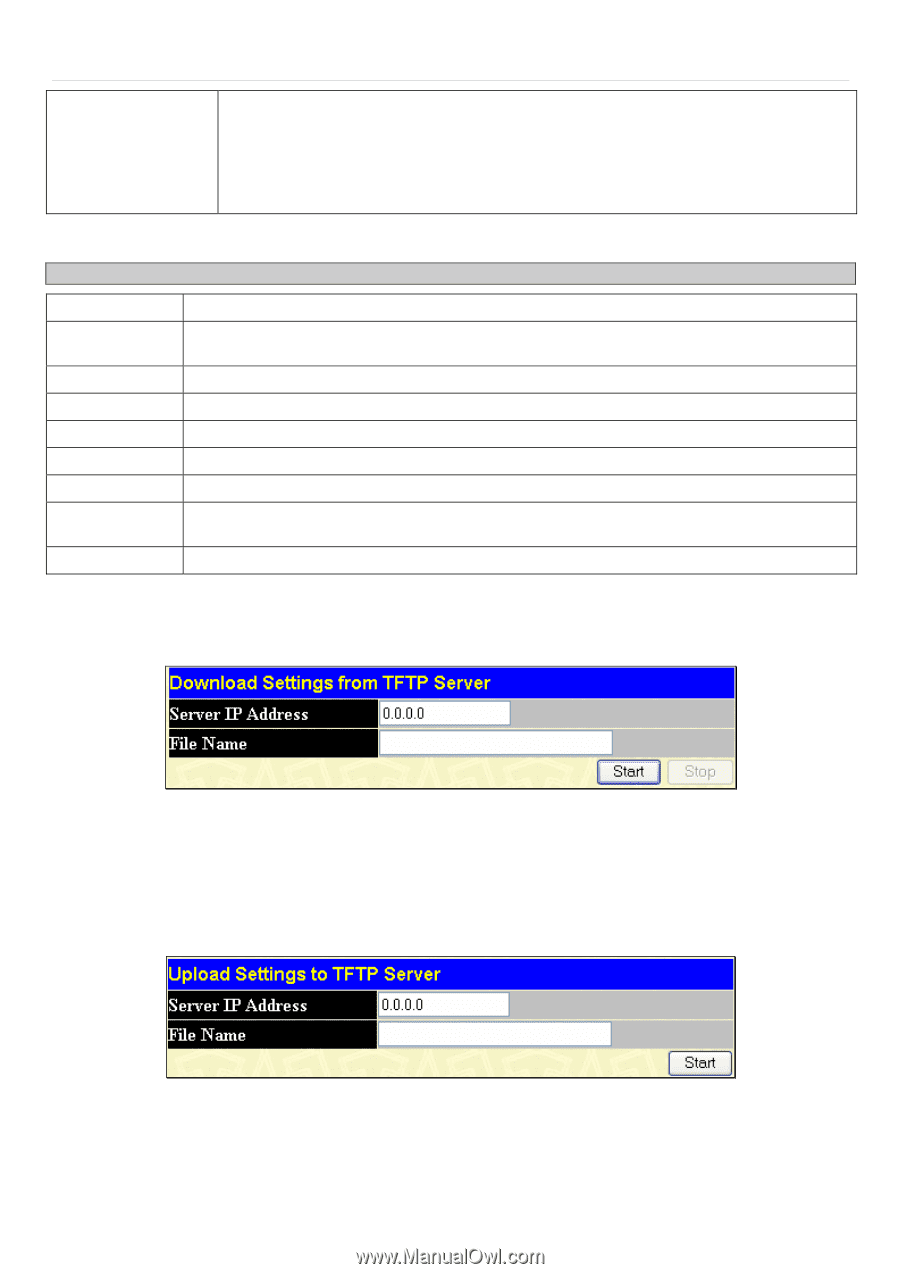
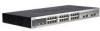
xStack® DES-3500 Series Layer 2 Stackable Fast Ethernet Managed Switch User Manual Type Specify the purpose of the firmware: Download: Clicking this radio button will specify a download to the Switch. This will be the firmware that the Switch will immediately use. Update: Clicking this radio button will save the firmware to the Switch's memory but not configure the Switch for this firmware. The Switch may hold two firmware versions specified as Section 1 and Section 2. Information about firmware on the Switch can be viewed in the Firmware Management table in the same window. It holds the following information: Parameter Description ID Boot Status Version Size Date From User Set Boot Delete The user-defined Section ID of the firmware on the Switch. The firmware that is currently being run on the Switch will be identified in this field with the term "Boot". The runtime version of the firmware. The size of the firmware, in bytes. The date that the firmware was added to the Switch. The IP address of the Server from which the firmware came. The name of the user who downloaded the firmware. Click the Apply button in this field to set the firmware version to be used upon the next boot up of the Switch. Click the X in this column to permanently delete the corresponding firmware from the Switch. Download Configuration File To download a settings file from a TFTP server, click Maintenance > TFTP Service > Download Configuration File: Figure 9- 2. Download Settings from TFTP Server window Enter the IP address of the TFTP server and specify the location of the switch settings file on the TFTP server. Click Start to record the IP address of the TFTP server and to initiate the file transfer. Upload Configuration To upload the switch settings to a TFTP server, click Maintenance > TFTP Services > Upload Configuration: Figure 9- 3. Upload Settings to TFTP Server window Enter the IP address of the TFTP server and the path and filename for the switch settings on the TFTP server. Click Start to record the IP address of the TFTP server and to initiate the file transfer. 230
-
 1
1 -
2
-
3
-
4
-
5
-
6
-
7
-
8
-
9
-
10
-
11
-
12
-
13
-
14
-
15
-
16
-
17
-
18
-
19
-
20
-
21
-
22
-
23
-
24
-
25
-
26
-
27
-
28
-
29
-
30
-
31
-
32
-
33
-
34
-
35
-
36
-
37
-
38
-
39
-
40
-
41
-
42
-
43
-
44
-
45
-
46
-
47
-
48
-
49
-
50
-
51
-
52
-
53
-
54
-
55
-
56
-
57
-
58
-
59
-
60
-
61
-
62
-
63
-
64
-
65
-
66
-
67
-
68
-
69
-
70
-
71
-
72
-
73
-
74
-
75
-
76
-
77
-
78
-
79
-
80
-
81
-
82
-
83
-
84
-
85
-
86
-
87
-
88
-
89
-
90
-
91
-
92
-
93
-
94
-
95
-
96
-
97
-
98
-
99
-
100
-
101
-
102
-
103
-
104
-
105
-
106
-
107
-
108
-
109
-
110
-
111
-
112
-
113
-
114
-
115
-
116
-
117
-
118
-
119
-
120
-
121
-
122
-
123
-
124
-
125
-
126
-
127
-
128
-
129
-
130
-
131
-
132
-
133
-
134
-
135
-
136
-
137
-
138
-
139
-
140
-
141
-
142
-
143
-
144
-
145
-
146
-
147
-
148
-
149
-
150
-
151
-
152
-
153
-
154
-
155
-
156
-
157
-
158
-
159
-
160
-
161
-
162
-
163
-
164
-
165
-
166
-
167
-
168
-
169
-
170
-
171
-
172
-
173
-
174
-
175
-
176
-
177
-
178
-
179
-
180
-
181
-
182
-
183
-
184
-
185
-
186
-
187
-
188
-
189
-
190
-
191
-
192
-
193
-
194
-
195
-
196
-
197
-
198
-
199
-
200
-
201
-
202
-
203
-
204
-
205
-
206
-
207
-
208
-
209
-
210
-
211
-
212
-
213
-
214
-
215
-
216
-
217
-
218
-
219
-
220
-
221
-
222
-
223
-
224
-
225
-
226
-
227
-
228
-
229
-
230
-
231
-
232
-
233
-
234
-
235
-
236
-
237
-
238
-
239
-
 240
240 -
 241
241 -
 242
242 -
 243
243 -
 244
244 -
 245
245 -
 246
246 -
 247
247 -
 248
248 -
 249
249 -
 250
250 -
251
-
252
-
253
-
254
-
255
-
256
-
257
-
258
-
259
-
260
-
261
-
262
-
263
-
264
-
265
-
266
-
267
-
268
-
269
-
270
-
271
-
272
-
273
-
274
-
275
-
276
-
277
-
278
-
279
-
280
-
281
-
282
-
283
-
284
-
285
-
286
-
287
-
288
-
289
-
290
-
291
-
292
-
293
-
294
-
295
-
296
-
297
-
298
-
299
-
300
-
301
-
302
-
303
-
304
-
305
-
306
-
307
-
308
-
309
-
310
-
311
-
312
-
313
-
314
-
315
-
316
-
317
-
318
-
319
-
320
-
321
-
322
-
323
-
324
-
325
-
326
-
327
-
328
 |
 |