D-Link DWC-2000-AP32-LIC Quick Installation Guide - Page 4
Step 2 - Installation, Step 3 - Connecting the Device, to a Network, Step 4 - Powering on the Device
 |
View all D-Link DWC-2000-AP32-LIC manuals
Add to My Manuals
Save this manual to your list of manuals |
Page 4 highlights
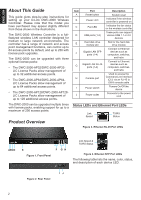
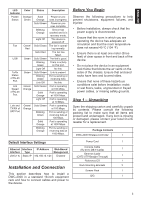
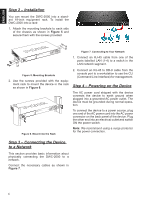
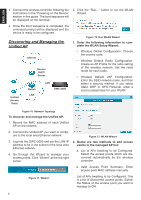
ENGLISH Step 2 - Installation You can mount the DWC-2000 into a standard 19-inch equipment rack. To install the DWC-2000 into a rack: 1. Attach the mounting brackets to each side of the chassis as shown in Figure 5 and secure them with the screws provided. Figure 7. Connecting to Your Network 1. Connect an RJ-45 cable from one of the Fan ports labelled LAN (1-4) to a switch in the LAN network segment. Figure 5. Mounting Brackets 2. Use the screws provided with the equipment rack to mount the device in the rack as shown in Figure 6. Fan Figure 6. Mount into the Rack 2. Connect an RJ-45 to DB-9 cable from the console port to a workstation to use the CLI (Command Line Interface) for management. Step 4 - Powering on the Device The AC power cord shipped with the device connects the device to earth ground when plugged into a grounded AC power outlet. The device must be grounded during normal operation. To connect the device to a power source, plug one end of the AC power cord into the AC power connector on the back panel of the device. Plug the other end into an electrical outlet and switch ON the power switch. Note: We recommend using a surge protector for the power connection. Step 3 - Connecting the Device to a Network This section provides basic information about physically connecting the DWC-2000 to a network. Connect the necessary cables as shown in Figure 7. 4
-
 1
1 -
 2
2 -
 3
3 -
 4
4 -
 5
5 -
 6
6 -
 7
7 -
 8
8
 |
 |
