Dell A940 All In One Personal Printer UG_en-us - Page 15
Copied objects appear in a different location on the, Fit to function is not working properly
 |
View all Dell A940 All In One Personal Printer manuals
Add to My Manuals
Save this manual to your list of manuals |
Page 15 highlights
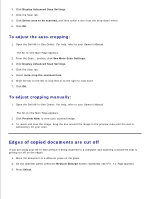
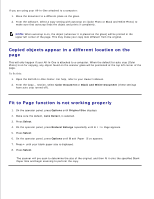
3. If you are using your All-In-One attached to a computer: 1. Move the document to a different place on the glass. 2. From the software, select a copy setting with autocrop on (Color Photo or Black and White Photo) to make sure that autocrop finds the object and prints it completely. NOTE: When autocrop is on, the object (wherever it is placed on the glass) will be printed in the upper left corner of the page. This may make your copy look different from the original. Copied objects appear in a different location on the page This will only happen if your All-In-One is attached to a computer. When the default for auto crop (Color Photo) is on for copying, any object found on the scanner glass will be positioned at the top left corner of the page. To fix this: 1. Open the Dell All-In-One Center. For help, refer to your Owner's Manual. 2. From the Copy... section, select Color Document or Black and White Document (these settings have auto crop turned off). Fit to Page function is not working properly 1. On the operator panel, press Options until Original Size displays. 2. Make sure the default, Auto Detect, is selected. 3. Press Select. 4. On the operator panel, press Reduce/Enlarge repeatedly until Fit to Page appears. 5. Press Select. 6. On the operator panel, press Options until Blank Paper Size appears. 7. Press + until your blank paper size is displayed. 8. Press Select. The scanner will pre-scan to determine the size of the original, and then fit it onto the specified Blank Paper Size and begin scanning to perform the copy.
-
 1
1 -
2
-
3
-
4
-
5
-
6
-
7
-
8
-
9
-
 10
10 -
 11
11 -
 12
12 -
 13
13 -
 14
14 -
 15
15 -
 16
16 -
 17
17 -
 18
18
 |
 |
