Dell PowerApp 120 Five-Volt Riser Board Installation - Page 3
Five-Volt Riser Board Installation, Expansion-Card and Riser-Board Removal
 |
View all Dell PowerApp 120 manuals
Add to My Manuals
Save this manual to your list of manuals |
Page 3 highlights
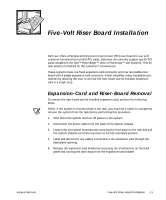
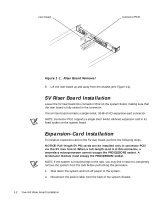
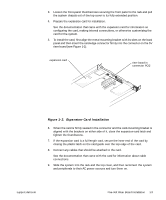
Five-Volt Riser Board Installation Dell now offers a Peripheral Component Interconnect (PCI) riser board for use with customer-furnished five-volt (5V) PCI cards. Dell does not currently support any 5V PCI cards installed in the Dell™ PowerEdge™ 1550 or PowerApp™ 120 systems. This 5V riser board is furnished for the customer's convenience. These systems have one fixed expansion-card connector and one removable riser board with a single expansion-card connector, which simplifies many installation procedures by allowing the user to remove the riser board and its installed expansion card in a single step. Expansion-Card and Riser-Board Removal To remove the riser board and its installed expansion card, perform the following steps. NOTE: If the system is mounted high in the rack, you may find it easier to completely remove the system from the rack before performing this procedure. 1. Shut down the system and turn off power to the system. 2. Disconnect the power cable from the back of the system chassis. 3. Loosen the front-panel thumbscrews securing the front panel to the rack and pull the system chassis out of the top cover to its fully extended position. 4. Label and disconnect any cables connected to the expansion card through the back-panel opening. 5. Release the expansion-card bracket by loosening the thumbscrew on the back panel and rotating the latch away from the expansion-card bracket. support.dell.com Five-Volt Riser Board Installation 1-1
-
 1
1 -
 2
2 -
 3
3 -
 4
4 -
 5
5 -
 6
6
 |
 |