Dell XPS Gen 2 Reinstalling Microsoft® Windows® XP - Page 1
Dell XPS Gen 2 Manual
 |
View all Dell XPS Gen 2 manuals
Add to My Manuals
Save this manual to your list of manuals |
Page 1 highlights
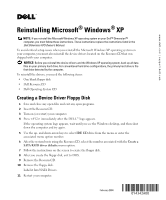
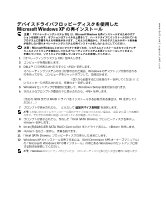
www.dell.com | support.dell.com Reinstalling Microsoft® Windows® XP NOTE: If you reinstall the Microsoft Windows XP operating system on your Dell™ Dimension™ computer, you must follow these instructions. These instructions replace the instructions listed in the Dell Dimension XPS Owner's Manual. To avoid critical setup issues when you reinstall the Microsoft Windows XP operating system on your computer, you must also reinstall the device drivers located on the ResourceCD that was shipped with your computer. NOTICE: Before you reinstall the device drivers and the Windows XP operating system, back up all data files on your primary hard drive. For conventional hard drive configurations, the primary hard drive is the first drive detected by the computer. To reinstall the drivers, you need the following items: • One blank floppy disk • Dell ResourceCD • Dell Operating System CD Creating a Device Driver Floppy Disk 1 Save and close any open files and exit any open programs. 2 Insert the ResourceCD. 3 Turn on (or restart) your computer. 4 Press immediately after the DELL™ logo appears. If the operating system logo appears, wait until you see the Windows desktop, and then shut down the computer and try again. 5 Use the up- and down-arrow keys to select IDE CD drive from the menu or enter the associated menu option number. 6 After the system boots using the ResourceCD, select the number associated with the Create a SATA RAID driver diskette menu option. 7 Follow the instructions on the screen to create the floppy disk. 8 After you create the floppy disk, exit to DOS. 9 Remove the ResourceCD. 10 Remove the floppy disk. Label it Intel SATA Drivers. 11 Restart your computer. February 2004 0Y4342A00
-
 1
1 -
 2
2 -
 3
3 -
 4
4 -
 5
5 -
 6
6
 |
 |
