Dell XPS Gen 2 Reinstalling Microsoft® Windows® XP - Page 2
Installing Microsoft Windows XP Using the Device Driver, Floppy Disk, Windows XP Setup - manual
 |
View all Dell XPS Gen 2 manuals
Add to My Manuals
Save this manual to your list of manuals |
Page 2 highlights
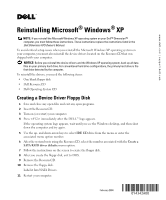
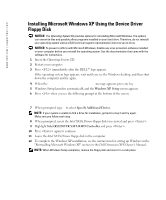
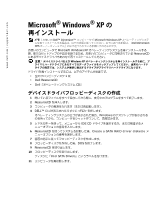
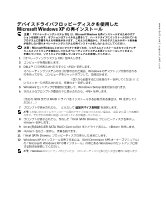
www.dell.com | support.dell.com Installing Microsoft Windows XP Using the Device Driver Floppy Disk NOTICE: The Operating System CD provides options for reinstalling Microsoft Windows. The options can overwrite files and possibly affect programs installed on your hard drive. Therefore, do not reinstall your operating system unless a Dell technical support representative instructs you to do so. NOTICE: To prevent conflicts with Microsoft Windows, disable any virus protection software installed on your computer before you reinstall the operating system. See the documentation that came with the software for instructions. 1 Insert the Operating System CD. 2 Restart your computer. 3 Press immediately after the DELL™ logo appears. If the operating system logo appears, wait until you see the Windows desktop, and then shut down the computer and try again. 4 When the Press any key to boot from CD message appears, press any key. 5 Windows Setup launches automatically and the Windows XP Setup screen appears. 6 Press when you see the following prompt at the bottom of the screen. Press F6 if you need to install a third party SCSI or RAID driver... 7 When prompted, type s to select Specify Additional Device. NOTE: If your system is unable to find a drive for installation, go back to step 2 and try again. Make sure you follow each step. 8 When prompted, insert the Intel SATA Drivers floppy disk you created and press . 9 Highlight Intel(R)82801ER SATA RAID Controller and press . 10 Press again to continue. 11 Leave the Intel SATA Drivers floppy disk in the computer. 12 To complete the Windows XP installation, see the instructions for setting up Windows in the "Reinstalling Microsoft Windows XP" section in the Dell Dimension XPS Owner's Manual. NOTE: When Windows Setup completes, remove the floppy disk and store it in a safe place.
-
 1
1 -
 2
2 -
 3
3 -
 4
4 -
 5
5 -
 6
6
 |
 |