Denon AVR 1906 Owners Manual - Page 48
Advanced Setup - Part 2 - av
 |
UPC - 081757506557
View all Denon AVR 1906 manuals
Add to My Manuals
Save this manual to your list of manuals |
Page 48 highlights
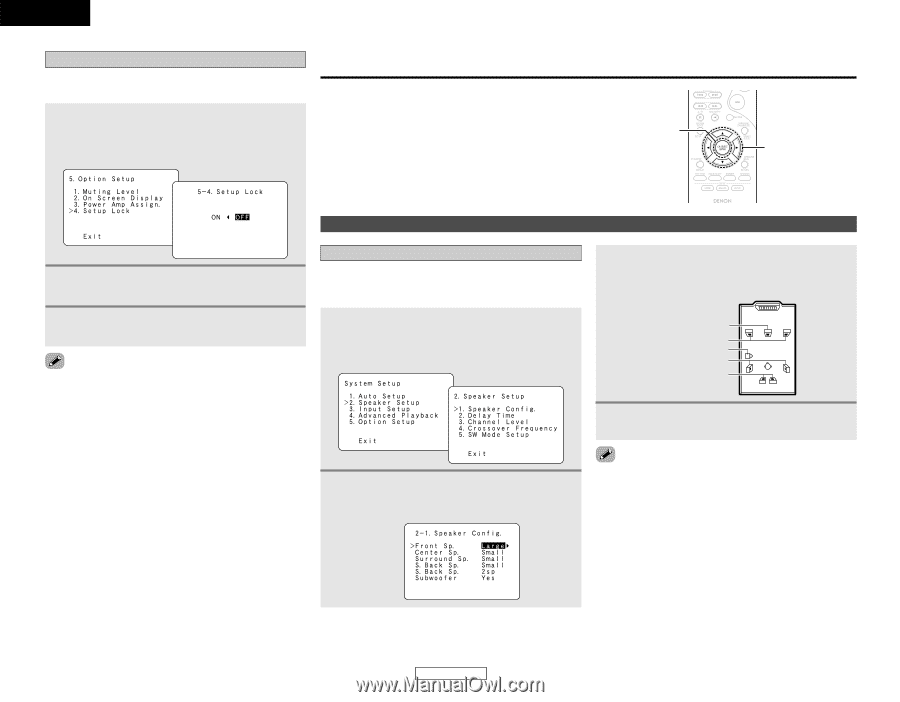
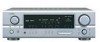
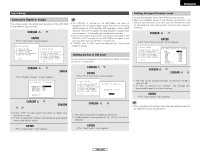
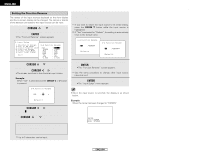
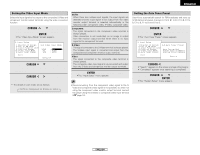
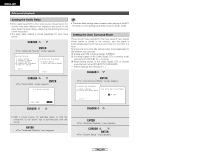
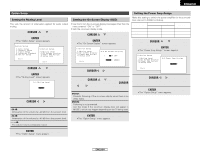
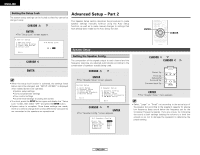
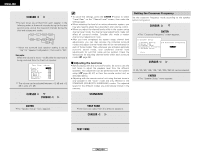
ENGLISH Advanced Setup - Part 1 Setting the Setup Lock The system setup settings can be locked so that they cannot be changed easily. 1 Press the CURSOR D or H button to select "Setup Lock" at the "Option Setup" menu, then press the ENTER button. • The "Setup Lock" screen appears. Advanced Setup - Part 2 This Speaker Setup section describes the procedures to make speaker settings manually (without using the Auto Setup function), as well as to make manual changes to settings that have already been made by the Auto Setup function. ENTER CURSOR Speaker Setup 2 Press the CURSOR F button to select "ON", to lock the system setup settings. Setting the Speaker Config. The composition of the signals output to each channel and the frequency response are adjusted automatically according to the combination of speakers actually being used. 3 Press the CURSOR D or H button to select a speaker, then press the CURSOR F or G button to select a parameter. 3 Press the ENTER button to finalize the setting and exit the system setup mode. • When the setup lock function is activated, the settings listed below cannot be changed, and "SETUP LOCKED" is displayed when related buttons are operated. • System setup settings • Surround parameter settings • Tone control settings • Channel level settings (including test tones) • To unlock, press the SETUP button again and display the "Setup Lock" screen, then select "OFF" and press the ENTER button. • System setup is complete. Once these settings are made, there is no need to change them unless different AV components are connected or the speakers are repositioned. 1 Press the CURSOR D or H button to select "Speaker Setup" at the "System Setup" menu, then press the ENTER button. • The "Speaker Setup" screen appears. 2 Press the CURSOR D or H button to select "Speaker Config.", then press the ENTER button. • The "Speaker Config." screen appears. Center Sp. Front Sp. Subwoofer Surround Sp. Surround back Sp. 4 Press the ENTER button to enter the setting. • The "Speaker Setup" menu appears. • Select "Large" or "Small" not according to the actual size of the speaker but according to the speaker's capacity for playing low frequency (bass sound below the frequency set for the Crossover Frequency) signals. If you are unsure, try comparing the sound at both settings (setting the volume to a level low enough so as not to damage the speakers) to determine the proper setting. 45 ENGLISH
-
 1
1 -
2
-
3
-
4
-
5
-
6
-
7
-
8
-
9
-
10
-
11
-
12
-
13
-
14
-
15
-
16
-
17
-
18
-
19
-
20
-
21
-
22
-
23
-
24
-
25
-
26
-
27
-
28
-
29
-
30
-
31
-
32
-
33
-
34
-
35
-
36
-
37
-
38
-
39
-
40
-
41
-
42
-
 43
43 -
 44
44 -
 45
45 -
 46
46 -
 47
47 -
 48
48 -
 49
49 -
 50
50 -
 51
51 -
 52
52 -
 53
53 -
54
-
55
-
56
-
57
-
58
-
59
-
60
-
61
-
62
-
63
-
64
-
65
-
66
-
67
 |
 |