E-Z-GO TXT - Electric Owner Manual - Page 20
Controls And Indicators - motor
 |
View all E-Z-GO TXT - Electric manuals
Add to My Manuals
Save this manual to your list of manuals |
Page 20 highlights
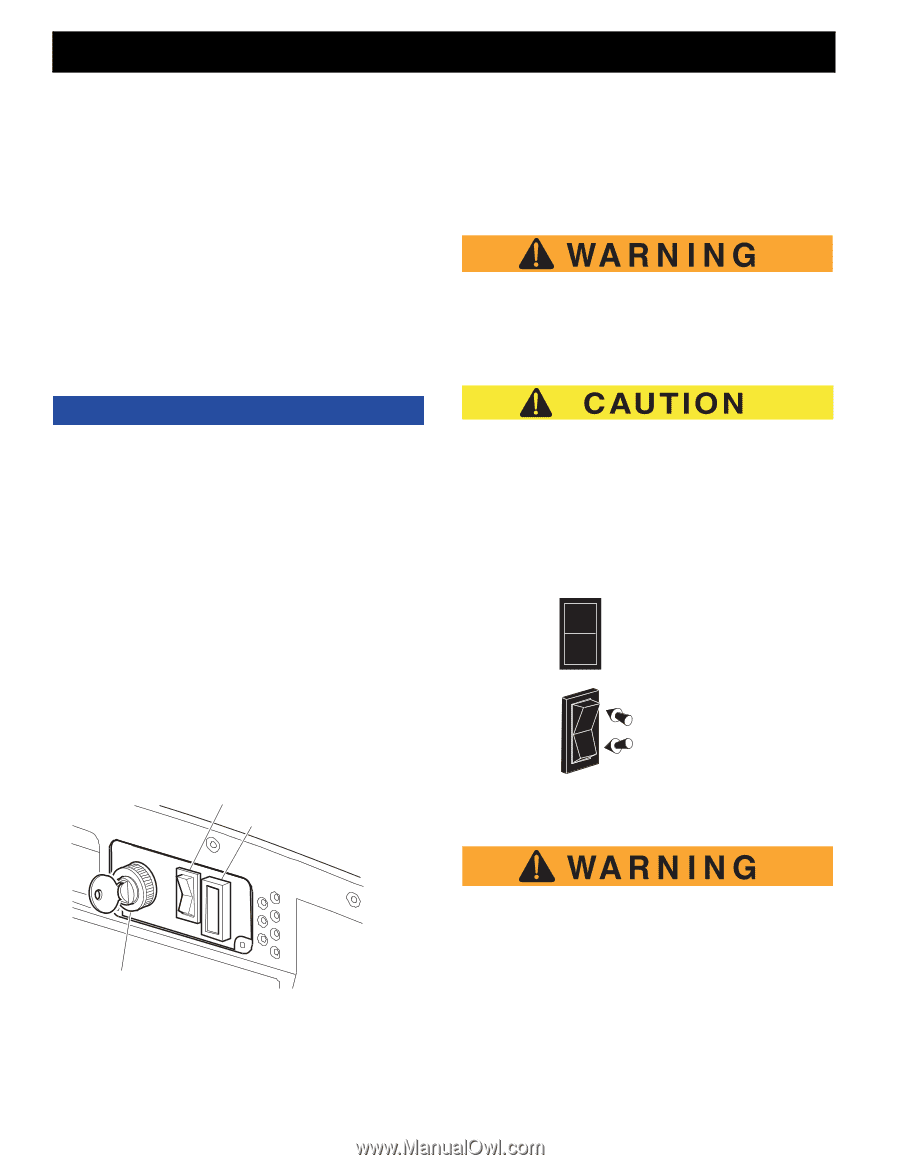
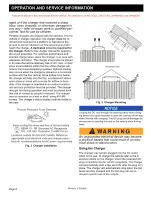
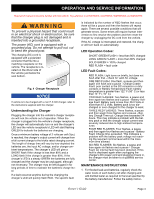
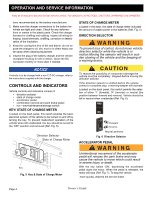
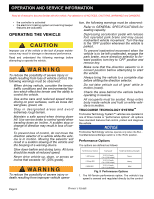
OPERATION AND SERVICE INFORMATION Read all of manual to become familiar with this vehicle. Pay attention to all NOTICES, CAUTIONS, WARNINGS and DANGERS. B tions recommended by the battery manufacturer. 2. Make sure the charger connections to the battery terminals are tight and clean. Check for any deformations or cracks in the plastic parts. Check the charger harness for chaffing and rubbing. Inspect all wiring for fraying, loose terminals, chaffing, corrosion or deterioration of the insulation. 3. Keep the cooling fins free of dirt and debris, do not expose the charger to oil, dirt, mud or to direct heavy water spray when cleaning equipment. 4. Inspect the plug of the battery charger and the vehicle receptacle housing for dirt or debris. Clean the DC connector monthly or more often if needed. STATE OF CHARGE METER Located in the dash, the state of charge meter indicates the amount of usable power in the batteries (Ref. Fig. 5) DIRECTION SELECTOR To prevent loss of control, do not move vehicle direction selector while the vehicle is in motion.Moving the selector will result in sudden slowing of the vehicle and the beeping of a warning device. NOTICE If vehicle is to be charged with a non E-Z-GO charger, refer to the instructions supplied with the charger. CONTROLS AND INDICATORS Vehicle controls and indicators consist of: • direction selector • state of charge meter • accelerator pedal • combination service and park brake pedal • run - tow/maintenance/storage switch KEY/ STATE OF CHARGE METER Located on the dash panel, this switch enables the basic electrical system of the vehicle to be turned on and off by turning the key. To prevent inadvertent operation of the vehicle when left unattended, the key should be turned to the 'OFF' position and removed (Ref. Fig. 5). OFF ON Direction Selector State of Charge Meter Key Fig. 5 Key & State of Charge Meter To reduce the possibilty of component damage,the vehicle must be completely stopped before moving the direction selector. If the direction selector is shifted before the vehicle comes to complete stop, a warning beeper will activate. Located on the dash panel, this switch permits the selection of either 'F' (forward), 'R' (reverse) or neutral (the position between forward and reverse). Vehicle should be left in neutral when unattended (Ref. Fig. 6). FWD REV FWD Forward REV Reverse Neutral, as shown Fig. 6 Direction Selector ACCELERATOR PEDAL Unintentional movement of the accelerator pedal will release the park brake and may cause the vehicle to move which could result in severe injury or death. With the key switch 'ON', depressing the accelerator pedal starts the motor. When the pedal is released, the motor will stop (Ref. Fig. 7). To stop the vehicle more quickly, depress the service brake. Page 4 Owner's Guide
-
 1
1 -
2
-
3
-
4
-
5
-
6
-
7
-
8
-
9
-
10
-
11
-
12
-
13
-
14
-
 15
15 -
 16
16 -
 17
17 -
 18
18 -
 19
19 -
 20
20 -
 21
21 -
 22
22 -
 23
23 -
 24
24 -
 25
25 -
26
-
27
-
28
-
29
-
30
-
31
-
32
-
33
-
34
-
35
-
36
-
37
-
38
-
39
-
40
-
41
-
42
-
43
-
44
-
45
-
46
-
47
-
48
-
49
-
50
 |
 |