Electrolux EIDW1815US Complete Owners Guide English - Page 13
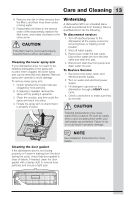
Winterizing, CAUTION
 |
View all Electrolux EIDW1815US manuals
Add to My Manuals
Save this manual to your list of manuals |
Page 13 highlights
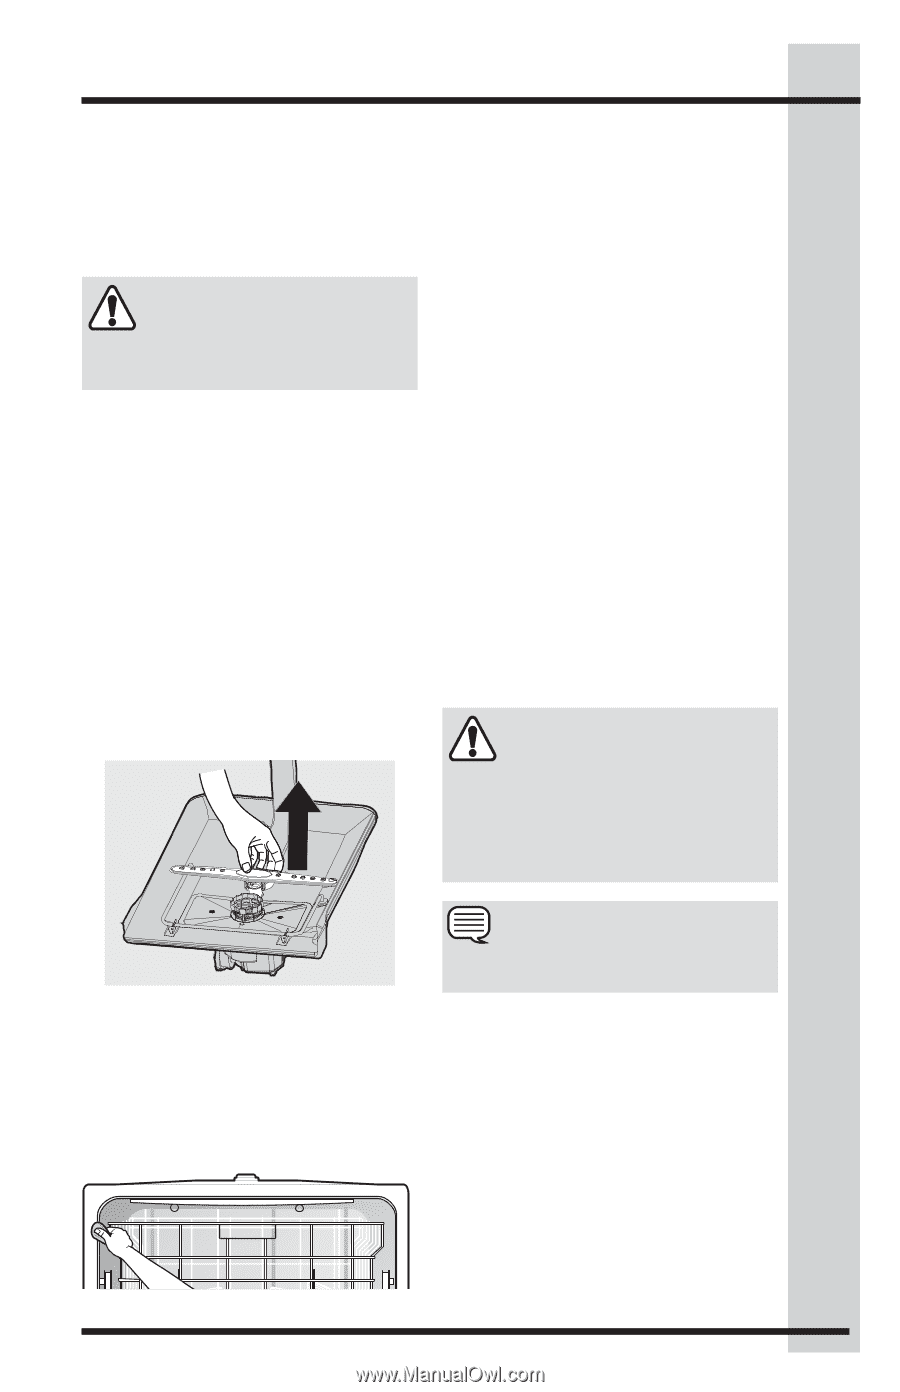
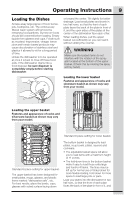
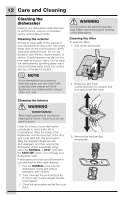
Care and Cleaning 13 4. Remove any dirt or other remains from the filters, and then rinse them under running water. 5. Reassemble the filters in the reverse order of the disassembly, replace the filter insert, and rotate clockwise to the close arrow. CAUTION If the filter insert is not closed properly, its performance will be decreased. Cleaning the lower spray arm If your dishwasher does not seem to be cleaning adequately or the spray arm nozzles seem clogged, the lower spray arm can be removed and cleaned. Remove spray arm carefully to avoid damage. To remove lower spray arm: 1. Check whether the nozzle holes are clogged by food particles. 2. If cleaning is needed, remove the spray arm by pulling it upwards. 3. Clean the nozzles, and then push the spray arm back into place. 4. Rotate the spray arm to check that it is properly in place. Winterizing A dishwasher left in an unheated place should be protected from freezing. Have a qualified person do the following. To disconnect service: 1. Turn off electrical power to the dishwasher at the supply source by removing fuses or tripping circuit breaker. 2. Shut off water supply. 3. Place a pan under the inlet valve. Disconnect water line from the inlet valve and drain into pan. 4. Disconnect drain line from pump and drain water into pan. To Restore Service: 1. Reconnect the water, drain, and electrical power supply. 2. Turn on water and electrical power supply 3. Fill detergent cup and run the dishwasher through a HEAVY wash cycle. 4. Check connections to make sure they do not leak. CAUTION Freezing temperatures may cause water lines to rupture. Be sure all supply lines to and circulating lines within your dishwasher are protected. Failure to do so could result in property damage. Cleaning the door gasket If the dishwasher door is not closing properly or if water is leaking from the door during the cycle, check that door gasket is clear of debris. If needed, clean the door gasket with a damp cloth to remove food particles and ensure a tight seal. NOTE See Installation Instructions for more details.
-
 1
1 -
2
-
3
-
4
-
5
-
6
-
7
-
 8
8 -
 9
9 -
 10
10 -
 11
11 -
 12
12 -
 13
13 -
 14
14 -
 15
15 -
 16
16 -
 17
17 -
 18
18 -
19
-
20
 |
 |