Epson 2200 Start Here Card - Page 5
Install Software - stylus photo driver
 |
UPC - 010343841840
View all Epson 2200 manuals
Add to My Manuals
Save this manual to your list of manuals |
Page 5 highlights
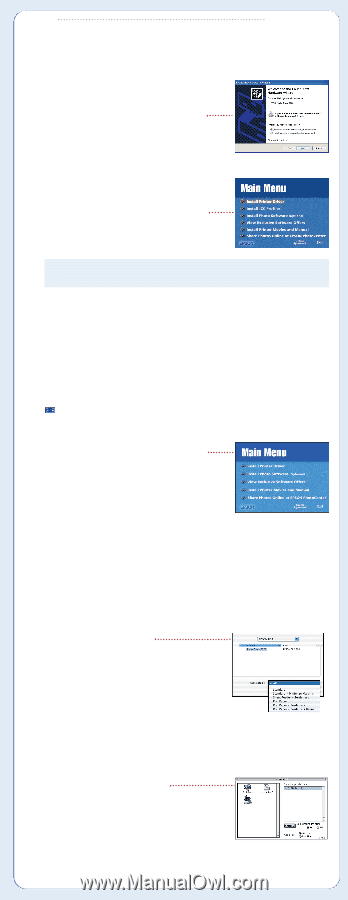
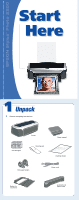
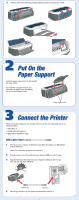
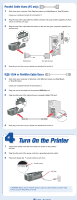
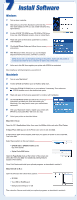
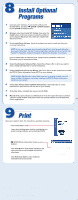
7 Install Software Windows 1 Turn on your computer. 2 Wait until you see a New Hardware screen like this, then click Cancel. (On XP, you see smaller windows first; ignore them.) 3 Put the EPSON® CD-ROM in your CD-ROM or DVD drive. If you see other Windows screens, close or cancel them. 4 Read and agree to the license agreement to continue with installation. 5 Click Install Printer Driver and follow the on-screen instructions. 6 With Windows® 2000, whenever you see the Digital Signature Not Found screen, click Yes to continue. NOTE: If you see a screen about turning on the printer, make sure the printer is connected and wait for your computer to detect the printer port. 7 At the end, click OK, then register your printer with EPSON as instructed. Now install your optional programs; see section 8. Macintosh 1 Turn on your Macintosh.® 2 Put the EPSON CD-ROM in your CD-ROM or DVD drive. 3 Select the EPSON CD-ROM icon on your desktop, if necessary. Then select the EPSON Installer icon in the window that opens. 4 Read and agree to the license agreement to continue with installation. 5 Click Install Printer Driver and follow the on-screen instructions to install your driver and restart your Macintosh. (You may need to enter your administrator password.) 6 After your Macintosh restarts, register your printer with EPSON as instructed (Mac® OS 8.6 to 9.x only). 7 Select your printer as described below. Mac OS X 10.x: Open the OS X Applications folder, then open the Utilities folder and select Print Center. If Stylus Photo 2200 appears in the Printer List, select it and click Add. If Stylus Photo 2200 doesn't appear, make sure your printer is turned on and connected. Then click Add. Select these options on the next screen: • EPSON USB or EPSON FireWire at the top of the screen • Stylus Photo 2200 below Open the Page Setup menu at the bottom of the screen and select All. Then click Add. Your additional printing features appear in Print Center. Close Print Center and install your optional programs, as described in section 8. Mac OS 8.6 to 9.x: Open the Chooser, then select these options: • SP 2200 • Your USB or FireWire port • Background printing (on or off) Then close the Chooser and install your optional programs, as described in section 8.
-
 1
1 -
 2
2 -
 3
3 -
 4
4 -
 5
5 -
 6
6
 |
 |