Epson ActionPrinter 3250 Product Information Guide - Page 5
Changing Printer Settings, Printing a Self Test, Application Software, Paper Handling - ribbon
 |
View all Epson ActionPrinter 3250 manuals
Add to My Manuals
Save this manual to your list of manuals |
Page 5 highlights
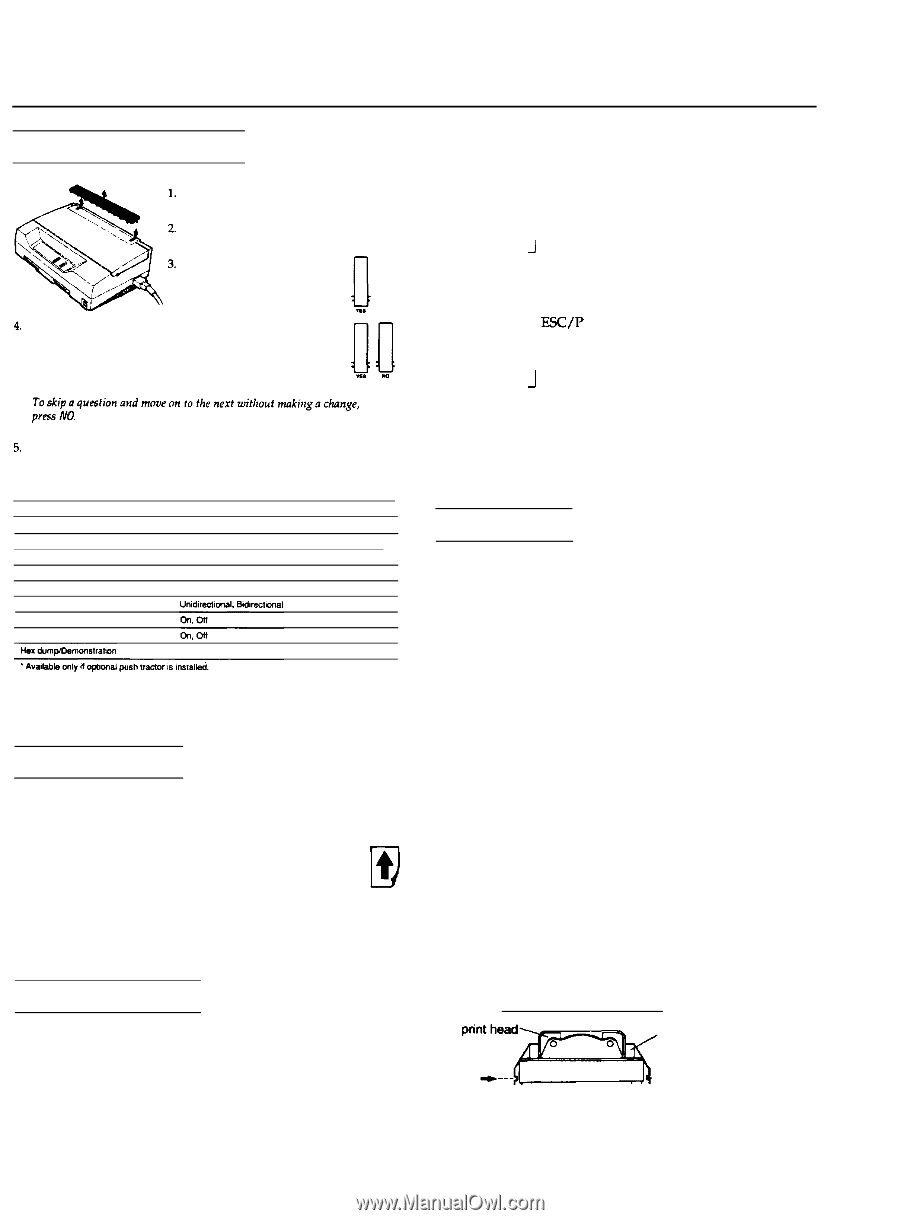
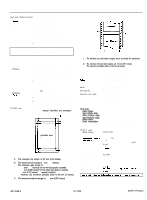
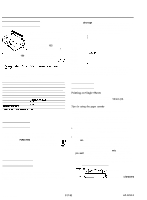
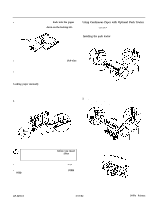
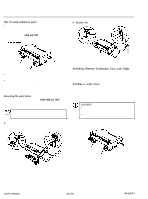
Changing Printer Settings Make sure the printer is turned off and paper is loaded. Remove the narrow cover from the printer. To enter the default settings mode, hold down the YES button while you turn on the printer. InsI The printer prints a series of questions about your printer settings. Press the YES and NO buttons to respond and make your changes. All new settings remain in effect until you change them again. !vulrIOl Note: Turn off the printer at any time to exit the default settings mode; then replace the narrow cover. You can change the printer settings listed here: Setting Character table Page length Skip over perforation Tear-off position TOF position Graphic print direction Download Auto line feed Options 437,850,860,863,865 11", 12", 8.5", 70/6" on. on On cutter. Above cutter -3, -2, -1, +0, +1, +2, +3 Hex dumo. Demonstration Printing a Self Test You can print a self test to make sure your printer operates properly. 1. Make sure the printer is turned off and paper is loaded. 2. Hold down the FORM FEED button while you turn on the printer. It loads a sheet of paper automatically and begins to print characters in the current font and character table. 3. To stop the self test, turn off the printer. D FF Application Software Most application programs let you specify the type of printer you use so that the program can take full advantage of the printer's features. Many programs provide an installation or setup m&u that presents a list of printers. ActionPrinter 3250 To take full advantage at your printer's features, including ESC/P2, choose one of the first three printers on the list below. If none of these is listed, contact your software manufacturer for an update that includes one of the three. Until you receive an update, choose another printer as close to the top of the list as possible. LQ-100 LQ-570 1 ESC/P2 LQ870 J LQ-510/550 LQ-860 LQ-850 1 LQ-200 LQ-500 FIX/P LQ-2550 LQ-2500 LQ-800 LQ-1500 1 If none of these printers is listed among your program's options, select the first available of the following: EX, FX, LX, RX, MX, Epson printer, Standard printer, Draft printer. Because these are 9-pin printers, however, your graphics printing may not be correct. Paper Handling Printing on Single Sheets You can load standard-sized single sheets with the paper cassette and you can load single sheets of paper from 148 mm (5.8 inches) to 257 mm (10.1 inches) wide with the manual insertion slot. Tips for using the paper cassette The tips below help you get the best performance when printing with the cassette. . Load paper in the paper cassette before you turn on the printer and send data. When the printer receives data from the computer, it loads a single sheet automatically and begins to print. l If the printer runs out of paper during a print job, reload the paper cassette and press the FORM FEED button to load the paper. l Press the FORM FEED button to eject a sheet of loaded paper. You can adjust the top-of-form position with the gear under the printer cover. It is marked by + and -signs. Open the printer cover and turn the gear to adjust the position. The notches on the ribbon mask indicate the base line of printed characters. The gear adjustment affects only the loaded page. If you want to change the top-of-form position permanently, you can adjust it in the default-setting mode. However, most application software programs take care of the top and bottom margins. You usually don't need to set the top-of-form position on the printer. ribbon mask --- base line of characters 24-Pin Printers 3/17/92 AP-3250-5
-
 1
1 -
 2
2 -
 3
3 -
 4
4 -
 5
5 -
 6
6 -
 7
7 -
 8
8 -
 9
9
 |
 |