Epson CX6400 Start Here Card - Page 2
Attach the Parts, Plug In and Turn - stylus all in one printer
 |
UPC - 013438468694
View all Epson CX6400 manuals
Add to My Manuals
Save this manual to your list of manuals |
Page 2 highlights
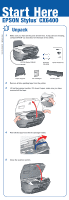
2 Attach the Parts 1 Insert the paper support into the slots behind the printer, as shown. 2 Lower the feeder guard into the slots behind the scanner lid. (Insert the hinges on the feeder guard into the corresponding slots on the printer.) 3 Plug In and Turn On 1 Plug the Stylus CX into a grounded electrical outlet. Caution: Do not connect the USB cable until instructed. 2 Press and hold the On button until the green lights come on. On button
-
 1
1 -
 2
2 -
 3
3 -
 4
4 -
 5
5 -
 6
6 -
 7
7 -
 8
8
 |
 |
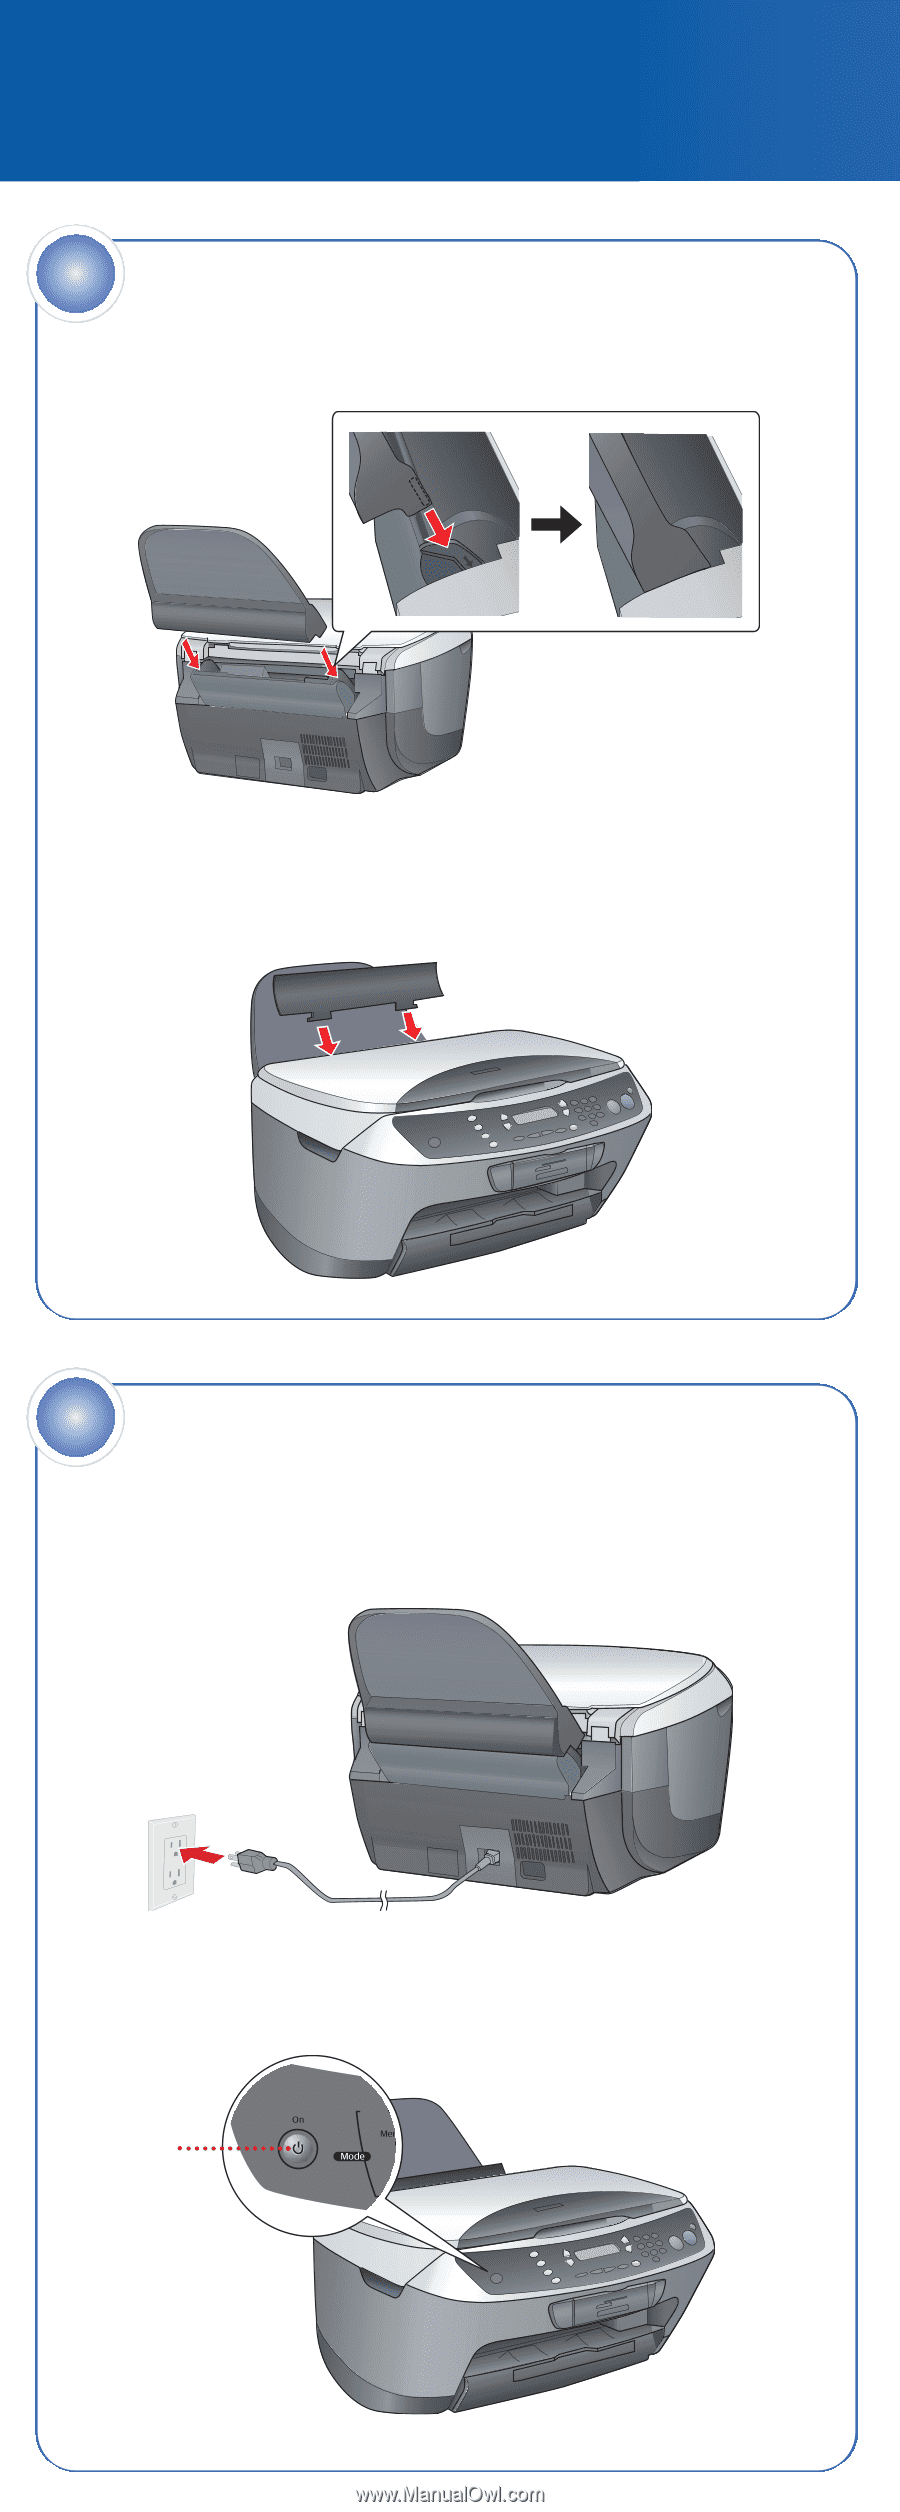
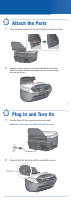
1
Insert the paper support into the slots behind the printer, as shown.
2
Lower the feeder guard into the slots behind the scanner lid.
(Insert the hinges on the feeder guard into the corresponding
slots on the printer.)
Attach the Parts
2
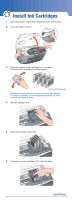
1
Plug the Stylus CX into a grounded electrical outlet.
Caution:
Do not connect the USB cable until instructed.
2
Press and hold the
On
button until the green lights come on.
Plug In and Turn On
3
On
button