Epson LQ 670 Product Information Guide - Page 14
sprocket in place., paper. Then push down the sprocket lock lever to lock
 |
View all Epson LQ 670 manuals
Add to My Manuals
Save this manual to your list of manuals |
Page 14 highlights
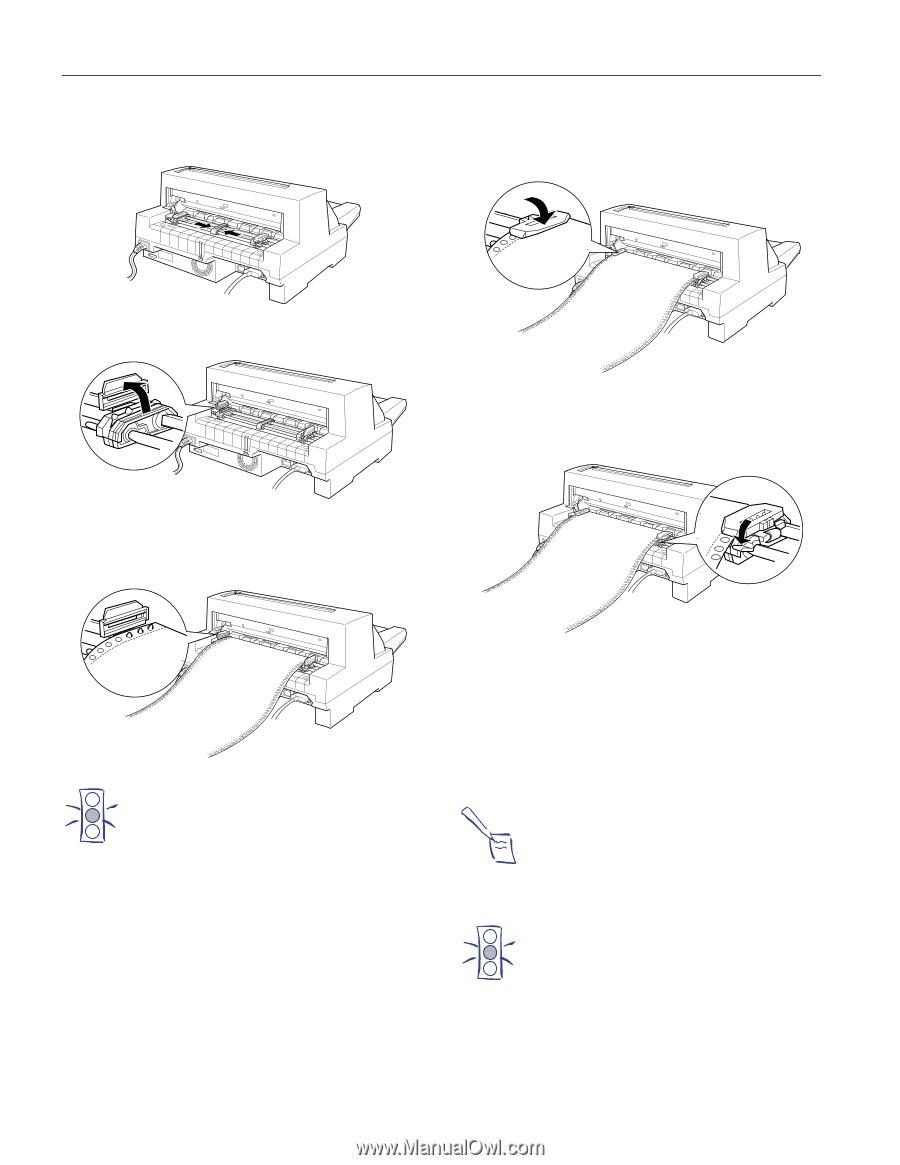
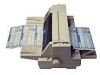
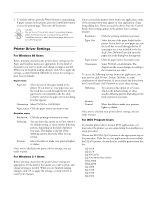
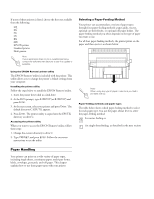
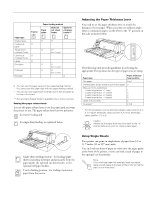
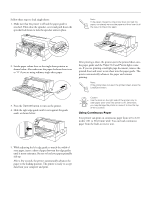
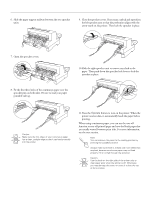
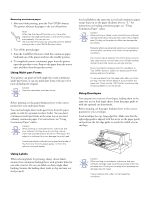
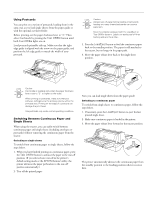
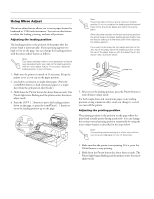
EPSON LQ-670 6. Slide the paper support midway between the two sprocket units. 9. Close the sprocket covers. If necessary, unlock and reposition the left sprocket unit so that the perforation aligns with the arrow mark on the printer. Then lock the sprocket in place. 7. Open the sprocket covers. 10.Slide the right sprocket unit to remove any slack in the paper. Then push down the sprocket lock lever to lock the sprocket in place. 8. Fit the first three holes of the continuous paper over the sprocket pins on both sides. Be sure to load your paper printable side up. Caution: Make sure the first sheet of your continuous paper has a clean, straight edge so that it can feed smoothly into the printer. 11.Press the Operate button to turn on the printer. When the printer receives data, it automatically loads the paper before printing. When using continuous paper, you can use the tear-off function to tear off printed pages and save the blank pages that are usually wasted between print jobs. For more information, see the next section. Note: You can advance the paper to the loading position by pressing the Load/Eject button. Always make sure there is at least one more sheet than required, because continuous paper may not feed properly if it is not fed through the sprocket. Caution: Use the knob on the right side of the printer only to clear paper jams when the printer is off. Otherwise, you may damage the printer or cause it to lose the topof-form position. 14 - EPSON LQ-670 3/97
-
 1
1 -
2
-
3
-
4
-
5
-
6
-
7
-
8
-
 9
9 -
 10
10 -
 11
11 -
 12
12 -
 13
13 -
 14
14 -
 15
15 -
 16
16 -
 17
17 -
 18
18 -
 19
19 -
20
-
21
-
22
 |
 |